3 Ways Power Automate Can Embed An Image In Email

Want Power Automate to embed an image in email? I’ve done the research and I will show you the best ways to do it. Displaying an image properly in all email client is not an easy task. My goal was to find the most compatible and the cleanest method possible while still using standard licensing. And if you have a premium license I’ve got a neat trick to share with you that uses the Microsoft Graph API.
Introduction: The Email With An Image Automation
We will use Power Automate to send an email with an embedded image. The image appears in the body of the email instead of as an attachment.

Setup The SharePoint Document Library
The examples in this article use an image stored in a SharePoint document library. Create a new document library named Email Embed Images and add an image to it.
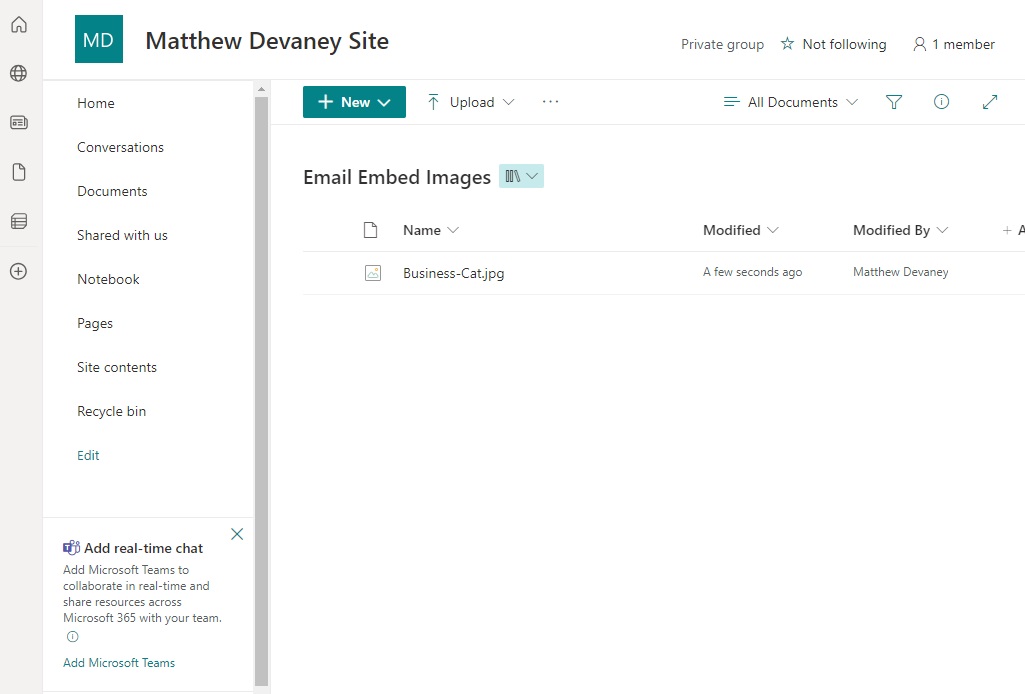
To follow along with the examples use this image named Business-Cat.jpg.

Method #1: Embed Image In Email Using Content ID
The most reliable way to embed an image in an email with a standard license is using Content-IDs (CID). It is supported by all versions of Outlook and even works in Gmail.
✅ Desktop Outlook
✅ Desktop Outlook (New)
✅ iOS Outlook
✅ Outlook Web
✅ Gmail
This Power Automate flow gets the image file content from SharePoint and then adds as an attachment to the email. Then the email displays the image in the body of the email by making a reference to it in an IMG tag. The image path (src) is prefixed CID: and matches the attachment name.
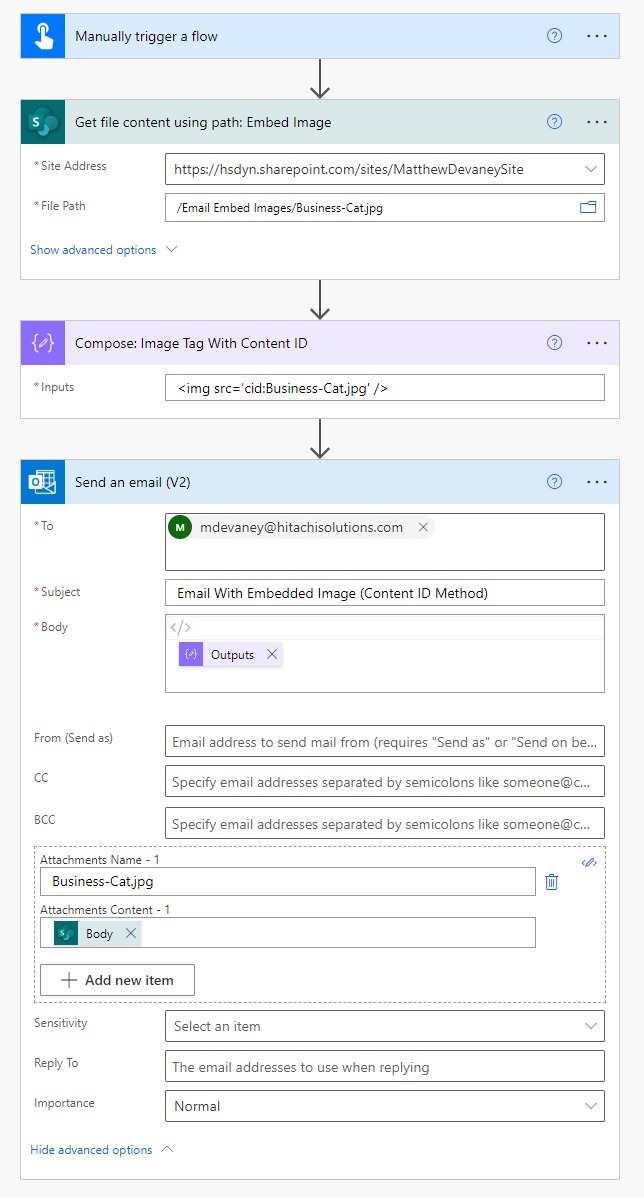
Use this code in the Data Operations – Compose action.
<img src='cid:Business-Cat.jpg' />Code language: HTML, XML (xml)
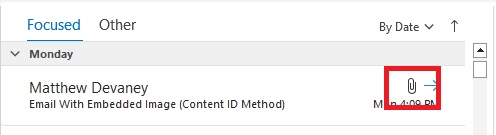
Test the flow by sending an email. The email appears with an image displaying in the body.
The only drawback of this the Content ID method is it displays an attachment icon. This is misleading to the email recipient because there are no downloadable attachments in the email.
Method #2: Embed Image In Email Using Data URI
Embedding the image as Base64 is the cleanest method because there is no attachment image beside the email. However, not all email clients have support for Base64. Only use it if you have a standard license and you know the recipient will use a compatible email client.
✅ Desktop Outlook
✅ Desktop Outlook (New)
✅ iOS Outlook
❌ Outlook Web
❌ Gmail
The Power Automate flow gets the image content from SharePoint and converts it to Base64 using the dataURI function. The Base64 is placed inside of an IMG tag and displayed in the body of the email.
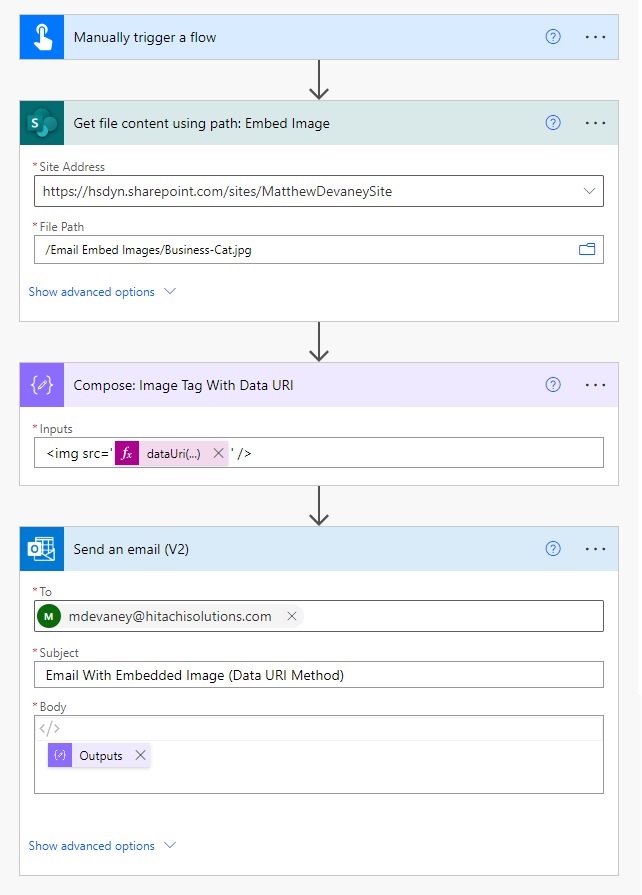
Use this code in the Data Operations – Compose action.
<img src='@{dataUri(body('Get_file_content_using_path:_Embed_Image'))}' />Code language: HTML, XML (xml)
Run the flow to send an email. The result looks like this:

No attachment icon is shown when embedding images as Base64.
Method #3: Embed Image In Email Using Hidden Content ID
A premium-licensed flow is the best method because it can send embedded images that are fully compatible with all email clients and hide the attachment icon. It achieves this by using both Content IDs and inline email attachments.
✅ Desktop Outlook
✅ Desktop Outlook (New)
✅ iOS Outlook
✅ Outlook Web
✅ Gmail
This flow is the same as Method #1 except it replaces the Send Email action with an HTTP with Microsoft Entra ID (preauthorized) – Invoke An HTTP Request action. Then it creates and sends the email using the Microsoft Graph API. The reason we use the Graph API is it gives us the ability to set an attachment as inline.

When creating the connection to Microsoft Entra ID use https://graph.microsoft.com as the Base Resource URL and Azure AD Resource.

Write this code in the Data Operations – Compose action.
<img src='cid:Business-Cat.jpg' />Code language: HTML, XML (xml)
Choose the POST method and use this URI for the Invoke an HTTP Request action.
https://graph.microsoft.com/v1.0/me/sendMailCode language: JavaScript (javascript)
Use this key-value pairing in the request headers.
| Key | Value |
| Content-type | application/json |
Copy and paste this code into the body of the request. The isInline property of the attachment makes it hidden.
{
  "message": {
    "subject": "Email With Embedded Image (Hidden Content ID Method)",
    "body": {
      "contentType": "HTML",
      "content": "@{outputs('Compose:_Image_Tag_With_Content_ID')}"
    },
    "toRecipients": [
      {
        "emailAddress": {
          "address": "[email protected]"
        }
      }
    ],
    "attachments": [
      {
        "@odata.type": "#microsoft.graph.fileAttachment",
        "name": "Business-Cat.jpg",
        "contentType": "@{body('Get_file_content_using_path:_Embed_Image')?['$content-type']}",
        "contentBytes": "@{body('Get_file_content_using_path:_Embed_Image')?['$content']}",
        "isInline": true
      }
    ]
  }
}Code language: JSON / JSON with Comments (json)
Test the flow. The email arrives in the recipients inbox and shows an embedded image in the body.
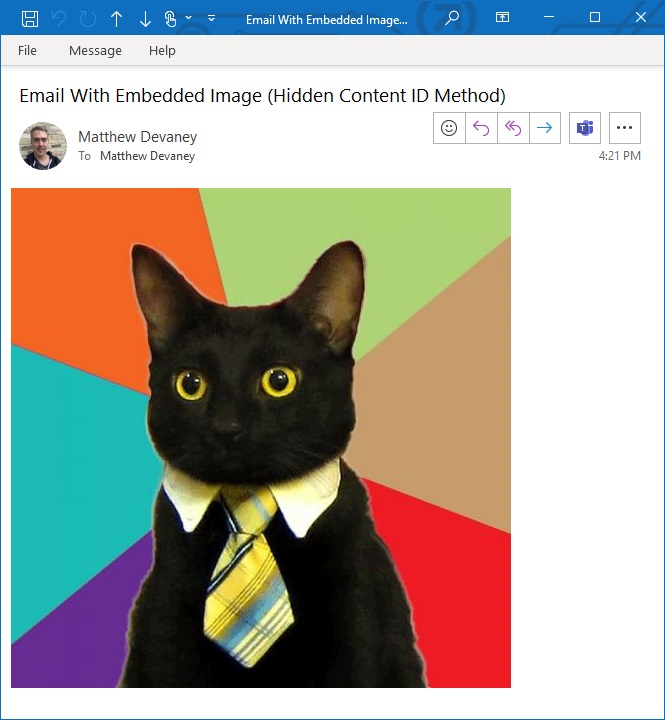
There is no attachment icon showing for the email.
Did You Enjoy This Article? 😺
Subscribe to get new Copilot Studio articles sent to your inbox each week for FREE
Questions?
If you have any questions or feedback about 3 Ways Power Automate Can Embed An Image In Email please leave a message in the comments section below. You can post using your email address and are not required to create an account to join the discussion.


thank you for this tutorial. It would be great if you could explain more in detail the used function … for citizen dev, it would be helpful to explain how you build the code sentence. have a nice weekend
Kate,
Can you please let me know which specific part of my article you want some details on?
An excellent piece of work which explains the various possibilities very well’.
The third method also works with ‘sent en email V2’ if you include the contentBytes in the HTML code of the email. Why it is necessary to use graph?
Mikaël,
This is a very good question. 😊
The Graph API call allows us to set the isInline property to ‘true’. It hides the image from being visible in the email attachments. This is not possible with the standard Office 365 Outlook – Send Email (V2) action.
When sending an email manually from Outlook images inserted directly into the body are made “inline” with no extra work from the user.
Great article, thanks Matthew. It’s always been a pain to get images working for Google Mail recipients so this is gold dust.
Craig,
I’m so glad you liked the article. Keep up the efforts with your own awesome blog!
Hi Matthew, very nice, one question, how to scale image in email width should be 100%.
Thank you
Thank you for sharing this. Few days back, I had suggested using datauri approach on power automate community for embedding gif image:
Solved: Re: Add GIF image into the email body – Power Platform Community (microsoft.com)
But I have observed that when size of the image becomes more approximately > 1 MB then image does not show in outlook web client. But when I follow this blog and use method# 3 (Embed Image in Email Using Hidden Content ID), I am able to embed that image in the email body.
Thank you!
Manish,
I’m glad method #3 solved the issue 🙂
Hi, thanks for the tutorial!
Tried method #1 for Gmail but doesn´t work for me, Gmail just deletes all kind of img element. Any idea why and how to avoid it?
¿Is it possible to send embebbed images from PowerApps ( Sen Email V2 function) to Gmail using Outlook connector?
Thanks a lot
I also encountered the same problem. The src tag in img will be removed by gmail. Is there a solution?
Didn’t work for me
Same here, the image is not showing in email body.
Can you please check and help Matthew Devaney?
Option 1 and option 3 does not work for gmail. Only attachment in place and not added to the body.
Thanks for this, Matthew!
Maybe worth noting… I had to escape the ‘@’ character in order to clear an error when trying to save my flow. The format that worked for me:
“@@odata.type”: “#microsoft.graph.fileAttachment”
It seems like Power Automate might be stripping this escape character after I exit then re-enter the flow designer, but that’s just a hunch.
Also, my test emails so far display a broken image icon where my image should be… I’ve tried jpg and png, and double-checked I’m getting the correct properties from the SharePoint Get file content action. Is there a chance the Azure app registration needs to be configured differently?
can do with pptx file?
Venkat,
No. Have you ever seen a PowerPoint slideshow embedded in an email? I have never seen this.
Hey Matthew,
Thanks for sharing this with us, it has been very useful.
Is it possible to sent animated GIF files instead of image files?
Thanks in advance!
I have the same question. Is this possible?
I was successful with the first 2 but the 3rd one gave me an error and sent me to https://learn.microsoft.com/en-us/connectors/webcontentsv2/#authorize-the-connector-to-act-on-behalf-of-a-signed-in-user
I tried that in powershell but get an error
ApplicationName AppId
————— —–
Microsoft Graph 00000003-0000-0000-c000-000000000000
Join-String : The term ‘Join-String’ is not recognized as the name of a cmdlet, function, script file, or operable program. Check the spelling of the name, or if a path was included, verify that the path
is correct and try again.
At C:\temp\ManagePermissionGrant.ps1:227 char:35
+ $joinedScopes = $selectedScopes | Join-String -Property {$_.Value} -S …
+ ~~~~~~~~~~~
+ CategoryInfo : ObjectNotFound: (Join-String:String) [], ParentContainsErrorRecordException
+ FullyQualifiedErrorId : CommandNotFoundException
I would also love to know how to get the file into a word doc. I am using your method as a proof of concept, but I need to initially pull from a sharepoint list item image column. Any assistance would be greatly appreciated.
Jason,
Try this article of mine instead:
https://www.matthewdevaney.com/power-apps-add-an-image-to-a-pdf-form/
Hello Matthew,
could use the same approach to send adaptive card in gmail or there is no way to work this out?
Thanks!
Hello Matthew, I’m a huge fan of your blog. I’ve tried implementing option 1 (above) and for some reason the image doesn’t display (it shows a red X in Outlook App). I tried to change the settings via this link without success: https://help.contactmonkey.com/hc/en-us/articles/4404937094413-Images-in-HTML-emails-displaying-the-red-X-on-Outlook
Do you have any suggestions or ideas?
In Method 1, the body section of the Send an Email V2 editor does not show the same, and I don’t understand what you did the create the output. When I did my test, email body had an X where the picture should have been and had the picture as an attachment. This is all very new to me, so thank you for your tutorial. I do need the extra detail on how to create each new action in the flow.
Thank you Matthew! Method 3 is what I have been looking for, but I did have to make a slight tweak to get it to work for me. I added a variable for content id and just generated a guid. The guid variablew was the used in the compose for the cid and I then added the property “contentId” and set the value to the content id variable guid in the graph request for that inline attachment:
{
  "type": "Compose",
  "inputs": "<img src='cid:@{variables('ContentID')}' />",
  "runAfter": {
    "Initialize_variable": [
      "SUCCEEDED"
    ]
  }
}
{ "@odata.type": "#microsoft.graph.fileAttachment", "name": "screenshot", "contentType": "body('Get_Screenshot')['$content-type']", "contentId": "variables('ContentID')", "contentBytes": "body('Get_Screenshot')['$content']", "isInline": true },Unfortunately, the instructions seem to have some weaknesses. For me, the image was never displayed in gmail with method 3.However, Scott gave a good hint: the contentId should also be set.
I also found out that there is a component called “Office 365 Outlook > Send an HTTP request”. Unfortunately, the “sendMail” command is not possible with this. However, you can create a draft email with “POST https://graph.microsoft.com/v1.0/me/messages” and send the email with “POST https://graph.microsoft.com/v1.0/me/messages/id/send“. With this approach, you don’t need a premium license either.
This post and everything posted here is a blessing, I have yet to extensively test every other inline doc which I hope to do so soon!
Anyway, hit a roadblock when attempting to implement what was posted here and wanted to share my solution below. Compose actions “Compose” and “html holding” plays no part in this solution bold-underline being the main changes to original post:
Reason why I hit said roadblock was because my files had space character and that encodeuricomponent ensured that the image was fetched correctly from sharepoint site while doubling as a consistent cid.
Thank you Matthew!
Junming,
I appreciate you sharing your method 🙂
Thanks Matthew. But I’m confused how to add some variables to the image, just like the post, which can change by the specific need.
Thank you very much for this article — it helped me even more than ChatGPT. Thank you so much.