Capture A Signature With Power Apps Pen Input And Save To SharePoint

Power Apps is an excellent tool for making apps where a customer can review information on a tablet and provide their signature with a pen. Adding a pen input control to an app is quite easy, but making it look great and getting the signature image stored in SharePoint is tricky. In this article I will show you how to capture a signature using a custom-built pen input control and save the signature image to SharePoint.
Introduction: The Sales Contracts App
The Sales Contracts App is used by the salespeople at a lawn-care company to capture the customer’s electronic signature on a sales contract. After the customer signs the contract on a tablet with a stylus the signature is uploaded to SharePoint along with the signature date and other contract details.
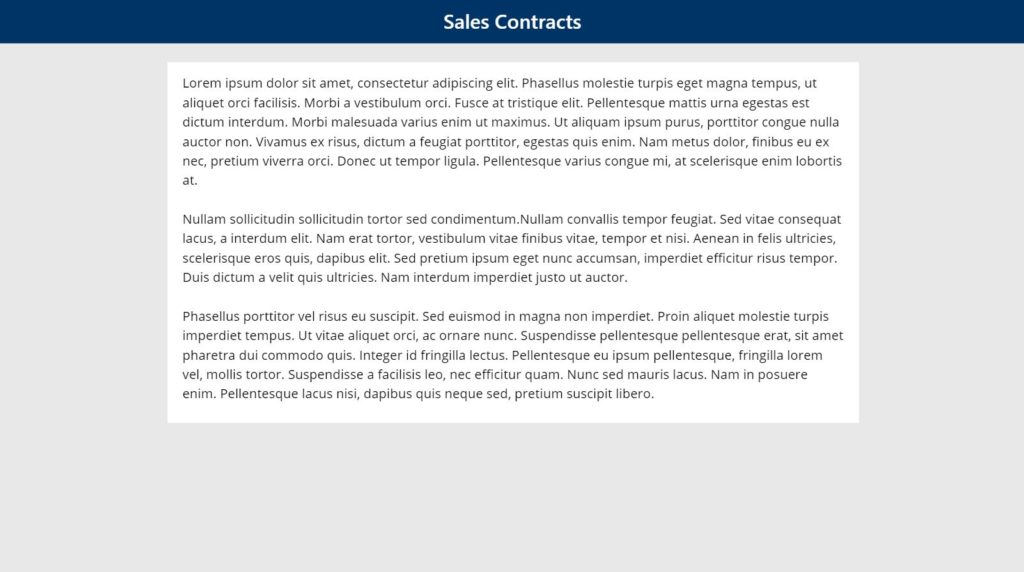
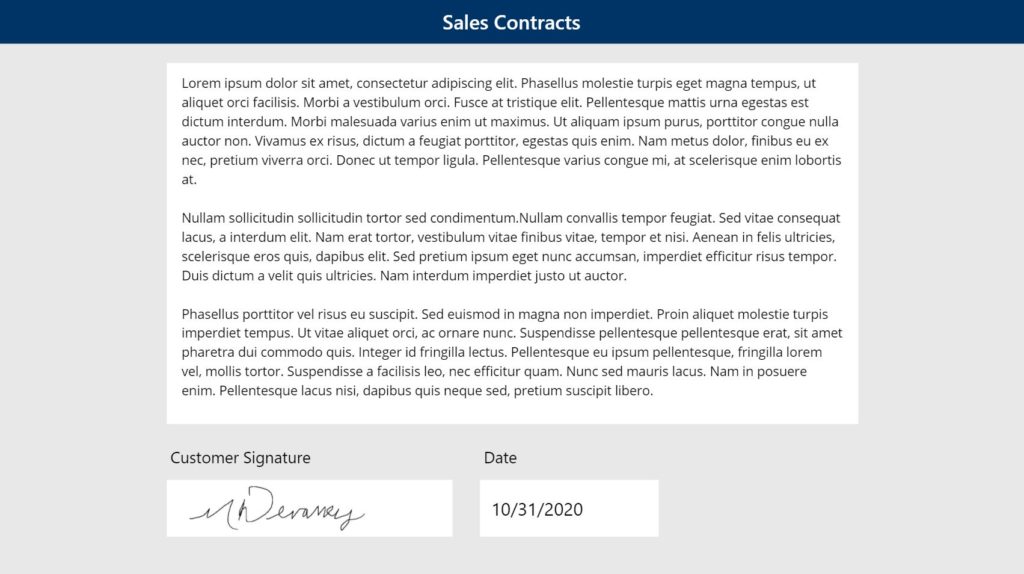
Begin by opening Power Apps Studio and creating a new app from blank. Make a title bar as shown in the image below. Then insert a label called lbl_SalesContract with a white background to show the sales contract text. In this example I have used lorem ipsum text as a placeholder until we get the actual contract’s text.
Capturing A Signature With Pen Input
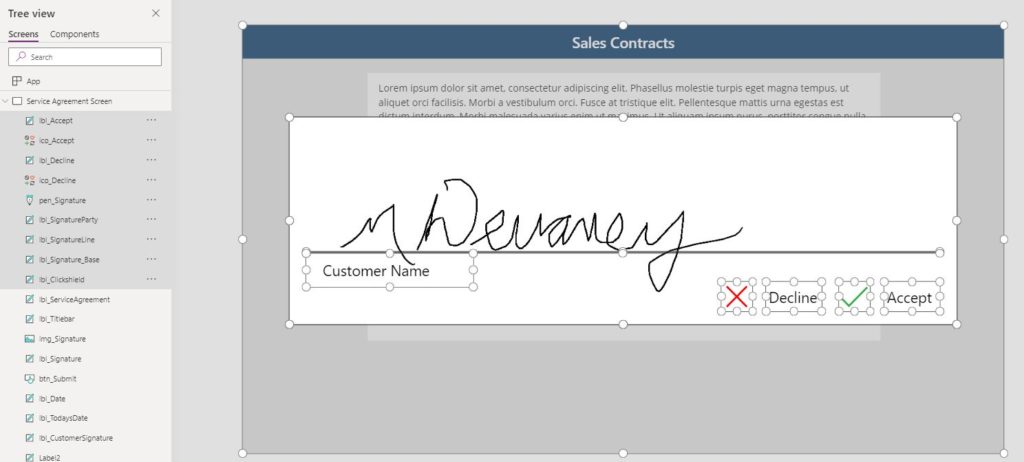
When the customer is ready to sign the contract a large pen input should pop-up onto the screen to capture their signature. Power Apps has pen input control which can accomplish this but it is not very stylish. I will show you how to make a better looking one.
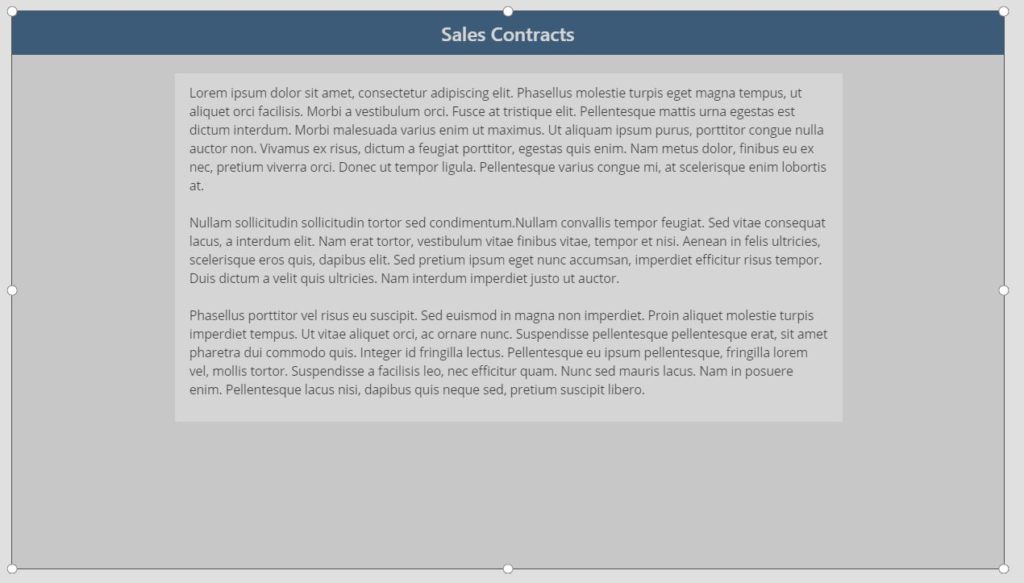
Begin by inserting a label called lbl_Signature_Clickshield that covers the entire screen. Its purpose is to disable other clickable controls when the pen input is showing. Set the Fill property of the label to a transparent gray color with this code.
RGBA(149, 149, 149, 0.4)Code language: CSS (css)
The label will look like this.
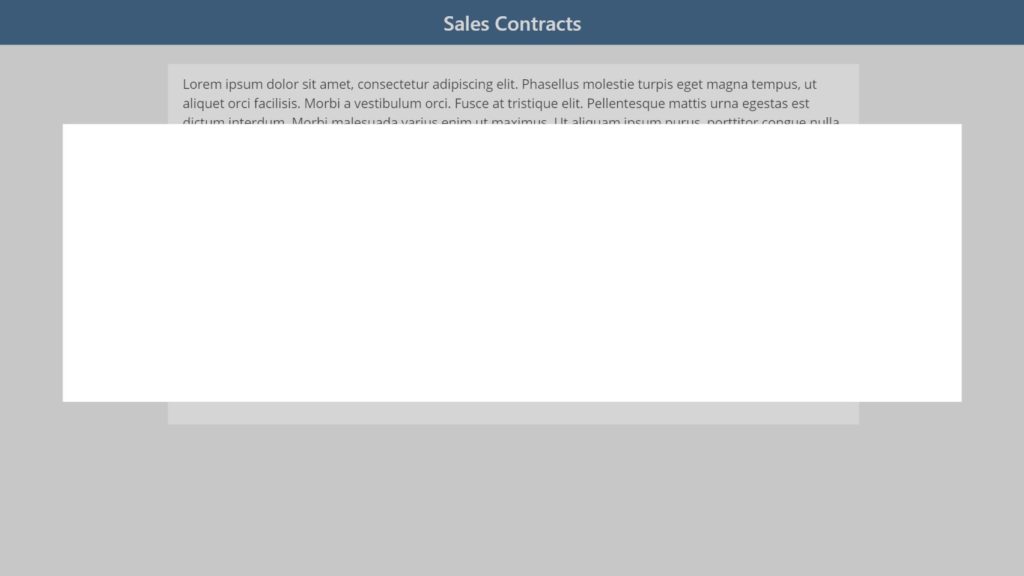
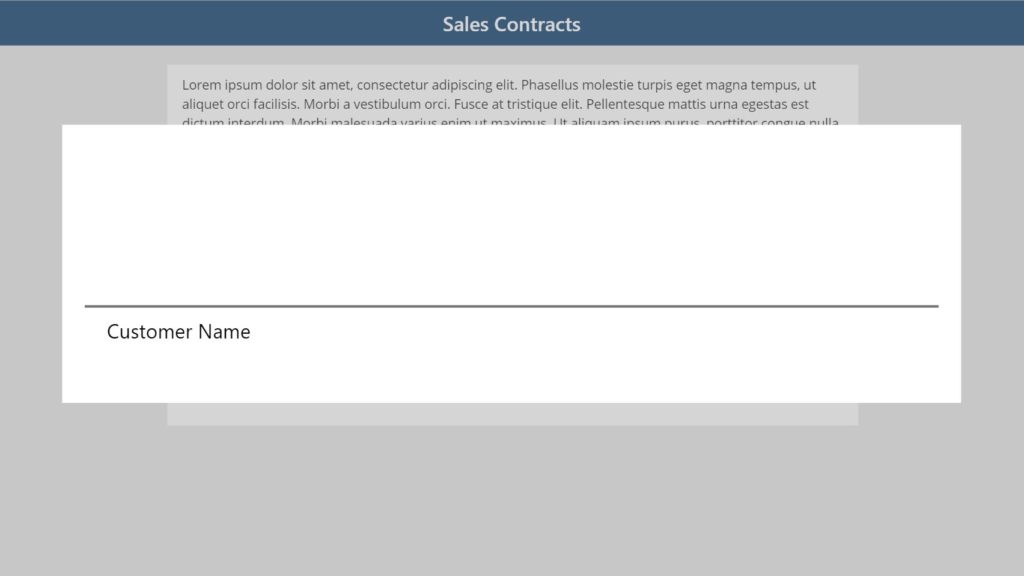
Next, place a large, white, rectangle-shaped label with called lbl_Signature_Base on top of lbl_Signature_Clickshield. Make it large enough to hold the pen input control where the customer will sign and leave additional space for accept/decline buttons to dismiss the pop-up.
Insert a black label with a height of 2 pixels called lbl_Signature_Line onto the white rectangle to act as the signature line
Now we place a pen input control directly over top of the white rectangle to capture the customer’s signature. Name the pen input pen_Signature_Customer.
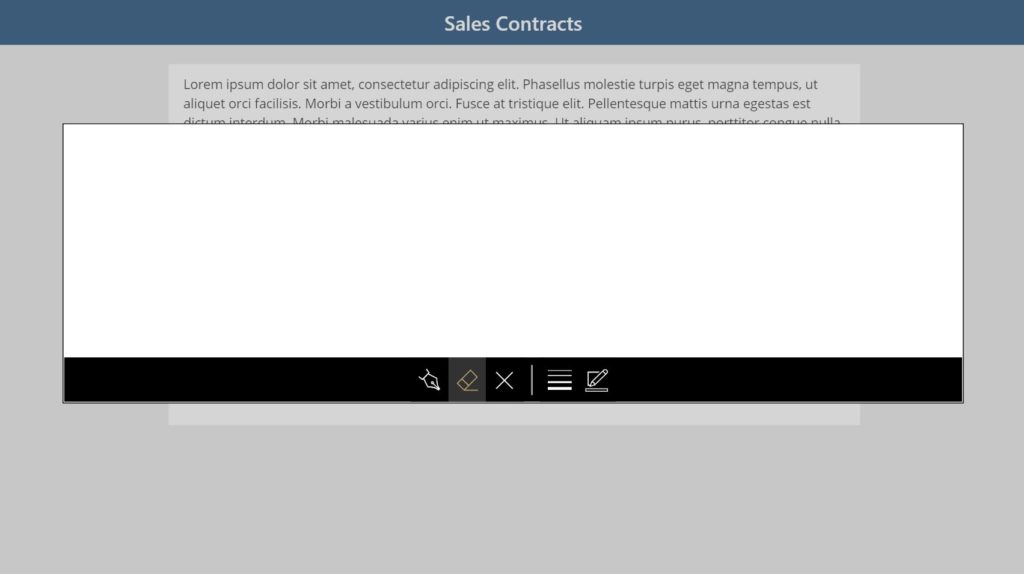
The pen input is hiding our other controls so we must make it transparent by updating the following properties.
BorderThickness: 0
Fill: Transparent
ShowControls: falseCode language: HTTP (http)
By making the pen input’s fill transparent and hiding its borders and controls we can now write a signature on the solid black line. Go ahead and give it a try!
Accept And Decline Buttons
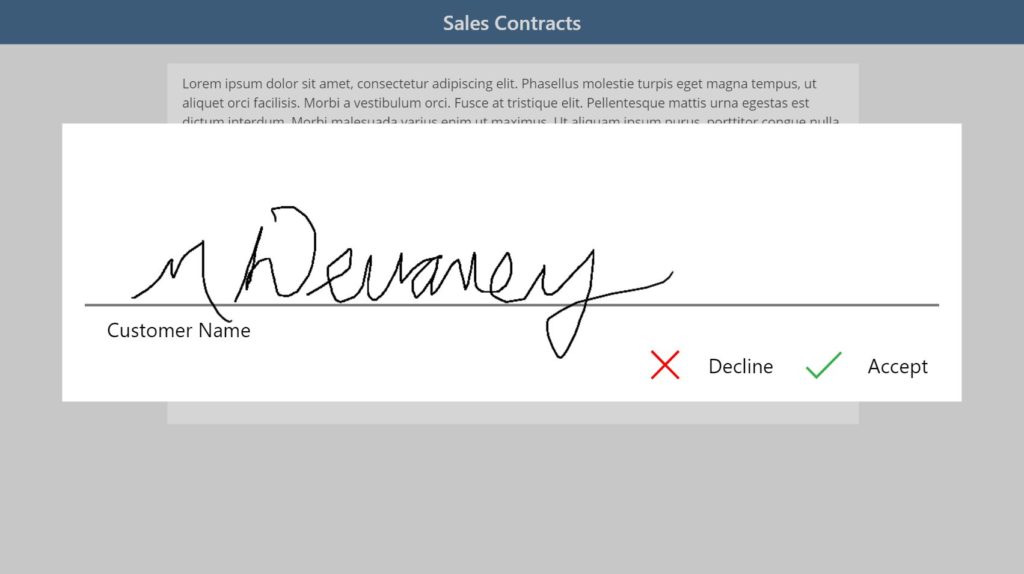
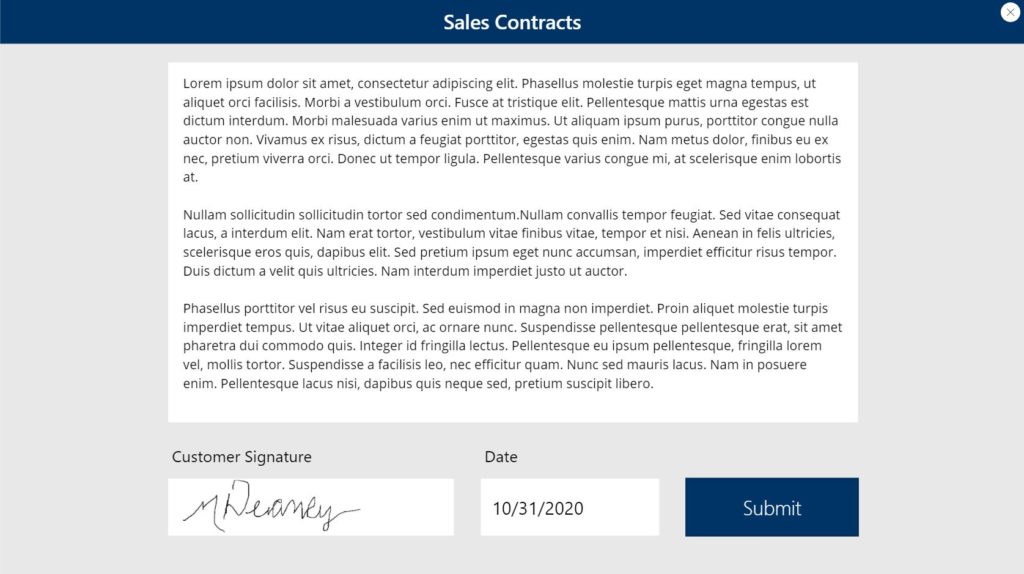
Once the customer makes a signature inside the pen input field they will click a button to accept the agreement or a different button to decline. When this happens the pen input area disappears and the signature will show below the contract along with the current date
Place a Check icon onto the bottom-right area of the pen input along and a label with the word “Accept”. Then create a Cancel icon and label with the word “Reject” and place it to the left of the Accept controls as shown in the image below.
Write this code in the OnSelect property of the Check icon and Accept label to hide the signature area once clicked.
Set(varShowSignature, false)Code language: JavaScript (javascript)
The OnSelect property code of the Cancel icon and Reject label will also do the same thing as well as clear any signature made by the customer.
Set(varShowSignature, false);
Reset(pen_Signature_Customer);Code language: JavaScript (javascript)
To make the show/hide buttons work write this code in the Visible property…
varShowSignature
…of all the controls that make up the signature area including the Accept and Decline controls.
Adding Signature and Date Fields
The customer’s signature should appear at the bottom of the contract. Insert two new labels: a small white rectangle to show the signature and another positioned above it with the words “Customer Signature”.

Then place an Image control directly over top of the small white rectangle with this code these properties
Image: pen_Signature_Customer.Image
ImagePosition: ImagePosition.Fill
OnSelect: Set(varShowSignature, true)Code language: HTTP (http)
If you made a test signature before you hid the pen input it will now appear in the box…

…and when you click on the Customer Signature image it will open the pop-up menu to capture a signature.

To show the date the signature was captured place another small white rectangle beside the signature with this code in the Text property. Create a second label above it with the word “Date” and a transparent background.
Today()
The result will look like this.
Building A Flow To Save The Signature To SharePoint
Upon collecting the customer’s signature the salesperson clicks a Submit button and sends the sales contract data to SharePoint including the signature image. To accommodate this we must open SharePoint a new create a list and a new document library.
Create a new SharePoint called Sales Contracts with the following columns
- DocumentText (multi-line text)
- SignatureImageLink (single-line text)
- SignatureDate (date only)

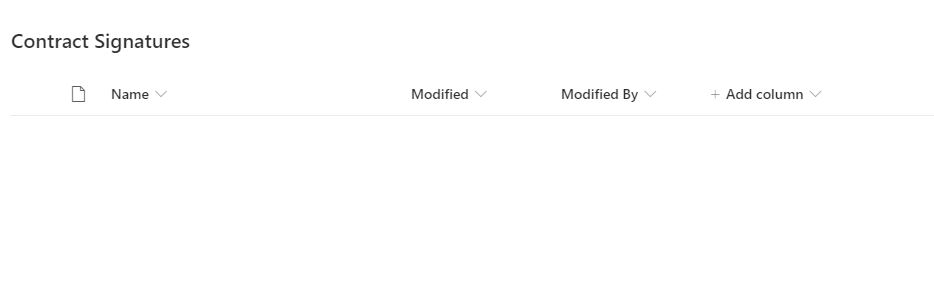
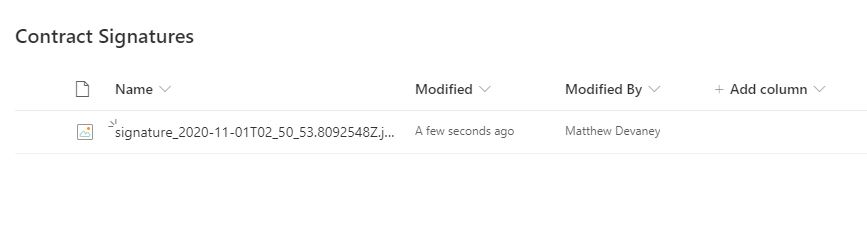
Then create a document library called Contract Signatures. No additional fields are required here beyond the default ones.
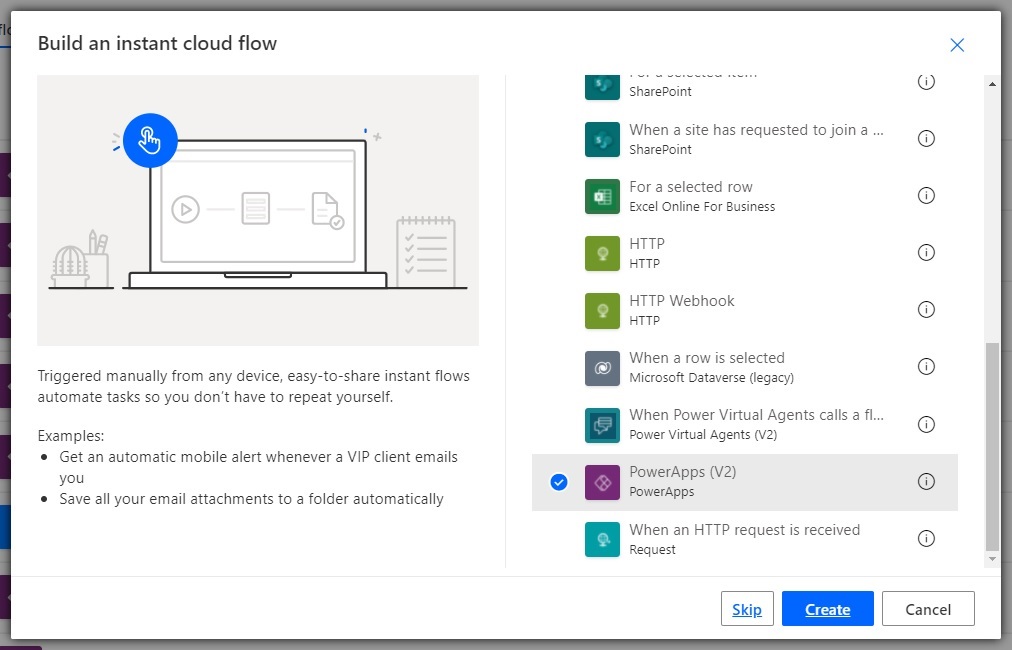
Since we cannot save a signature to SharePoint by using the PATCH function we must build a Flow to do it instead. Open Power Automate and create a new flow from instant called Sales Contracts – Save A Signature. Select the Power Apps (V2) trigger and click Create.
Make the Flow shown in the image below. An image and the contract text are captured as inputs in the trigger. Then an image file is created in the SharePoint document library and a contract is subsequently added as an item to the Sales Contracts SharePoint list.
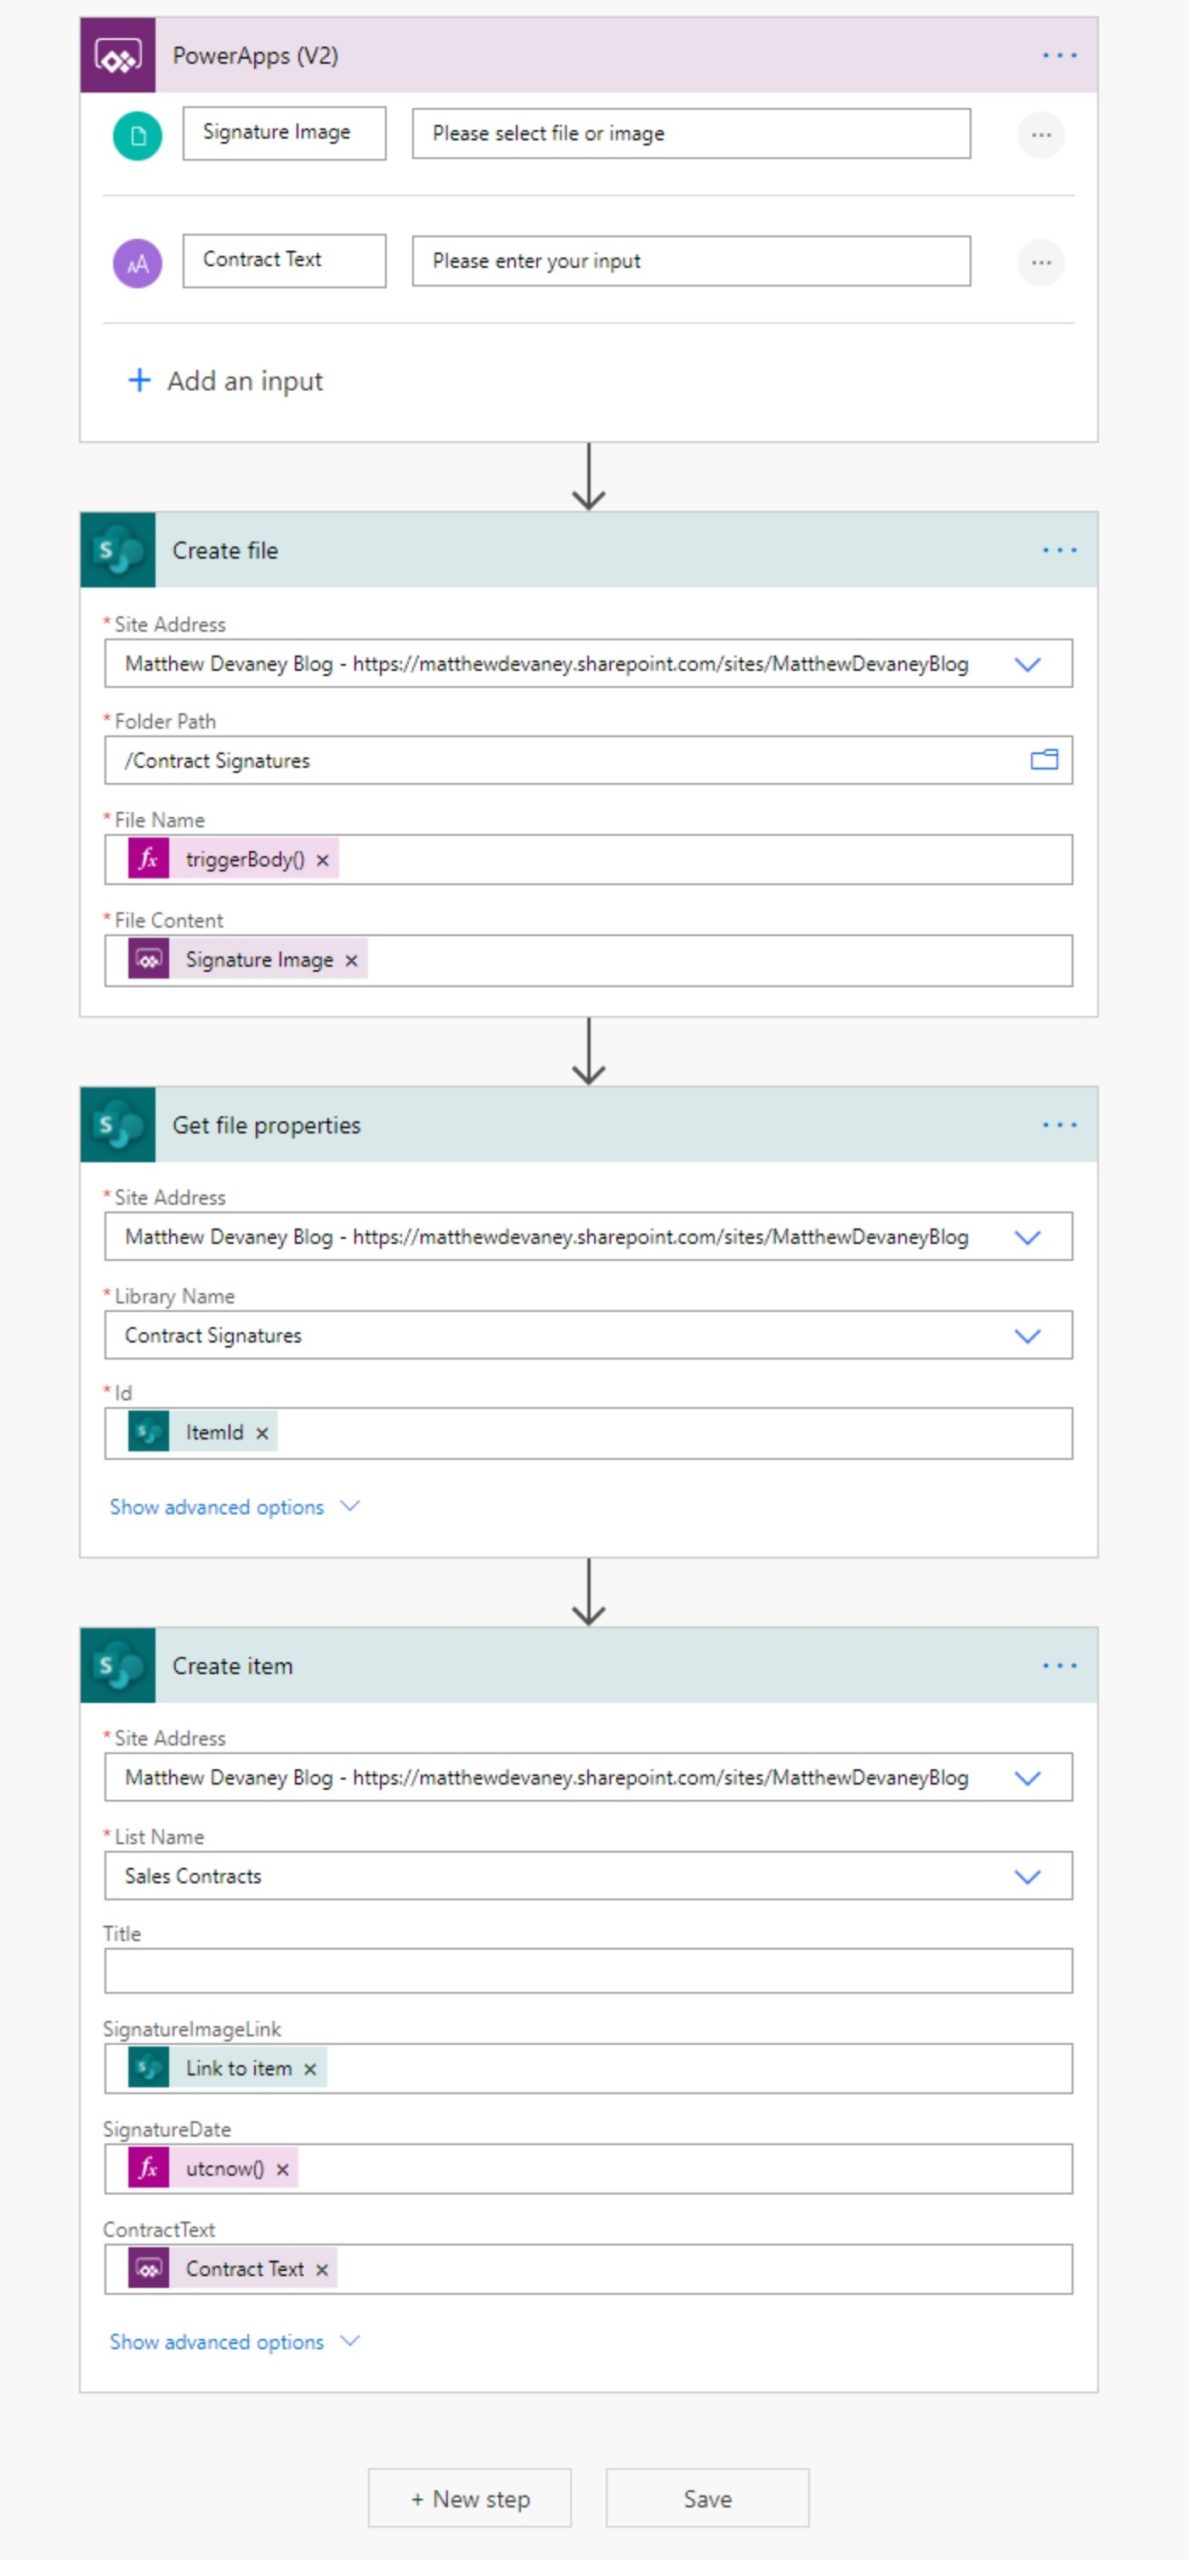
The Sharepoint – Create File step uses this flow expression. The rest should be pretty straight-forward.
triggerBody()['file']['name']Code language: CSS (css)
Save the Flow and return to Power Apps.
Submitting the Signature To SharePoint From Power Apps
The final step is to create a Submit button to upload the contract signature and other details to SharePoint when clicked. Insert a new button onto the screen with the text “Submit”.
While selected on the Submit button go to the Power Apps top menu click Action, then click Power Automate. Select the Sales Contract – Save A Signature flow to add it to your app.
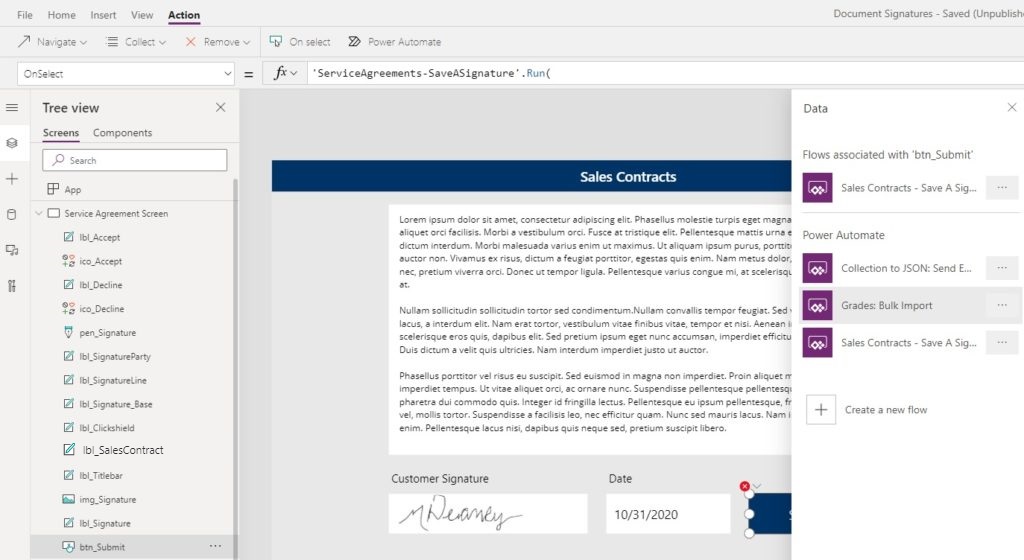
Add this code to the OnSelect property of the Submit button to convert the Signature image to Base64 text and pass all of the required parameters into the Flow. (Note: lbl_SalesContract is the label holding the text of the contract).
'SalesContracts-SaveASignature'.Run(
     {
         contentBytes: img_Signature.Image,
         name: Concatenate("signature_", Text(Now(), "yyMMddhhmmss"), ".jpg")
     },
     lbl_ServiceAgreement.Text
 )Code language: JavaScript (javascript)
Click the submit button to run the Flow and save the signature and contract details to SharePoint.
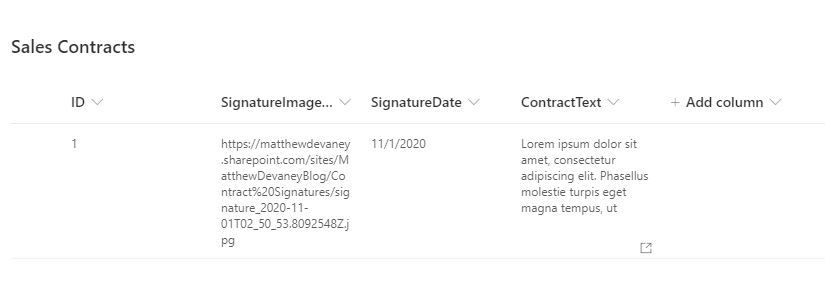
Displaying the Signature Image In Power Apps
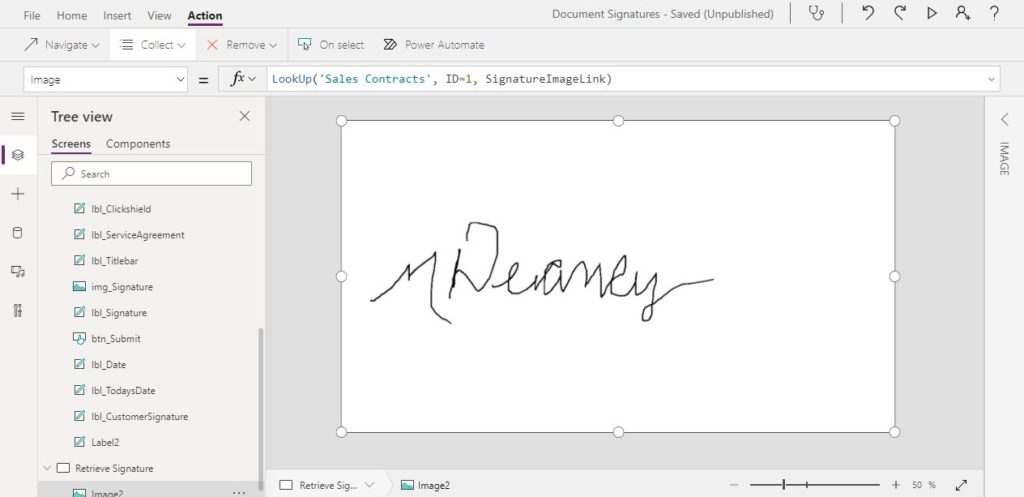
As a final tip I will show you how to to display the signature image in your app after it is saved to SharePoint. To do this, place an Image control on the screen and use this code in the Image property where the ID corresponds to the contract you want to show the signature for.
LookUp('Sales Contracts', ID=1, SignatureImageLink)Code language: JavaScript (javascript)
The signature will appear in your app like this.
Did You Enjoy This Article? 😺
Subscribe to get new Copilot Studio articles sent to your inbox each week for FREE
Questions?
If you have any questions or feedback about Capture A Signature With Power Apps Pen Input And Save To SharePoint please leave a message in the comments section below. You can post using your email address and are not required to create an account to join the discussion.


This is the great article. I like your UX approach. But I have two questions:
Hello Gidrone,
To answer your questions,
#1 Not all readers will know what a GUID is. I used a more basic concept so readers could focus on core concepts of the article rather than wondering about GUIDs. Yes, you can definitely use a GUID. Filename + utcNow is also acceptable substitute in many cases.
#2 Many agreements have multiple signatures, for example, there could be a 2nd customer signature and also a salesperson signature. This relationship now becomes a one-to-many (one contract many signatures). I wanted to give the reader an easy path to expand the app in this way.
Hopefully I answered your app-design questions!
Yes, I wonder is there some technical reason for this solution, but now I understand your decisions. Tank you for sharing with us all of this knowledge. Please give us more examples of With function, practical.
Great article. Very useful info.
Matt, thanks for this tute… great to the point… What am I doing wrong? The pop-iup window does not disappear on acceptance and does not pop up ahen I click on Customer signature field…
Otherwise this is exactly what I have been trying to implement
Otis,
Please put this code in the Visible property of all controls that make up the signature area. It will fix your issue.
varShowSignature
Great, now this does it! Thanks again for your help…
Matthew, thanks again.
One more question if I may.
If I put two different signature fields on the the same page, can I use the same pop-up window that I used for the first signature? Or is it better/ easier to use a separate pop up window referencing specifically the second signature’s attributes/ names?
Thanks again for great post!
Yes, you can use the same signature field pop-up for two separate fields. I do this to reduce the number of controls on the screen. Let me know if you need any tips 🙂
Thanks Matthew, I have been using a window for each signature so far. I found this pop-up signature tute really handy, especially for phone screens… so cool, love it! Wrestling with filling word template with a signatutre in PA now, doing my head in… lol… thanks for your support!
Hi Matt, this is great, thank you. For some reason I can’t get everything associated with the signature box to disappear on selecting either Accept or Decline. I have put the code above in the Visible property of all controls making up the area as you suggest, and have also included the OnSelect property code mentioned above in the Accept and Decline labels and icons. Any ideas? It does seem to work to open the signature box up when I’m clicking on the image of the signature under the contract if that helps narrow it down at all. Thanks so much for your help
Hello Matthew,
Thanks for the post, but I’m stuck with the last part of the Flow, in Create Item, the Link to Item dynamic content option doesn’t appear in my Flow. I followed all the previous steps.
An additional problem I have, is that in the previous step of the Flow, Get File Properties, the Library Name does not allow me to choose the actual folder I created and used in Create File, where there is Site address and folder path, it only shows Documents or Enter custom value. When I type the document library name, I get an error when I save the Flow: GetTable failed with status code NotFound. I wonder if anyone else experienced this problem.
Hi Matthew,
I finally got it. I made a mistake while creating the library document, I created a new one and it works great. Thanks. I’m trying to figure out now how to use this in an Update Item case.
Hello Fernando,
Just wanted to make sure, were you able to complete the tutorial? Was there any directions that could have been more clearly written or anything that was omitted?
Yes Matthew, thank you very much. The tutorial is clear and I could finish it, including converting to binary, saving the image as jpg and getting the link back.
I’m trying to use this solution in a different scenario. I have a SP list where I’m patching data collected from the app together with a signature. Then I need to use Update Item instead of Create Item in the SP list to paste the image link. Still trying to figure it out.
Hey Matthew, I seem to be having an issue, everything seems to be flowing smoothly but when I go to open the file in SharePoint, it says there isn’t a preview available. When I download it, it says the file is corrupted. I was wondering if you had seen this or potentially know how I can view it in SharePoint?
It likely has something to do with the binary being sent to be converted in Flow. What does the binary string that you are passing look like?
Hi Luke,
I noticed that Warren Belz was able to find the answer to your question. Can you please let me know what the problem was? I want to update the article where you got stuck so its more clear for others 🙂
https://powerusers.microsoft.com/t5/Building-Power-Apps/Pen-input-Image-not-converting-to-jpg/m-p/783179#M249485
HI there,
We are facing an issue with signature control on some devices like tablets or phones. Sometimes, no matter what I draw, it saves only a portion (like a dot, a short line, etc.). What do you think about this?
Regards
I have not encountered an issue like this before. Sorry, I do not know what the problem could be. I would suggest contacting Power Apps support. They have been helpful to me in strange situations like this one. Especially if you have found a bug!
I added the ‘Set(varShowSignature, false) and the rest of the code, but PowerApps is saying there is a unaccepted characters
Set(varShowSignature, false), Set(varJSON With( {wJSON: JSON(pen_Signature_Customer.Image,JSONFormat.IncludeBinaryData)}, With( {wCommaPosition: Find(",",wJSON)}, Mid(wJSON, wCommaPosition+1, Len(wJSON)-wCommaPosition-1) ) ) ) 'PowerApp->Getitems,Applytoeach,Createfile,Getfileproperties'.Run('Signatures from PowerApps to SharePoint')Hello Alex 🙂
You are missing a comma at this position: Set(varJSON,
Matthew – great article, easy to follow and I was able to get up and running on the first try. I’m curious as to how you would approach updating the signature. Say we need to update the contract, report or whatever it is and sign it again. As it’s currently written, it just creates a new file every time. My version is for a patient care report and I have a list with Patient_ID and SignatureImageLink. My patient record is my master record so I use Patient_ID to tie the patient to other lists. So how would i keep it from created multiple records in my signature list with the same Patient_ID? I hope that makes sense.
Hello Mike,
I believe this could be done by making some changes to the flow. Following the article your flow would have the steps:
(Create New Signature Flow)
1. Power Apps
2. Create file
3. Get file properties
4. Create item
You could create another flow (Update Signature Flow) with two steps:
1. Power Apps
2. Update file (ID field an input from Power Apps)
Then in Power Apps you would would put an IF condition in the submit signature button. This is just psuedo-code but I think you’ll understand.
If(signatureIsNew=true, Run.NewSignatureFlow, Run.UpdateSignatureFlow)
That’s my suggestion! At some point I might revise the article to include your scenario.
Hello. I am having trouble encoding the image in “Base64ToBinary” It Only works with “Base64” Any ideas? Help!
Thanks.
This is exactly what I am looking for. Thank you for writing this article.
I am getting stuck at changing the on select functions though.
Where do you get the very last part for the code? Run(varJSON, lbl_SalesContract.Text)?
I am not sure what lbl Salescontract is in my flow.
Hello Lara,
lbl_SalesContract.Text is a reference to the label that holds all of the contract text. I will edit the article to make this more obvious.
Awesome Matthew Great Job thanks for your help, where I can find the new article to clarify the lbl_SalesContract.Text follow up please and Thanks
Alfonso,
lbl_SalesContract is the label holding the text of the contract. I have updated the article to mention this in a few places. Thank you for letting me know this was not clear.
Where was lbl_SalesContract added in the beginning? I’m still not showing a label under that name anywhere besides the ending
Hannah,
lbl_SalesContract is the contract text in the center of the app. I have added more instructions to make this obvious. It was not named before. Thank you!
I have added
Hi Matthew,
I’m currently stuck on the code portion for the Submit button.
In PowerApps, I copied and pasted the provided JSON code but it says “invalid number of arguments: received 1, expected 3”
Run(Createfile_FileContent, Getfileproperties_Id, Createitem_DocumentText)
I’m unsure as to what I need to populate in the last two bolded arguments?
I’ve created a SharePoint list and document library titled ‘Signatures’ and ‘Contract Signatures’ respectively.
I’d appreciate your help as this is exactly what I’m looking for!
Riley,
In your comment I see 3 arguments:
Run(Createfile_FileContent, Getfileproperties_Id, Createitem_DocumentText)
But in my article I see only 2 arguments:
Run(Createfile_FileContent, Createitem_DocumentText)
The argument Createitem_DocumentText should hold the contract’s text. You can supply the label holding the contract text here.
Hi Matthew,
The example I decided to build contained multiple arguments (~27) but I ran into a substantial roadblock when trying to figure out the syntax for more complex SharePoint column types (e.g. person/group, choice, date, etc.)
I thought it extremely helpful to include the following for any other users who stumble upon this same exact issue when they use your example as a framework to incorporate more complex column/field types:
Again, I appreciate you posting this as it was exactly what I was looking for!
Matthew , Thank You for this great article.
One question . How would you go about adding second signature input to the power app ?
Do I need to create another variable in JSON for the second image ? or can one variable contain multiple images ? Also how do I configure flow for the second image?
Jacob,
Yes, you need to create another JSON variable for the second image. Do it the simple way: 2 variables for 2 pictures. We can store both of them in a record type variable but there’s no need.
This is a very detailed article, thank you for the good job. I am trying to “adapt” it to save the signature and insert the link into an already existing sharepoint list item.
Basically, in your JSON chain, is there a way to add another variable, an ID?
Or to get a response from the flow into powerapps?
Tom,
Sorry, I’m not sure about that method. There must be a way but it seems simpler to just add more parameters to the Flow RUN function.
Excellent article…I have a work flow this will work nicely for
1-Open work order
2-Button – Start Job
3-Button to Scan equipment returned to Returns SP List
4-Update SP Work order form with work performed at work site.
5-Customer Signature – completed SP Work order form
6-Close SPWorkOrder form
Should have entries in image list…
BUT, for each image captured, I need modified date and time, modified by, location coordinates (latitude/Longitude), is that possible?
Bill,
Modified date and time are automatically set when the image is uploaded/modified in SharePoint. Longitude & Latitude can be detected in a flow step so yes, its possible.
This is a brilliant article thanks for writing and sharing but I’m struggling to see how to apply this to what I need, we do daily checks and need these signature signed off so I need to show the signature in the same sharepoint list against the check made, is this possible?
Hi Matthew,
Thank you for sharing this. It has been really useful.
I was hoping you could help me solve my flow issue. It is failing with the following message
Unable to process template language expressions in action ‘Create_file’ inputs at line ‘0’ and column ‘0’: ‘The template language expression ‘triggerBody()[‘file’][‘name’]’ cannot be evaluated because property ‘file’ doesn’t exist, available properties are ‘text’.
Any guidance is gratefully received.
Mark,
The file input should be set to required. Can you please confirm its a required in the flow trigger?
Thanks Matthew, I checked and this was all set correctly. Instead I have removed the original workflow trigger and re-reset up and this seems to have cleared the problem.
Thanks, those are some great formatting tips.
There are also ways to cut out half of that work & get the SharePoint form attachments section to take the signature image, then it will upload with the rest of the data on submit without a flow.
https://powerusers.microsoft.com/t5/Building-Power-Apps/Add-pen-input-signature-to-the-form-submit-and-upload-to-the/td-p/1271083
I used something like this in a previous app to fix an issue caused by a colleague’s longer email attachment work-around.
Hi
Have been trying to follow this article to the last point but i’m now stuck at the OnSelect step.
I’m getting an error “Invalid argument type(Record) Expecting a Text value instead”
Any help is appreciated.
tfjelde,
Can you please try putting lbl_SalesContract.Text above the other argument in the function? I think they are simply out-of-order.
It was ass easy as that 🙂
Thanks for the pointer in the right direction.
You’re welcome tfjelde!