Fill PDF Form Fields 5x Faster With Power Automate Desktop

I’ve found a better way to fill pdf forms in Power Automate Desktop than a typical UI automation. A UI automation uses keyboard and mouse clicks to select text input fields on the screen and write in values. The problem for pdf files is Power Automate Desktop cannot detect their text inputs and you must resort to writing a complicated series of keyboard commands to slowly jump to each field and write in the value.
By running a PowerShell script in Power Automate Desktop instead we drastically simplify the code and fill the pdf action amazingly fast since keyboard and mouse are not used. In this article I will show you how to fill a pdf form with Power Automate Desktop.
| Note: the PDF document and other files used in this tutorial can be found in my Power Automate Desktop Github repository. |
Introduction: The Manufacturer’s Certificate Of Origin
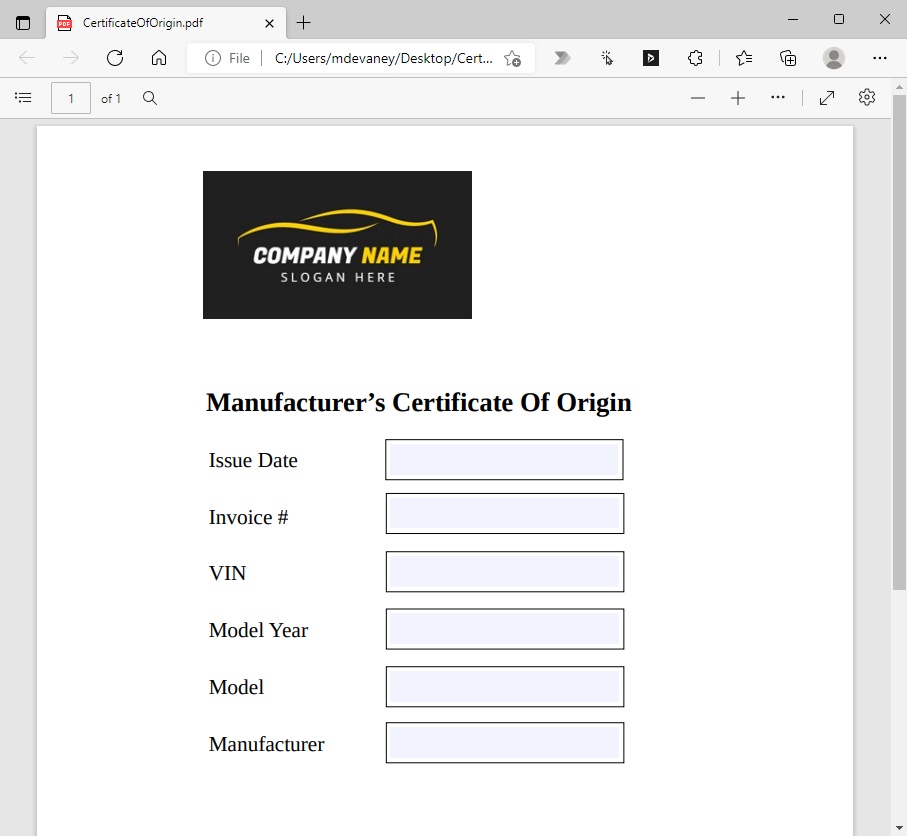
Employees at an automaker generate a manufacturer’s certificate of origin for each vehicle produced. The certificate of origin is created by filling-in a PDF template with information and then saving it in read-only mode.
Choose A Fillable PDF Form
Begin by selecting a PDF form for Power Automate Desktop to fill-in. If you would like to follow along with this tutorial the Manufacturer’s Certificate of Origin fillable PDF can be found in my Github repository.
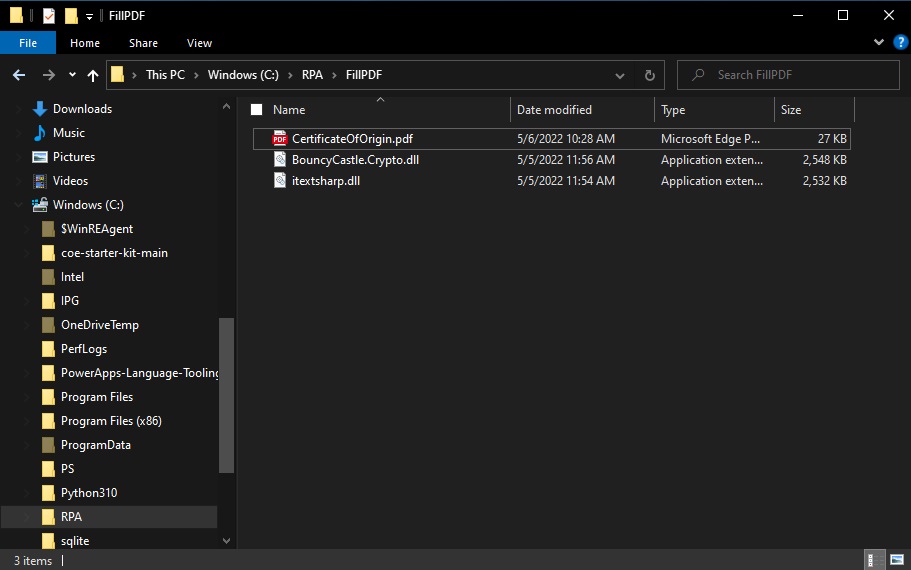
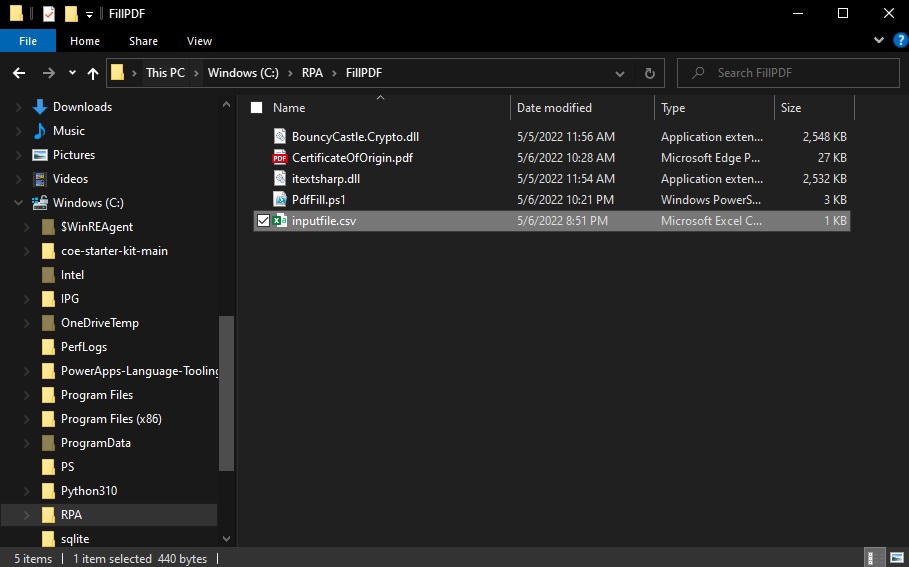
Move the fillable PDF file into a folder where Power Automate Desktop can access it.
In this example the path to the PDF file is shown below. We will need to use the path later on desktop flow to tell Power Automate Desktop where the file is stored.
C:RPAFillPDFCertificateOfOrigin.PDFCode language: CSS (css)
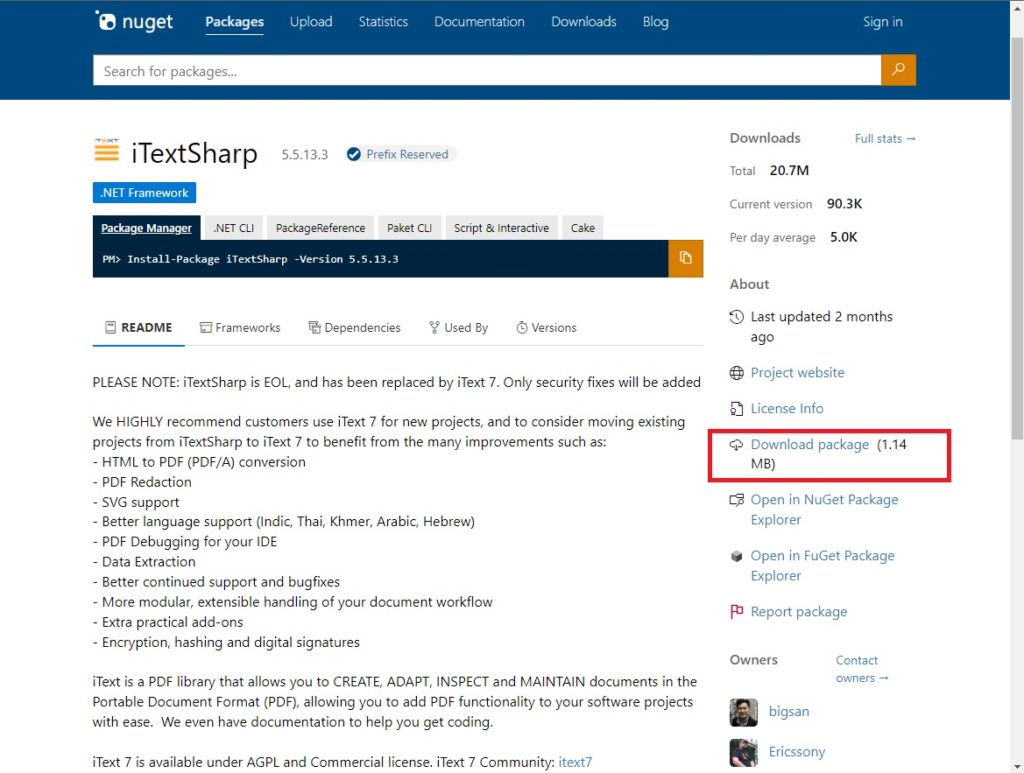
Download The iTextSharp Driver
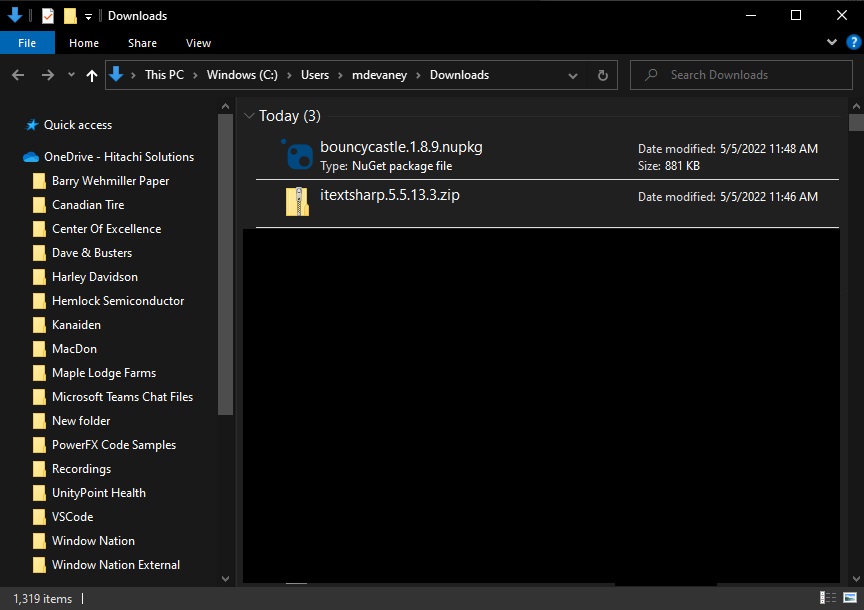
Power Automate Desktop does not have any actions to fill-in a PDF file. However, we can write some custom code and use the Run A PowerShell Script action to fill-in PDFs instead. This method requires us to download two free drivers from the nuget.org website. The 1st driver is called iTextSharp. Go to the nuget.org webpage for iTextSharp and get the package.
Open Windows Explorer and navigate to the folder where iTextSharp downloaded to. Change the file extension from .nupkg to .zip. We are doing this so we can extract the driver from the package.
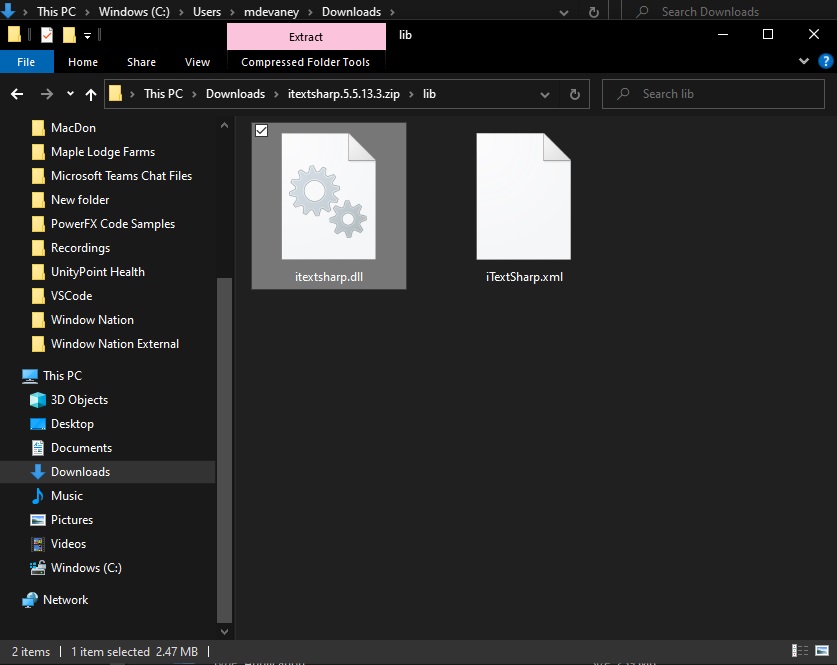
Locate the itextsharp.dll file inside the package then copy it…
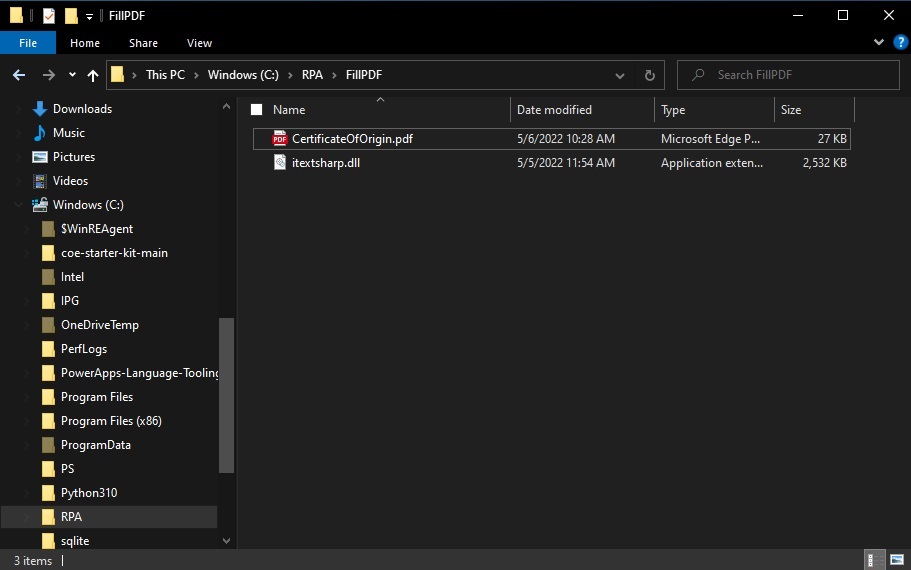
…and paste it into the same folder as the certificate of origin
Download The BouncyCastle Driver
The iTextSharp driver has a dependency on another driver called BouncyCastle. We must download it as well. Go to the nuget.org webpage for BouncyCastle and get the package.

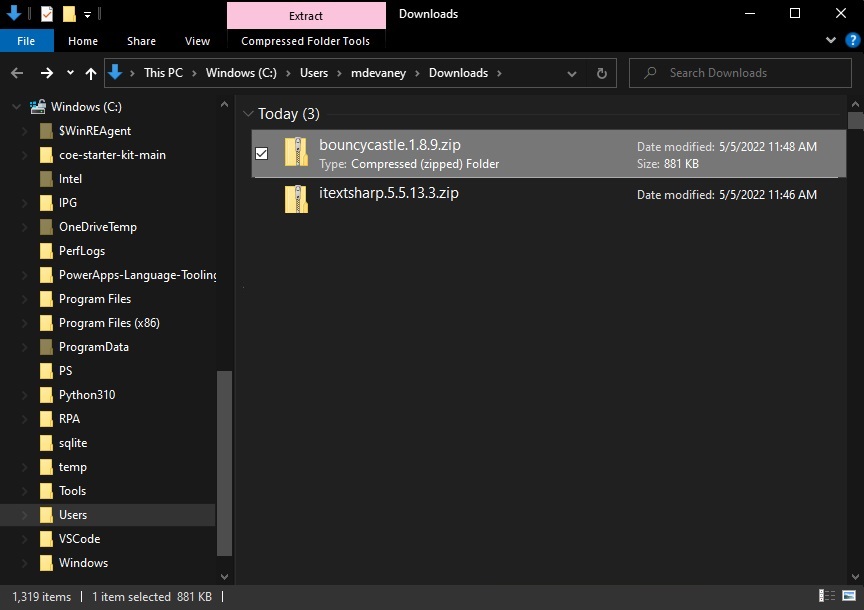
Rename the file extension of the package from .nukpg to .zip
Look for the file called BouncyCastle.Crypto.dll inside the package. Then copy it…
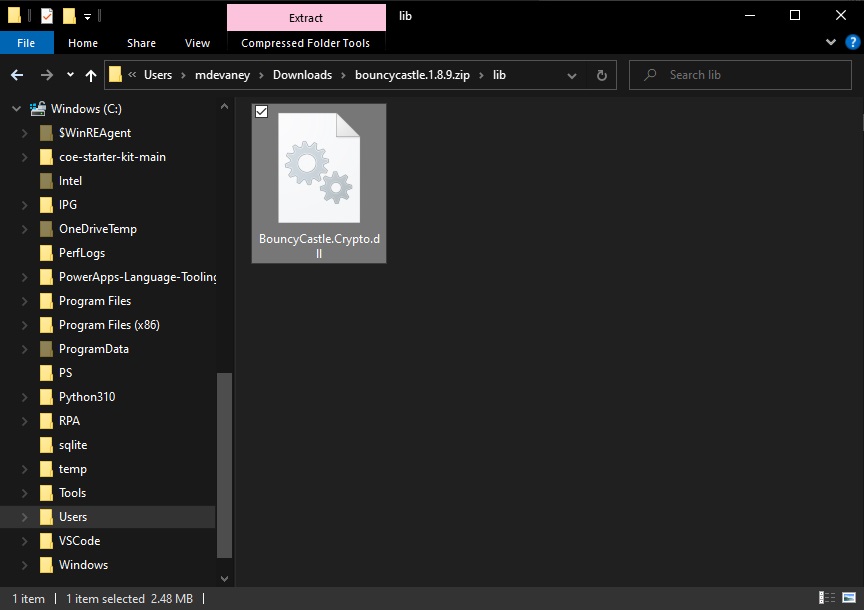
…and paste it into the same folder as the Certificate Of Origin and the iTextSharp driver.
Get The PDF Text Input Field Names Using PowerShell
Now that we have a fillable PDF file and downloaded the necessary drivers we can start writing our script. Our first objective is to use PowerShell to identify the name of each text input field in the PDF. Once we have the names of each text input we write another script to fill them in with values.
We will write our script using the Windows PowerShell ISE app which is installed by default on every Windows 10 and Windows 11 machine. ISE stands for Integrated Scripting Environment. With the Windows PowerShell ISE app you can input commands directly into the console or write scripts, press play to execute them and see the result happen all-at-once.
| Note: if you are new to PowerShell I highly recommend checking out this excellent series of beginner tutorials on Youtube by Shane Young. |
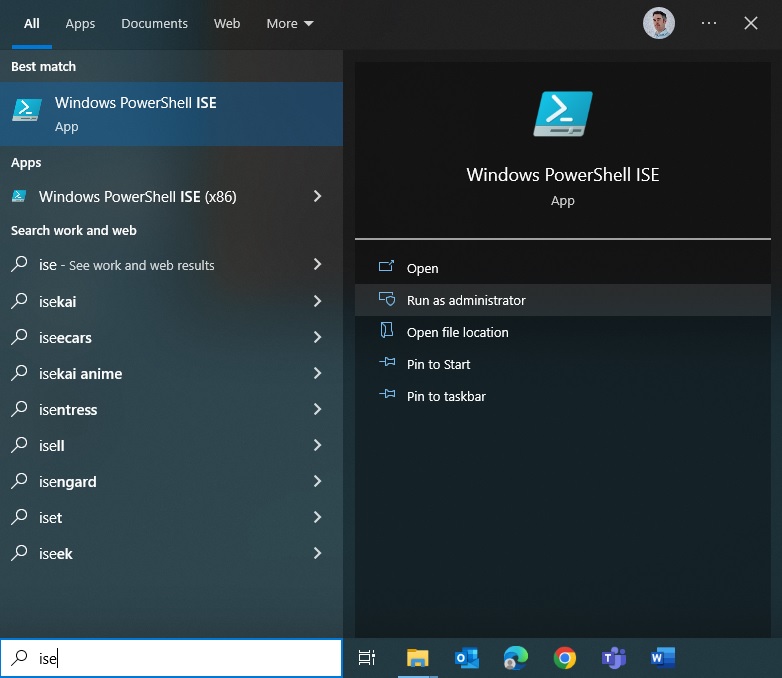
When the Windows PowerShell ISE app opens click on the New Script icon.
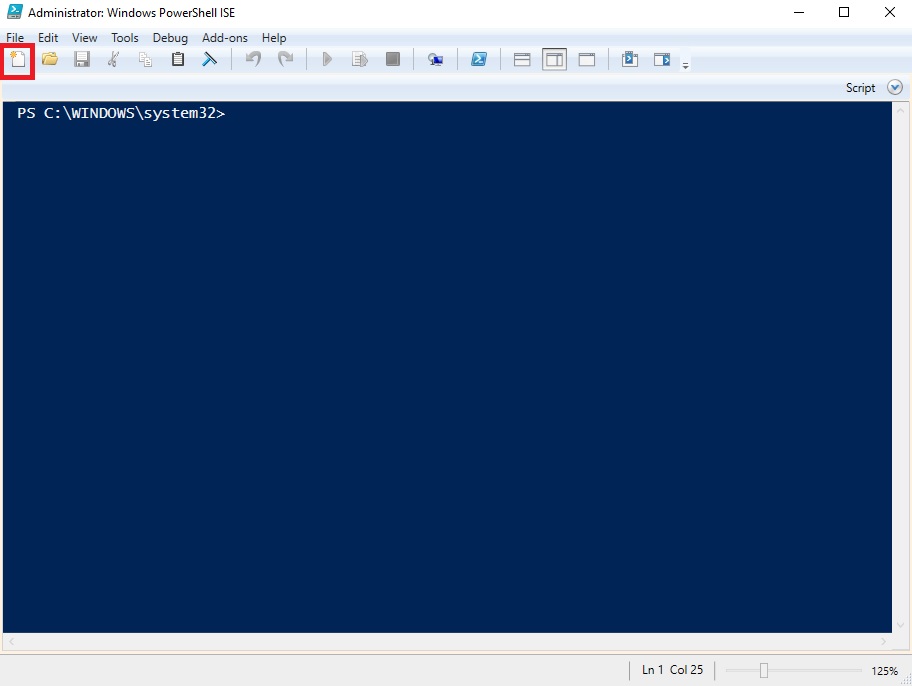
Now we can write some PowerShell code in the right-side of the app to find all of the field names in the Manufacturer’s Certificate Of Origin PDF.
| Note: the left-side of the shows the code that was executed once the play button is clicked. We haven’t done this part yet. I wanted to show the end result in advance so you know what to expect if this is your first-time using PowerShell. |
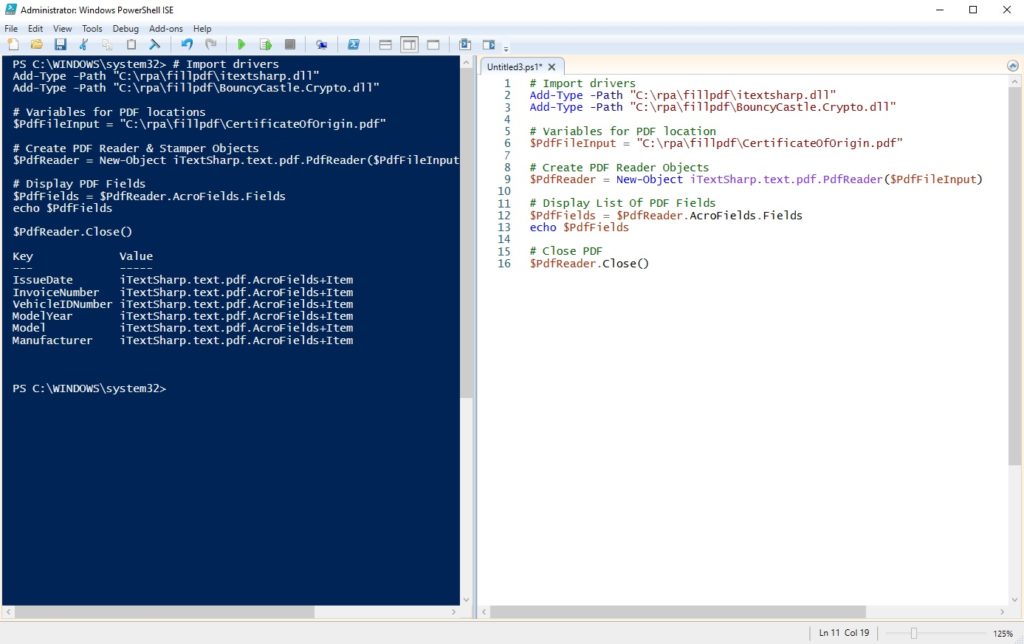
Copy and paste this code into the Windows PowerShell ISE script editor. This code opens the fillable PDF, gets the name of every input field, displays the field name in the console and then closes the PDF file. Make sure your drivers and PDF file are stored at location in the script or else we will receive an error.
# Import drivers
Add-Type -Path "C:rpafillpdfitextsharp.dll"
Add-Type -Path "C:rpafillpdfBouncyCastle.Crypto.dll"

# Variables for PDF location
$PdfFileInput = "C:rpafillpdfCertificateOfOrigin.pdf"

# Create PDF Reader Objects
$PdfReader = New-Object iTextSharp.text.pdf.PdfReader($PdfFileInput)

# Display List Of PDF Fields
$PdfFields = $PdfReader.AcroFields.Fields
echo $PdfFields

# Close PDF
$PdfReader.Close()Code language: PHP (php)
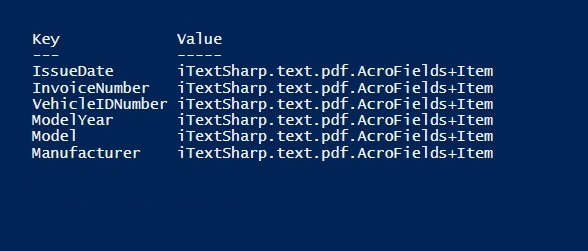
Press play to run the script. When we do this the PDF text input field names appear in the console.
Save the script as FindPdfFieldNames.ps1 and keep it in a safe place in case we want to re-use it another day.
Write Values Into PDF Fields Using PowerShell
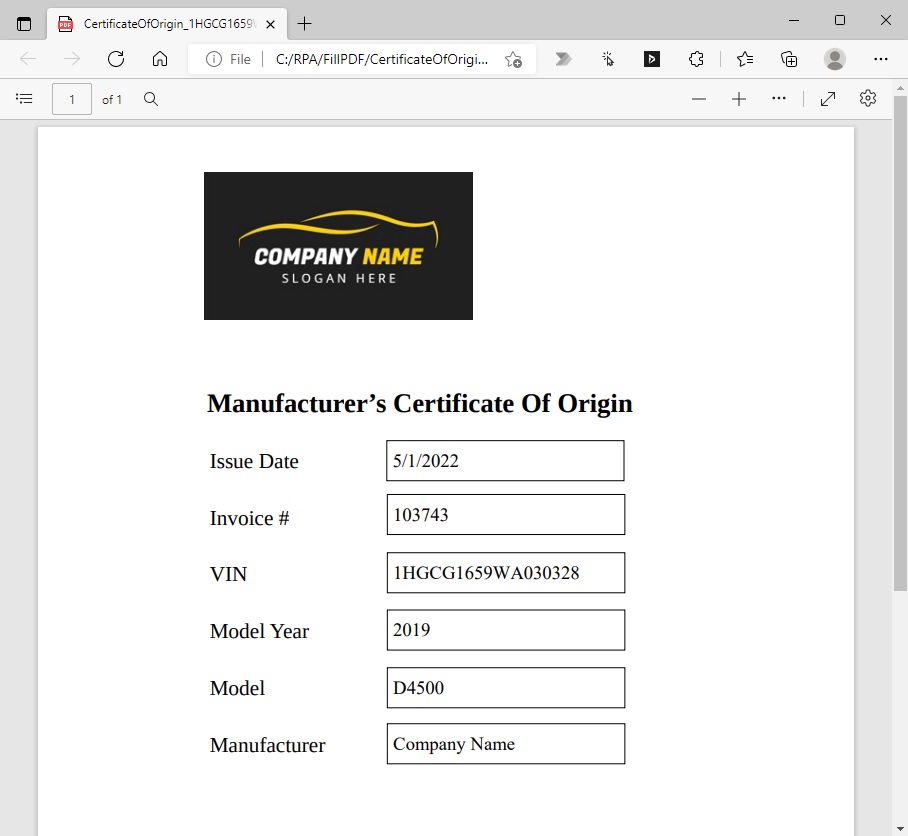
The next step is to write a PowerShell script that will open the PDF, fill-in each field, set the field to read-only so no further edits can be made and them close the PDF file. We want to make sure the PowerShell script runs successfully before using it inside Power Automate. Therefore, we will only generated one filled-in PDF file here with hardcoded field values.

Copy and paste this PowerShell script into the editor.
# Import drivers
Add-Type -Path "C:rpafillpdfitextsharp.dll"
Add-Type -Path "C:rpafillpdfBouncyCastle.Crypto.dll"

# Variables for PDF locations
$PdfFileInput = "C:rpafillpdfCertificateOfOrigin.pdf"
$PdfFileOutput = "C:rpafillpdfCertificateOfOrigin_1HGCG1659WA030328.pdf"


# Create PDF Reader & Stamper Objects
$PdfReader = New-Object iTextSharp.text.pdf.PdfReader($PdfFileInput)
$PdfStamper = New-Object iTextSharp.text.pdf.PdfStamper($PdfReader, [System.IO.File]::Create($PdfFileOutput))

# Fill PDF Fields With These Values
$PdfFields = @{
 IssueDate = "5/1/2022"
 InvoiceNumber = "103743"
 VehicleIDNumber = "1HGCG1659WA030328"
 ModelYear = "2019"
 Model = "D4500"
 Manufacturer = "Company Name"
}

# Fill Each PDF Field And Set To Read-Only
ForEach ($PdfField in $PdfFields.GetEnumerator()) {
    $PdfStamper.AcroFields.SetField($PdfField.Key, $PdfField.Value)
    $PdfStamper.AcroFields.SetFieldProperty($PdfField.Key, "setfflags", [iTextSharp.text.pdf.PdfFormField]::FF_READ_ONLY, 0)
}

# Close PDF
$PdfStamper.Close()
$PdfReader.Close()Code language: PHP (php)
When we press play a new PDF is created at the path defined in the PdfFileOutput variable. Save the script as PdfFill.ps1 and close the Windows PowerShell ISE. We are now done testing our script.
Build A CSV File With Multiple Lines Of Information
Our PowerShell script only produced a single PDF. But we will build our Power Automate Desktop flow to generate multiple PDFs based on data from a CSV file.
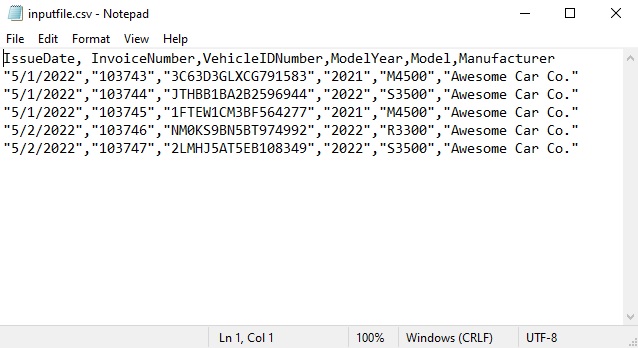
Open Windows Notepad and copy & paste these values into a new document.
IssueDate, InvoiceNumber,VehicleIDNumber,ModelYear,Model,Manufacturer
"5/1/2022","103743","3C63D3GLXCG791583","2021","M4500","Awesome Car Co."
"5/1/2022","103744","JTHBB1BA2B2596944","2022","S3500","Awesome Car Co."
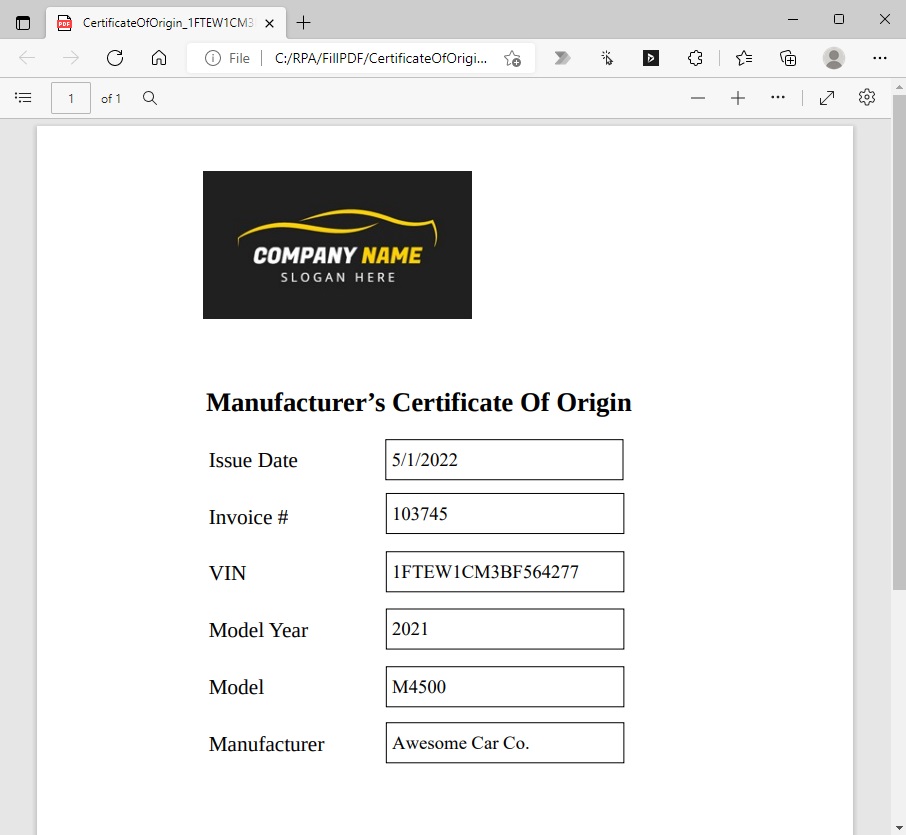
"5/1/2022","103745","1FTEW1CM3BF564277","2021","M4500","Awesome Car Co."
"5/2/2022","103746","NM0KS9BN5BT974992","2022","R3300","Awesome Car Co."
"5/2/2022","103747","2LMHJ5AT5EB108349","2022","S3500","Awesome Car Co."Code language: JavaScript (javascript)
Save the file as a csv (comma separated values) and place it in the same folder as the other files we’ve created.
Read Multiple Lines Of Data From A CSV File
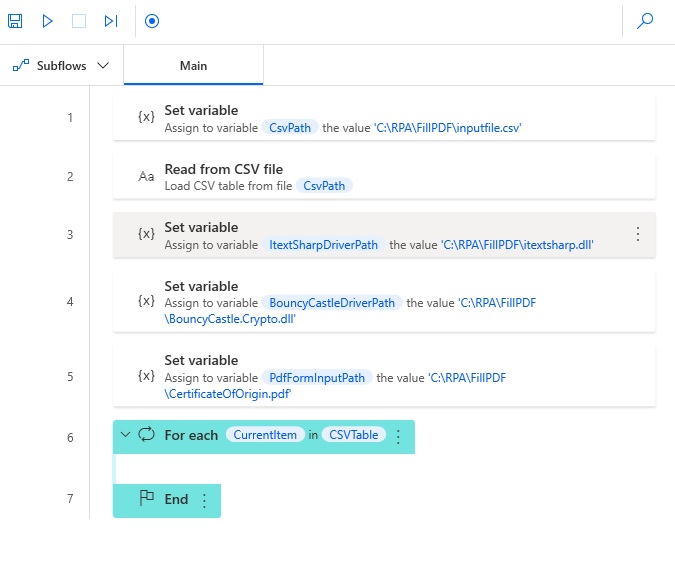
After much preparation we are finally able to start building our desktop flow. Open Power Automate Desktop and create a new flow called Fill PDF Document.
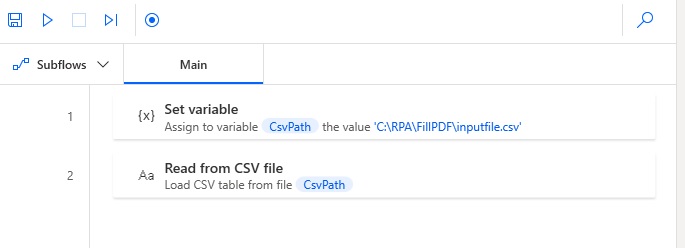
Add a set variable action with the path to the CSV file.
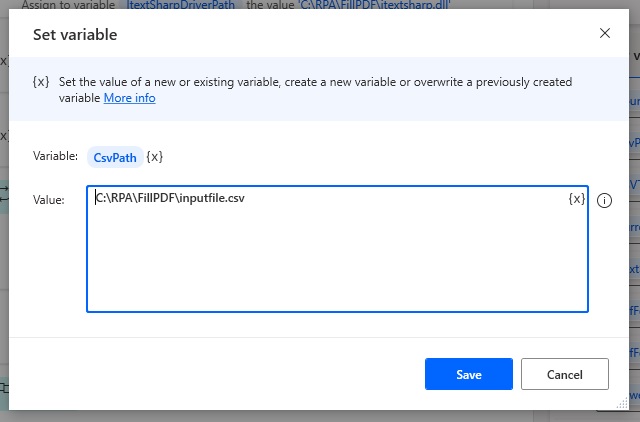
This is the CSV file path we’ve used in this tutorial.
C:RPAFillPDFinputfile.csvCode language: CSS (css)
Then insert a read from CSV file action. Make sure the first line contains column names toggle is on and the separator properties is set to comma.
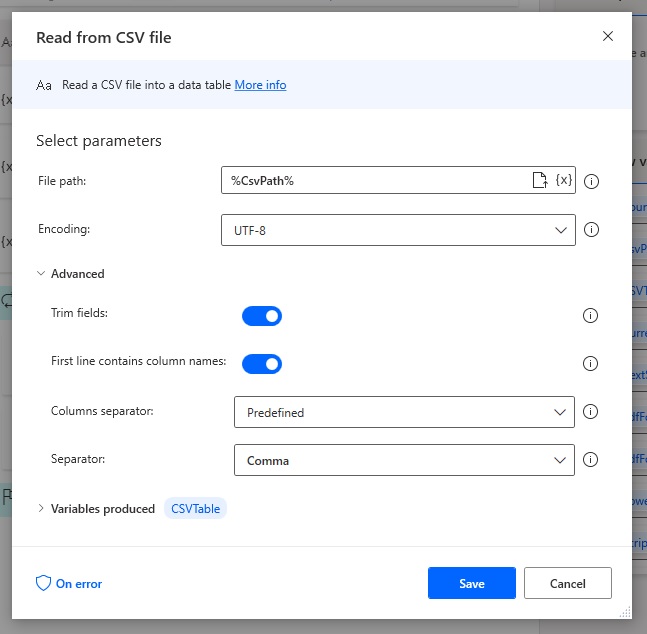
Use this variable in the file path.
%CsvPath%
The first two steps of the flow should look like this. Press the play button to test them out and make sure the read from CSV step returns a result.
Set The Fillable PDF and Driver Locations
Next we’ll create a few variable to store the fillable PDF and driver locations. Set a new variable called ItextSharpDriverPath…
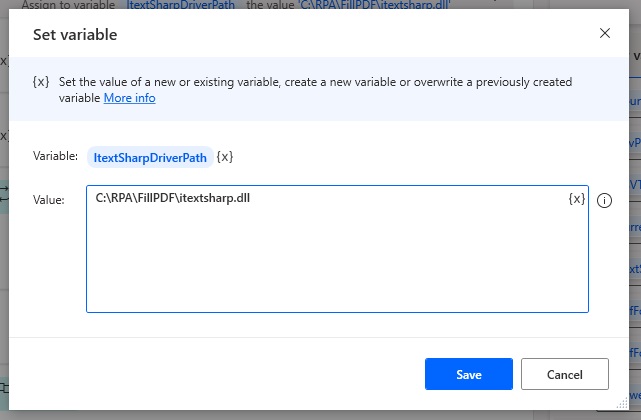
…and use this path as the value.
C:RPAFillPDFitextsharp.dllCode language: CSS (css)
Set another new variable called BouncyCastleDriverPath…
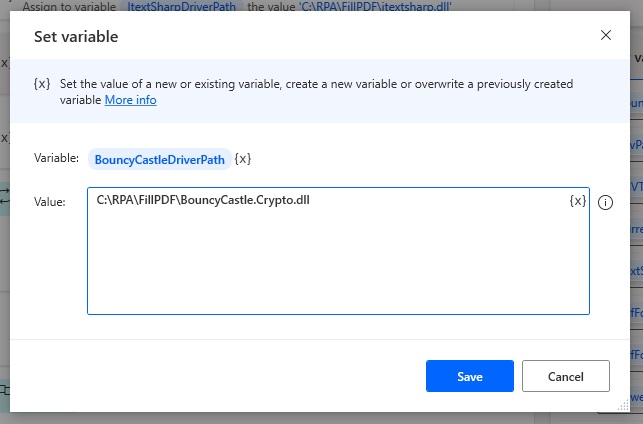
…and use this location as the value.
C:RPAFillPDFBouncyCastle.Crypto.dllCode language: CSS (css)
Then, create one more variable called PdfFormInputPath…
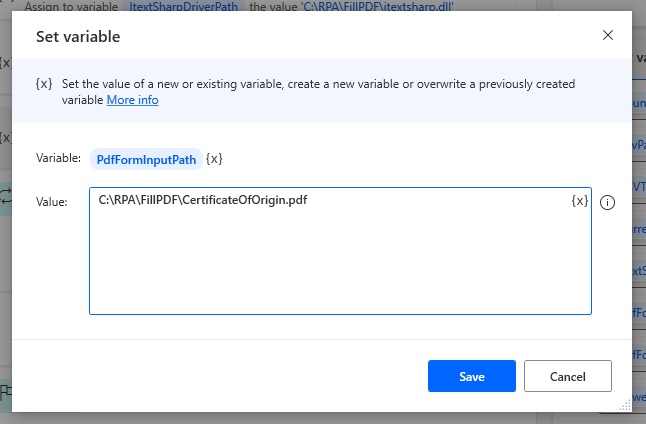
…and use this file path as the value.
C:RPAFillPDFCertificateOfOrigin.pdfCode language: CSS (css)
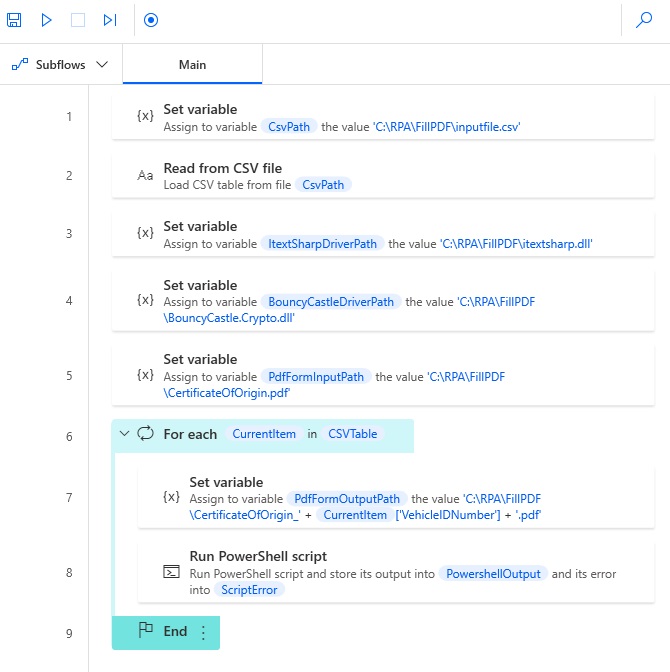
Loop Over Each Row In The CSV Table
We want to write one PDF for each row found in the CSV table. Insert a new For Each action into the desktop flow.
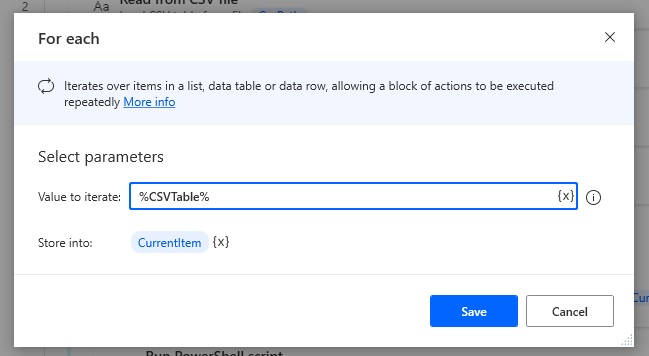
Iterate over the variable returned by the read a CSV file action.
%CSVTable%
The desktop flow will look like this once the for each action is added.
At the start of the loop we need to define a unique name for each PDF file name to be output.
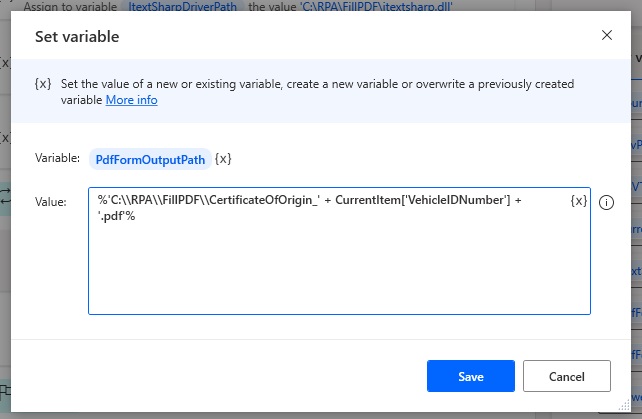
Set a new variable called PDFFormOutputPath and use this code to construct a file name which includes the vehicle identification number. Notice that we are able to join multiple text strings together using the + sign operator.
%'C:\RPA\FillPDF\CertificateOfOrigin_' + CurrentItem['VehicleIDNumber'] + '.pdf'%Code language: JavaScript (javascript)
Fill A PDF File In Power Automate Desktop Using PowerShell
All of our work to this point has been leading to running a PowerShell script in Power Automate Desktop which fills a PDF and saves it in read-only mode. Since we’ve done all of the hard-stuff in advance this step is relatively easy.
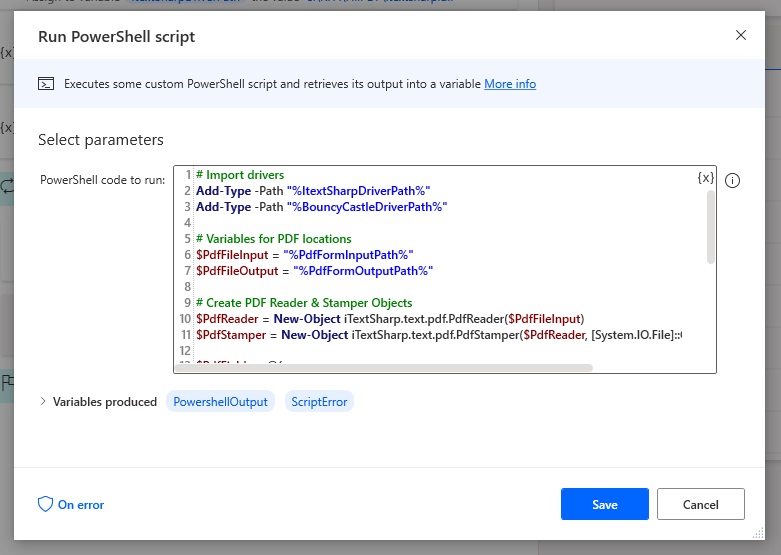
Copy & paste this code into the run PowerShell script action. Notice that all of the hard-coded values have been replaced with variables from our desktop flow. Also pay special attention to the syntax we’ve used to do that. All of the string variables are enclosed in quotation-marks as well as the % symbols we are used to in Power Automate Desktop.
# Import drivers
Add-Type -Path "%ItextSharpDriverPath%"
Add-Type -Path "%BouncyCastleDriverPath%"

# Variables for PDF locations
$PdfFileInput = "%PdfFormInputPath%"
$PdfFileOutput = "%PdfFormOutputPath%"

# Create PDF Reader & Stamper Objects
$PdfReader = New-Object iTextSharp.text.pdf.PdfReader($PdfFileInput)
$PdfStamper = New-Object iTextSharp.text.pdf.PdfStamper($PdfReader, [System.IO.File]::Create($PdfFileOutput))

$PdfFields = @{
 IssueDate = "%CurrentItem['IssueDate']%"
 InvoiceNumber = "%CurrentItem['InvoiceNumber']%"
 VehicleIDNumber = "%CurrentItem['VehicleIDNumber']%"
 ModelYear = "%CurrentItem['ModelYear']%"
 Model = "%CurrentItem['Model']%"
 Manufacturer = "%CurrentItem['Manufacturer']%"
}

ForEach ($PdfField in $PdfFields.GetEnumerator()) {
    $PdfStamper.AcroFields.SetField($PdfField.Key, $PdfField.Value)
    $PdfStamper.AcroFields.SetFieldProperty($PdfField.Key, "setfflags", [iTextSharp.text.pdf.PdfFormField]::FF_READ_ONLY, 0)
}

# Close PDF
$PdfStamper.Close()
$PdfReader.Close()Code language: PHP (php)
Run PowerShell script was the final action we needed to create. The finished desktop top flow should look like this.
Run The Desktop Flow To Generate Multiple PDFs
Press the play button in Power Automate Desktop and watch the flow in action as it creates multiple PDF files. In our example we instructed the flow to output the files in the same location as our other tutorial files. In a real-world setting it would be better to write the PDF files to a folder named output to keep things more organized.

When we open one of the PDF files we can see the values filled-in and the form is in read-only mode.
Did You Enjoy This Article? 😺
Subscribe to get new Power Automate For Desktop articles sent to your inbox each week for FREE
Questions?
If you have any questions about Fill PDF Form Fields 5x Faster With Power Automate Desktop please leave a message in the comments section below. You can post using your email address and are not required to create an account to join the discussion.


Great article once again Matthew. I have played with iTextSharp quite a bit on PowerShell and C# for projects. One thing that must be kept in my mind when using AcroFields is that PDF forms are essentially of two types. AcroFields will work with old PDF forms whereas the new PDF forms based on XML is called XPDF will not work with the AcroFields object.Therefore, it is crucial to ensure that the form itself is compatible as well.
Ali,
This is great information! What C# would you typically use to update an XPDF?
I mistyped the type of form (it is not XPDF but XFA PDF forms in case someone wants to search it further. Older forms are called AcroForms).
Because XFA is just XML so you can use any XML package, PowerShell native capabilities, or .NET XML classes that let you work with XML packages. The actual XML schema can be found on the Adobe website if you search for it on the Web.
iTextSharp, from when I worked it last, did provide XFA manipulation capabilities.
One of the major problems that made me get into this was that the multiple lines of text field in the PDF Form (AcroForm) would not gracefully expand to accommodate text if it extended the boundary of the control. The text would just shrink in font size (even with auto expand the output was not very desirable for a form at an enterprise level). After some research, I found that XFA PDF forms would resolve it and they did.
It would be great to know how Encodian does as you have suggested in response to one of the comments below. Encodian does have a tried and test way for a product that they sell so it would be great to figure out how Encodian handles the different type, or if they work with the PDF specification natively.
Encodian uses Aspose (www.aspose.com)
Thank you Thomas.
Would there also be a way to achieve this entirely in the cloud. Without PA Desktop unattended and the use of third party connectors.
Something like that the fillable PDF form is stored in OneDrive or SharePoint, grab it from there and populate this with data and store somewhere in the cloud again. Should I then consider creating an Azure Function? Or any other ideas?
Thomas,
Yes, I think there are ways to achieve this entirely from the cloud.
First, there is an excellent premium connector from Encodian that can fill a PDF. It’s a proven solution but it also comes with an additional monthly costs based on the number of API calls you make.
Second, I have not made an Azure Function before but I’m confident it could be done using PowerShell or C#. I would encourage you to try this path if you have the skills.
I will try it for myself and if I am successful I’ll post the result on my blog. I needed motivation like this to learn Azure Functions. However, I don’t think this will happen immediately. If you get it working I’d love to hear about your approach.
Bravo!
Can you help me? I can’t seem to get the first script to work in windows PowerShell ise.
It doesn’t return an error. It just pastes the same code and does nothing. Doesn’t list the text input field names at all. 🙁
Galvin,
Did you download the iSharpText & BouncyCastle drivers + point the script to the location where you stored them?
Hi Matthew, what a great article!
Thank you for suggesting Encodian down here in the comments too. 😊
Ev,
You’re welcome. Encodian is more cost effective for most folks than paying for a Virtual Machine and Power Automate Desktop.
Great Matthew
But how to fill value for radio group, for example: select one in one group when creating out pdf ?
An,
Good question, but unfortunately it’s not covered in this tutorial. You would have to modify the ForEach loop, detect the radio button field type and research the iTextSharp dll documentation for radio type in the AcroFields method.
Hi, I tested in my pc and works perfect!! But when I try in another pc I get this error “Cannot load file or assembly file:///C:users\mggarcia\itextsharp.dll Operation not supported” . Happens with both dll file. I checked serveral times and the path is ok and are stored into the same path that template.pdf. I’m attach the message . I hope somebody can help me! Regards!! Jorge
I have that exact issue. I found an article that added <?xml version="1.0" encoding="utf-8" ?>
<configuration>
   <runtime>
      <loadFromRemoteSources enabled="true"/>
   </runtime>
</configuration>
to both:
C:\Windows\System32\WindowsPowerShell\v1.0\powershell.exe.config C:\Windows\SysWOW64\WindowsPowerShell\v1.0\powershell.exe.config
but I kept getting an error when trying to edit these files too.
Also the itextsharp is EOL and being replaced by itext 7 and BouncyCastle is being replaced by BouncyCastleCryptography
I abandoned this effort, although it appears to be a great solution, I couldn’t get it to work.
Have you tried right clicking the .dll files and checking Unblock?
I just encountered this issue and that worked for me!
Hi Matthew,
Is there a way to use Power Shell to fill in fields in the Power Automate online editor in a fast way?
I need a script that takes the UI title of the field which stands on the left of each field that needs to be filled.
The script should take the title, wrap some more static code around it and paste it in each respective field.
Do you know if something like this exists ?
I managed to write the script, but got stuck writing curly brackets. The script throws an error for those.
Except of this the script is perfect for tedious action filling jobs.
Any help for the curly brackets would be super!
I managed to write curly brackets with {{} and {}}
But when the code is written inside a text field in PowerAutomate, the text is not being detected as a forumla
Hi Matthew, thanks for this however I have an issue with the radio buttons
For filling in fields this is working. However, i have also some radio buttons I need to select in the form. For eg I have three radio buttons named Gender but with different Radio Button Choices: Male, Female and Other. I have tried using this approach but nothing happened
$PdfFields = @{
    Gender = "Other"  # Enable the Other radio button
}
I have also tried adding this line but it gave an error:$PDFFields.SetField(“Gender”, “Other”)
Can you advise how i can select a grouped radio button?