Copilot Studio: Azure AI Search Complete Setup Guide

Copilot Studio can use an Azure AI Search index as knowledge to answer Users questions about unstructured data. It is especially good at retrieving text information stored in files (PDF, Text, etc). To do this you will need to create an Azure AI Search resource, an Azure Storage account to store the files and an Azure Open AI resource to deploy an embeddings model. In this tutorial I will show you how to perform all of the setup steps.
Introduction: The Employee Handbook Agent
Employees at the YMCA ask an Copilot Studio Agent questions which can be answered by the employee handbook.
The Agent retrieves Employee Handbook knowledge from an Azure AI Search index and sends a response to the User.
Create A New Azure AI Search Resource
To use Azure AI Search in Copilot Studio we will need to create 3 new resources:
- An Azure AI Search resource for the search index and indexer
- Azure Storage Account Resource to store the employee handbook in a blob storage container
- An Azure Open AI resource to deploy an embeddings model
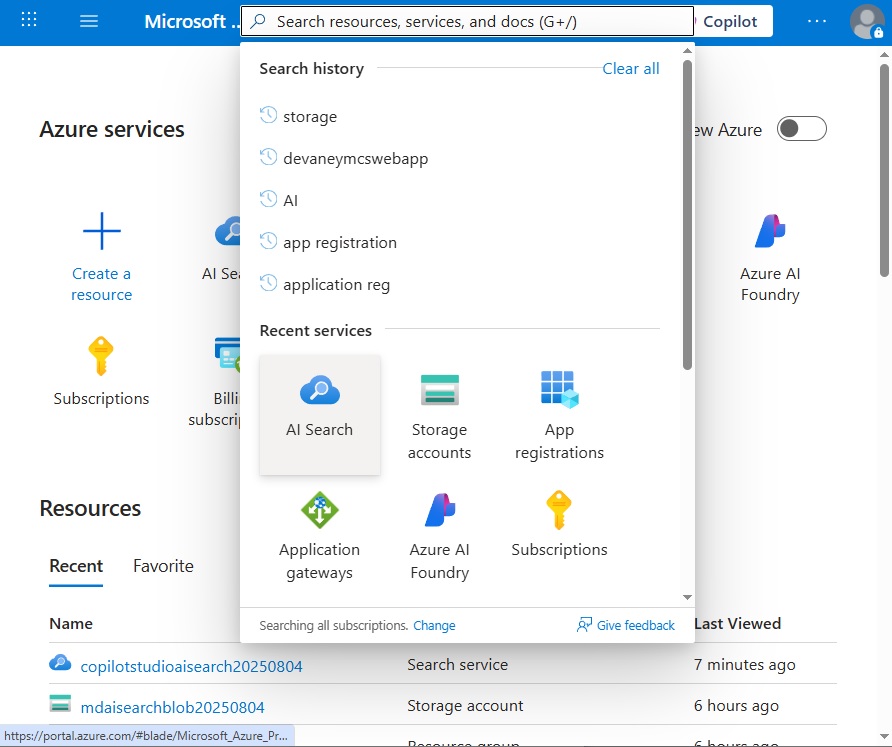
Start by opening the Azure portal and select the AI Search service.
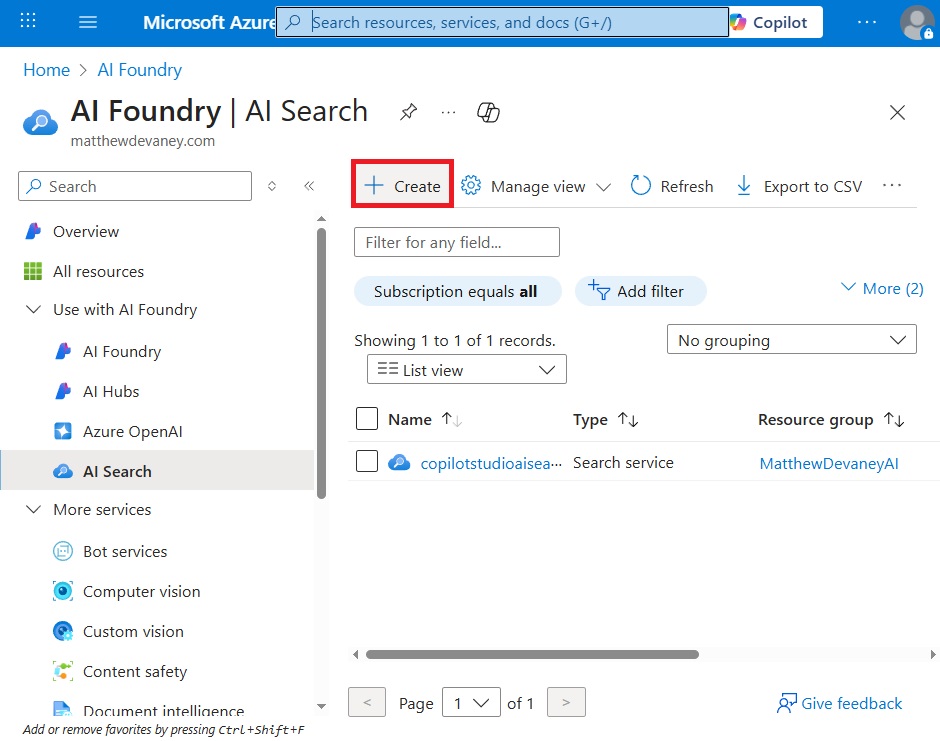
Create a new AI Search resource.
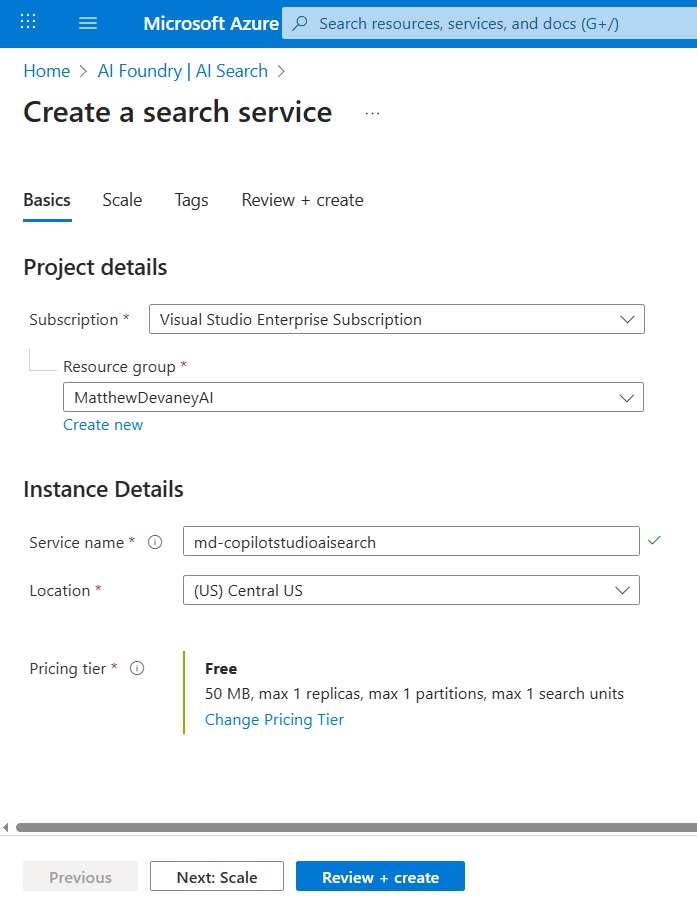
Select the following options then press Review & Create.
- Subscription: (this should be common to all resources we will create)
- Resource Group: (this should be common to all resources we will create)
- Service Name: unique name of your choice
- Location: closest to your physical location
- Pricing Tier (free tier is great for learning, but consider other options if you need more storage space, more search units or additional features such as semantic ranking)
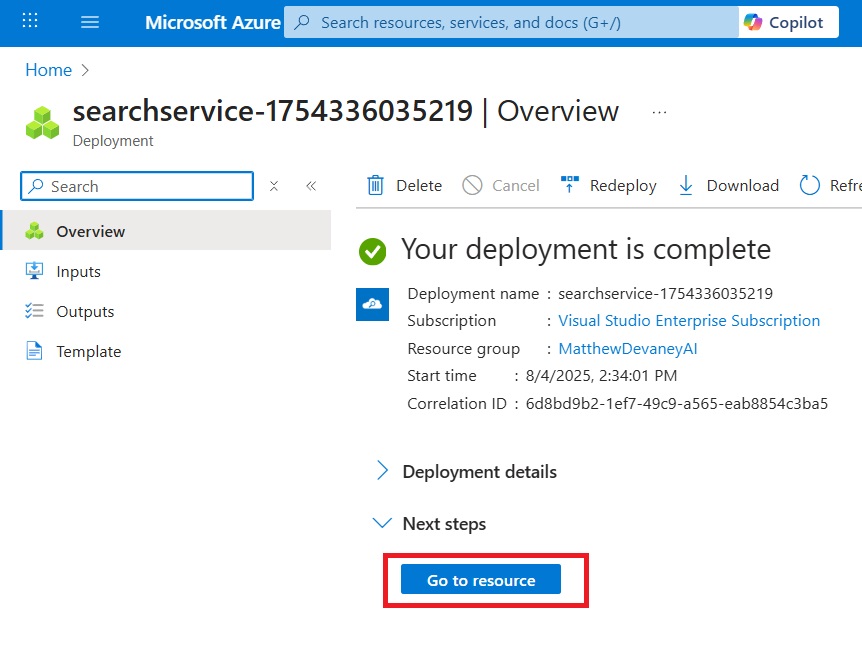
Wait for the resource to be deployed, then press the Go to Resource button.
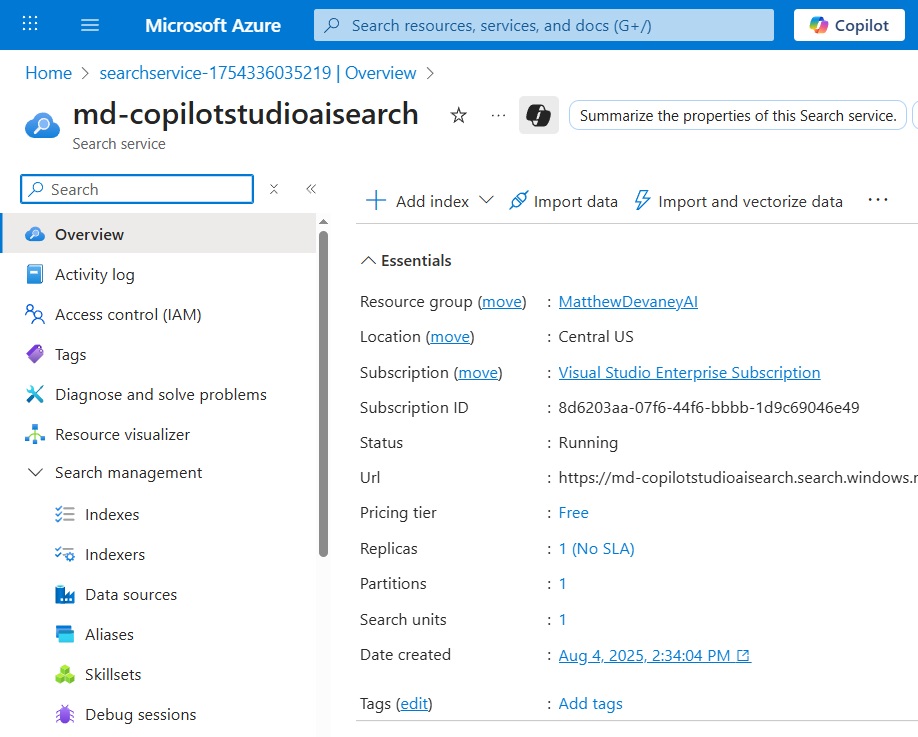
The Azure AI Search resource is now created. The Overview screen should look like this:
Make A New Azure Storage Account Resource
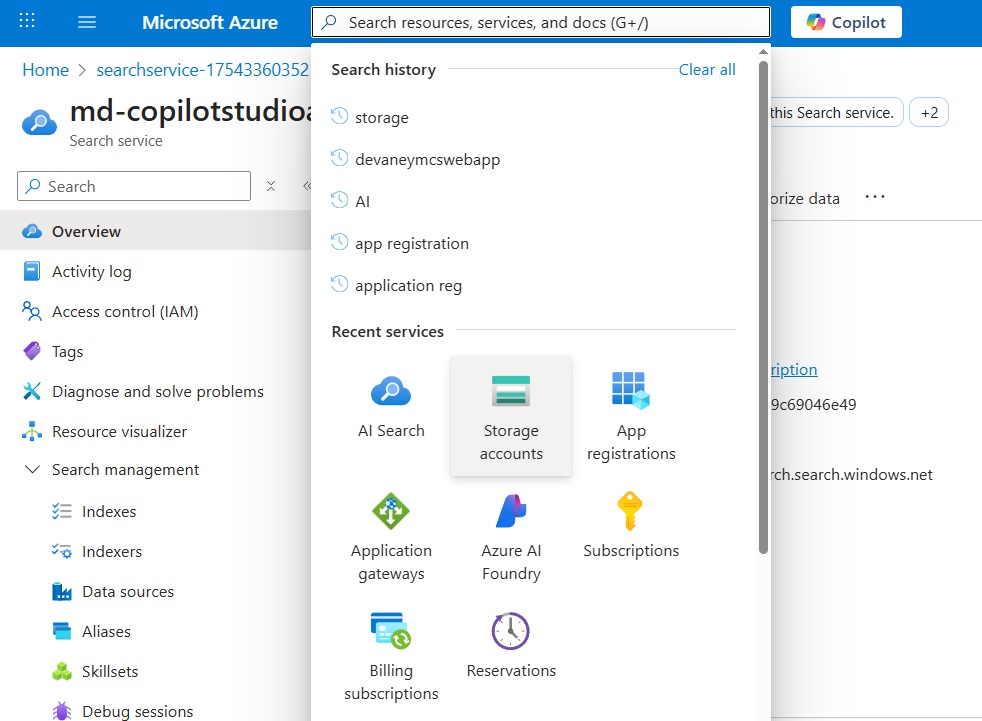
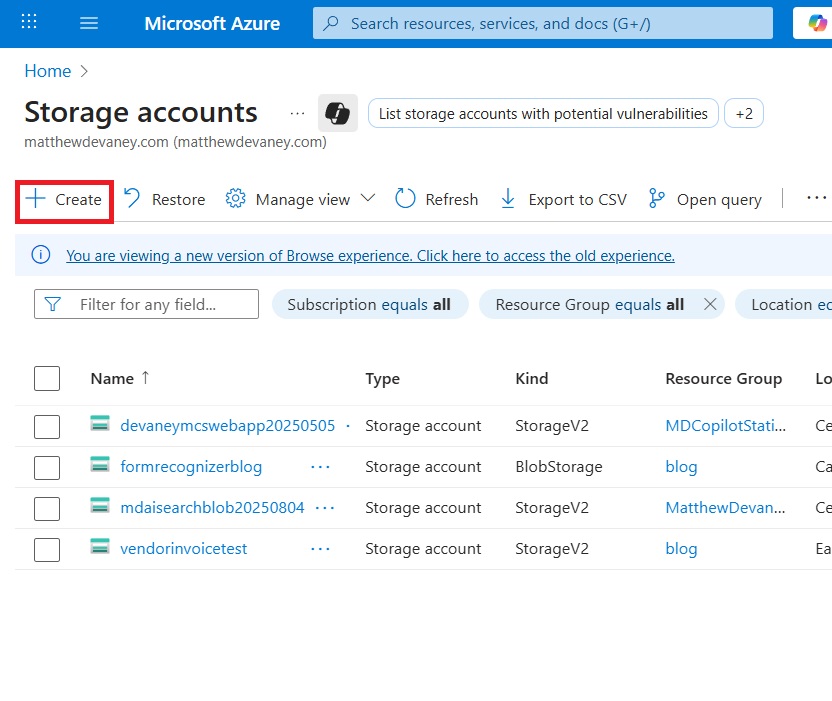
The second resource we must create is an Azure Storage resource to store the employee handbook. Go to the search bar and look for the storage accounts service.
Create a new Storage Account.
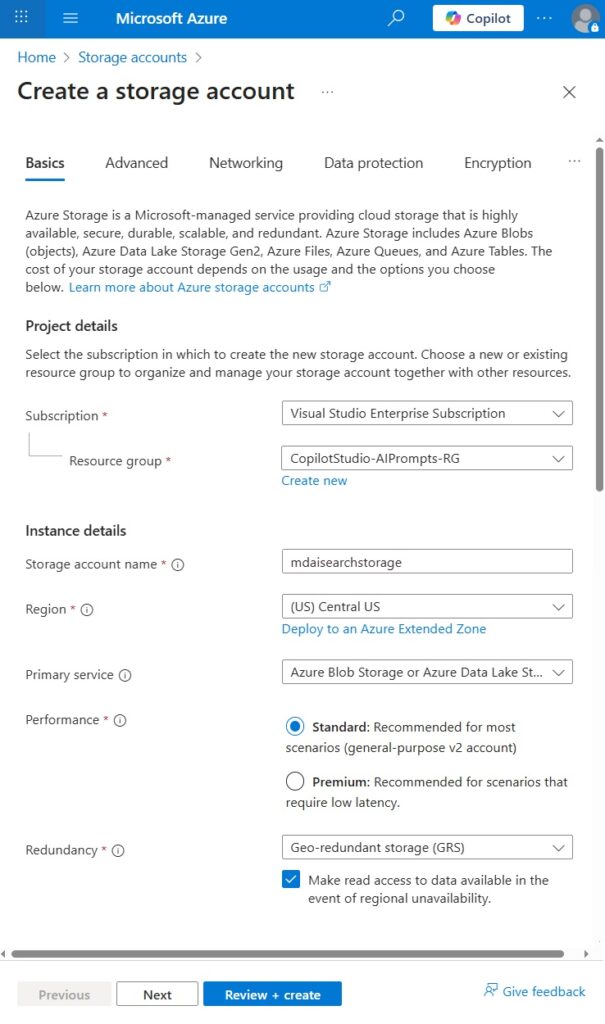
Configure the storage account with the following details then press the Review + Create button.
- Subscription: same as Azure AI Search resource
- Resource group: same as Azure AI Search resource
- Storage account: unique name of your choice
- Region: same as Azure AI Search resource
- Primary service: Azure Blob Storage
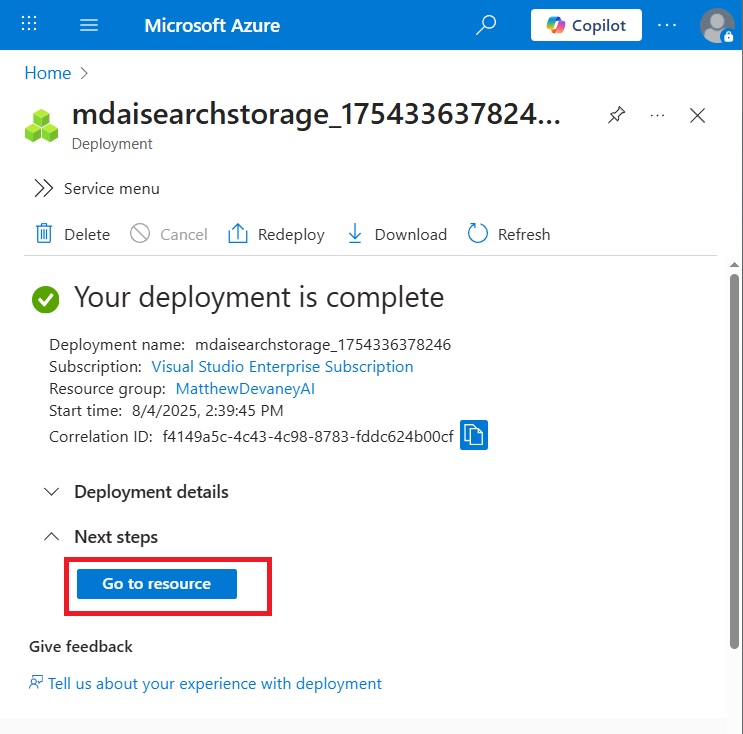
Wait for the deployment to be completed then select the go to resource button.
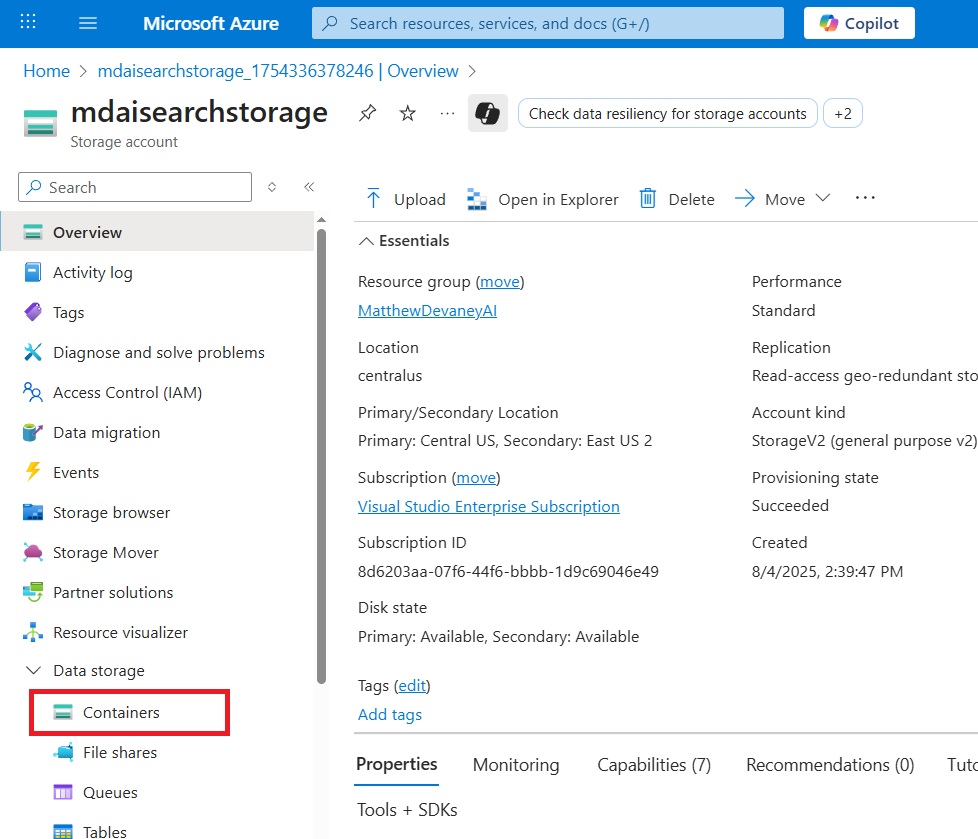
Add A Container To The Azure Storage Account
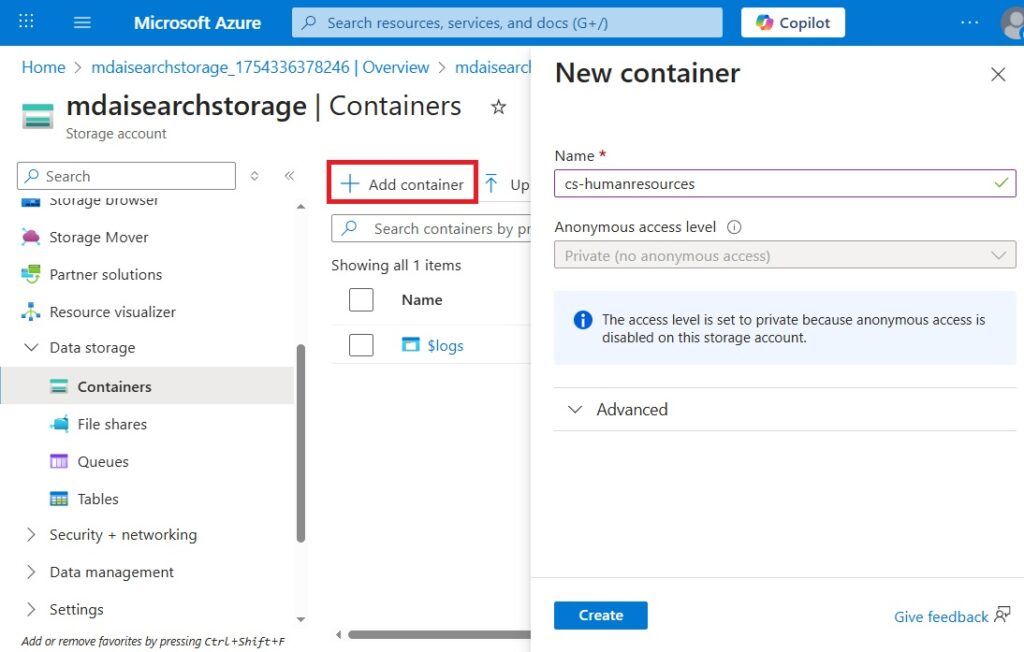
We must create a new container inside the Azure Storage Account to store the employee handbook in. Navigate to the Containers menu.
Press the add container button and name it cs-humanresources. Then press the Create button and open the new container.
Upload A File To The Storage Container
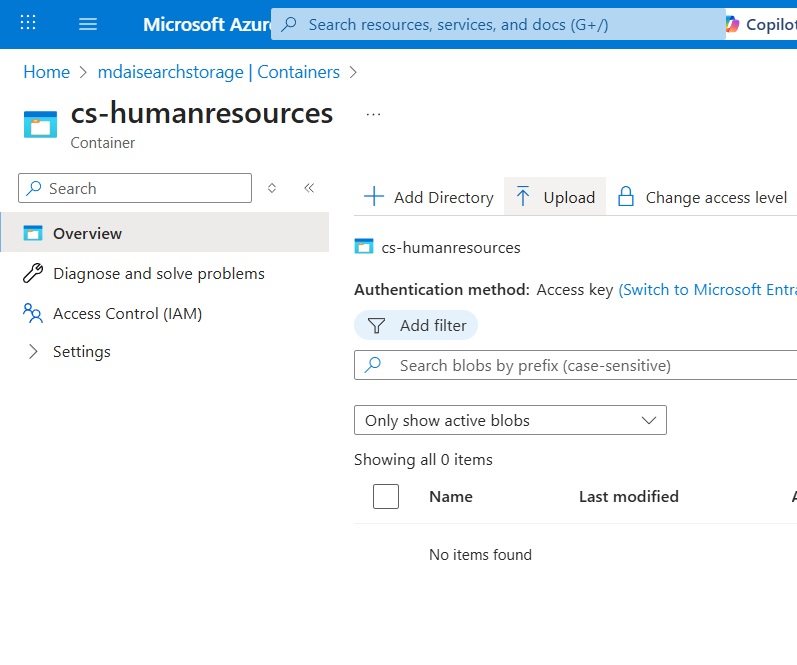
Once the container is created we can upload a file. Select the Upload button.
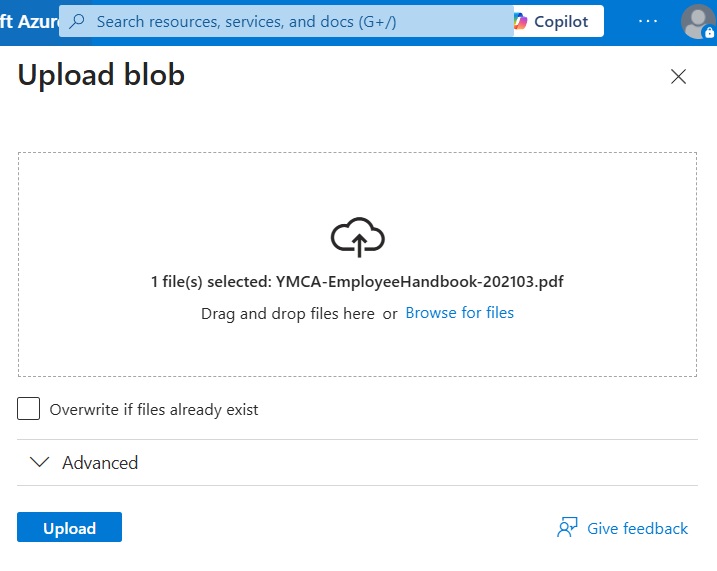
Upload the YMCA Employee Handbook pdf file and press the Upload button.
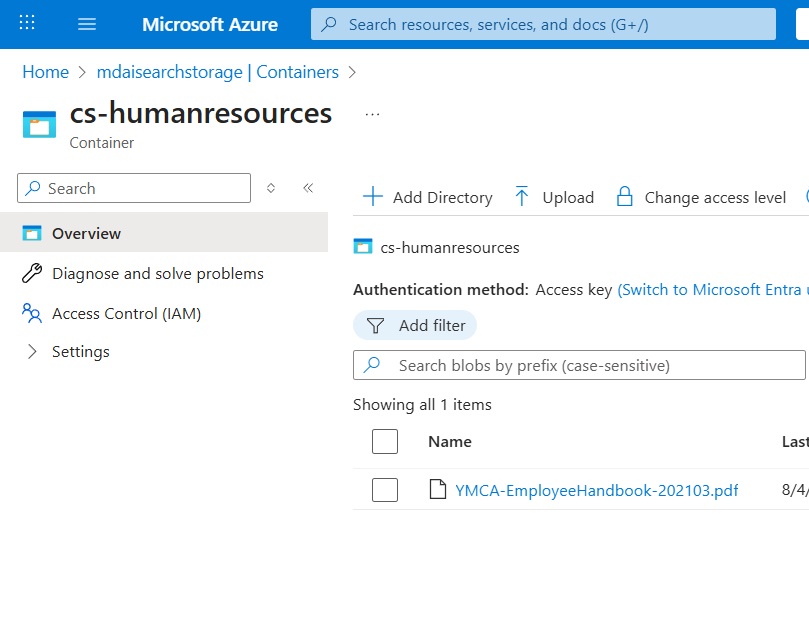
The YMCA Employee Handbook file now shows inside the container. We are now done creating the Azure Storage Account resource.
Create An Azure Open AI Resource
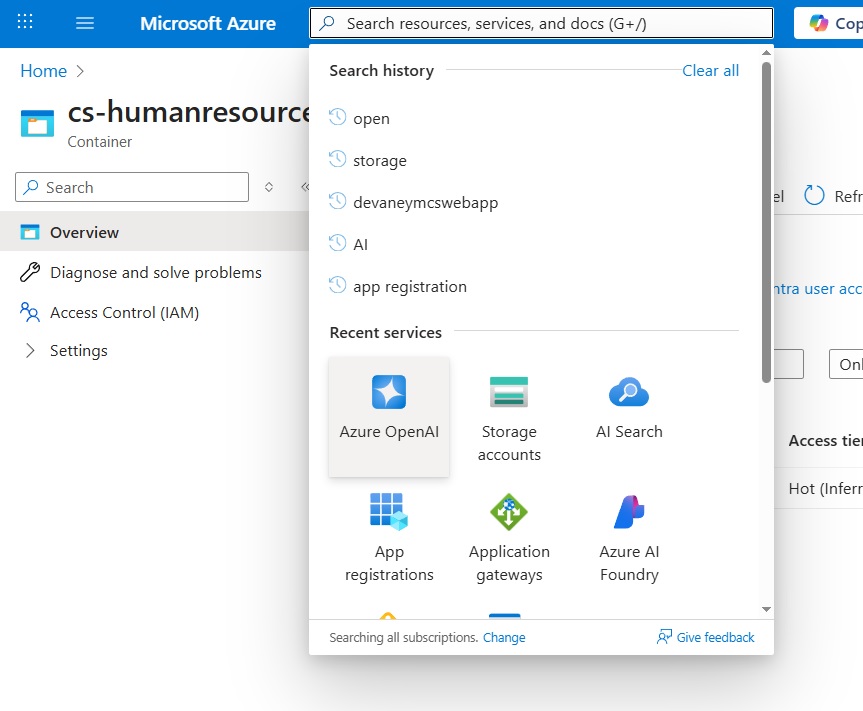
The third resource we must create is an Azure Open AI source to generate embeddings for our employee handbook file. Go to the search bar and locate the Azure Open AI service
Create a new Azure Open AI resource.

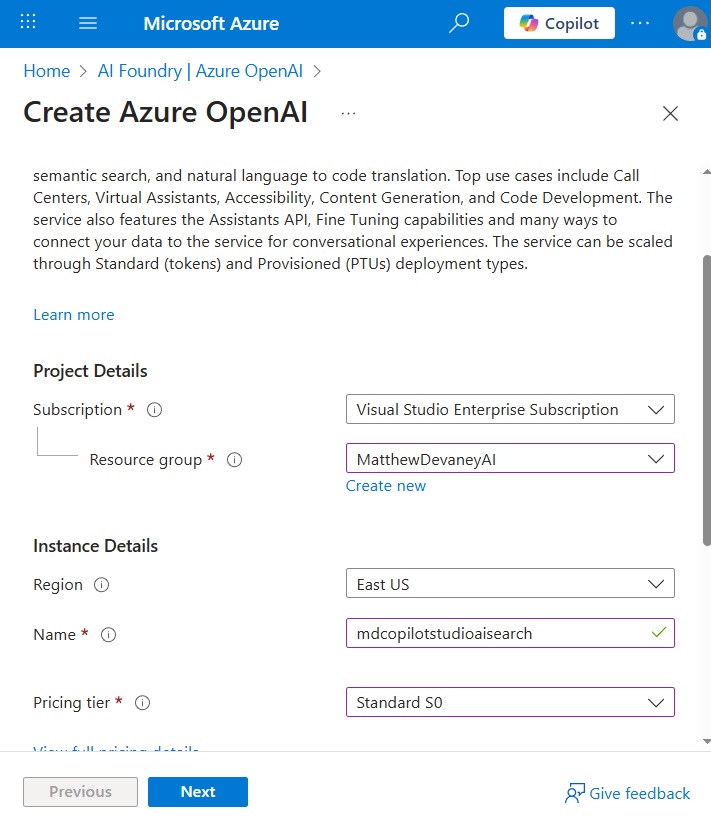
Configurate the Open AI resource as follows then press the Next button.
- Subscription: same as Azure AI Search resource
- Resource group: same as Azure AI Search resource
- Region: same as Azure AI Search resource
- Name: unique name
- Pricing tier: S0 Standard
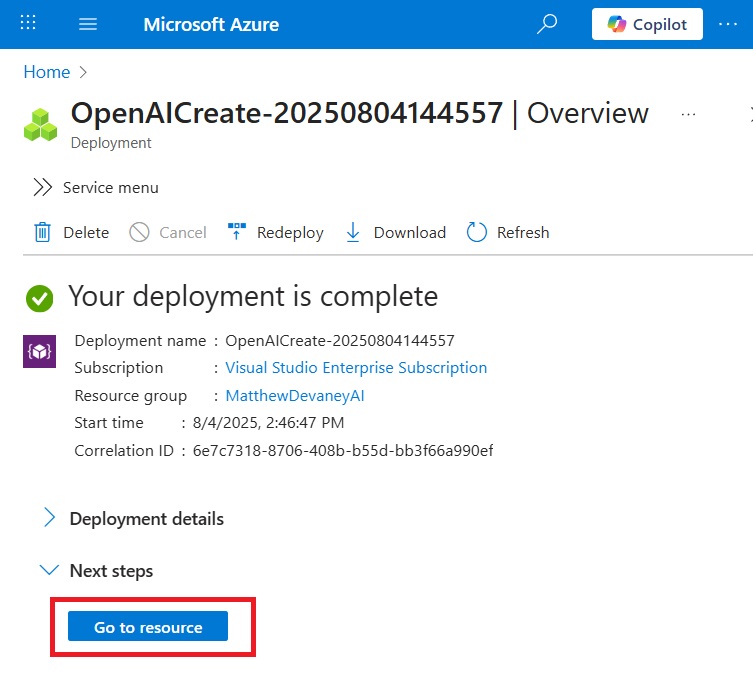
Continue to click the next button until the resource is created. Wait for the resource to be deployed, then go to the resource.
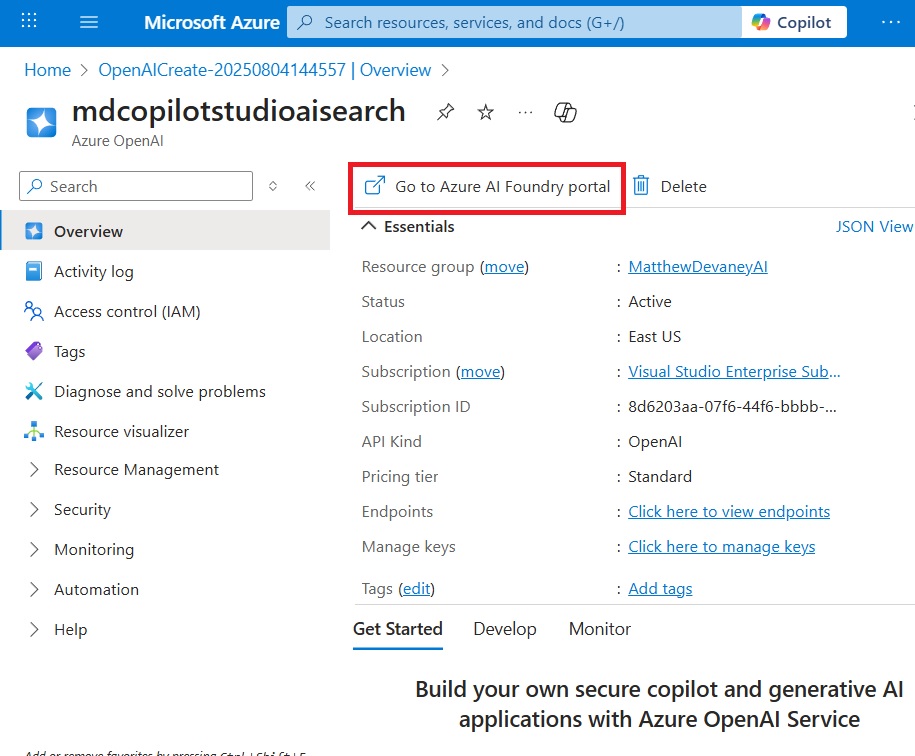
Then immediately navigate to the Azure AI Foundry portal.
Deploy An Open AI Embeddings Model
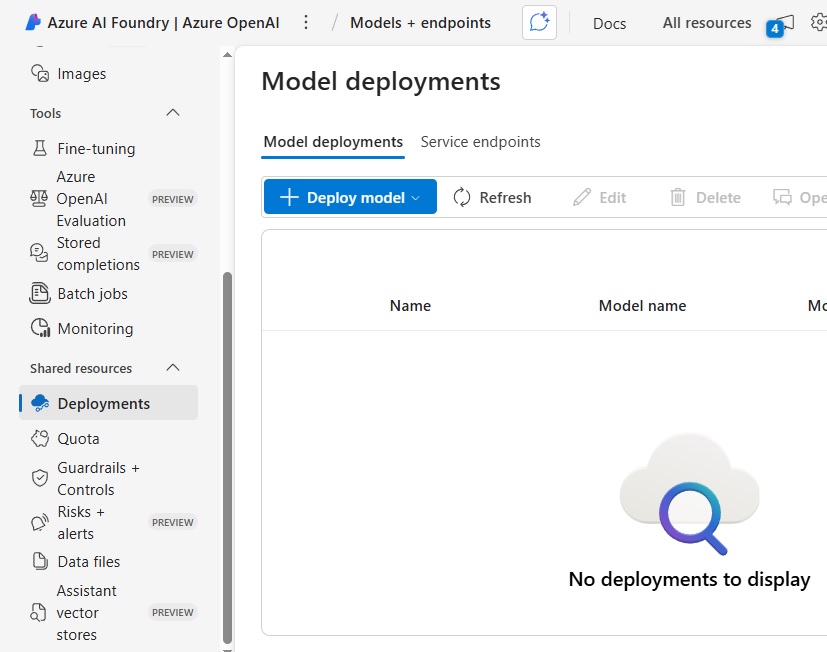
An embeddings model converts a file to embeddings, a representation of data in the form of numerical vectors. The Azure AI Search resource will search these embeddings to response to User questions. Go to the Deployments menu and press the Deploy Model button.
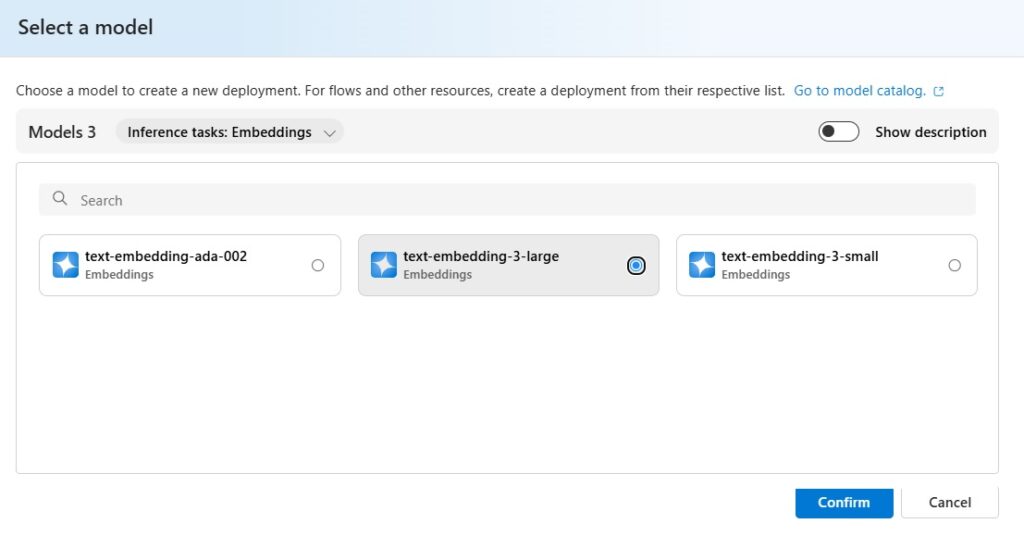
Select an embeddings model. I have chosen to select the best model available text-embedding-3-large because it is not much more expensive than the default model text-embedding-ada-002. And there will only be a text search, not images. For pricing details on each model go to the Azure Open AI Service pricing calculator.
Once an embeddings model is selected press the Confirm button.
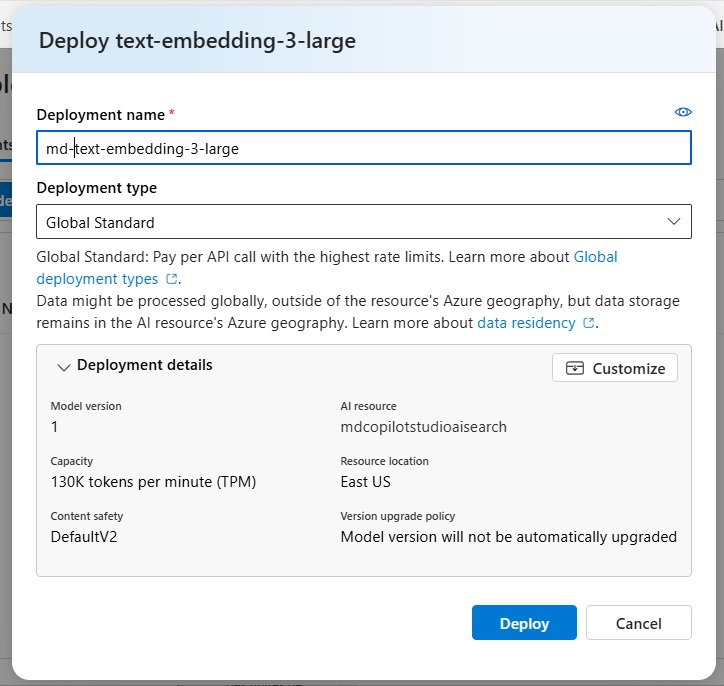
Choose a unique deployment name and leave the deployment type as Global Standard. Press the deploy button.
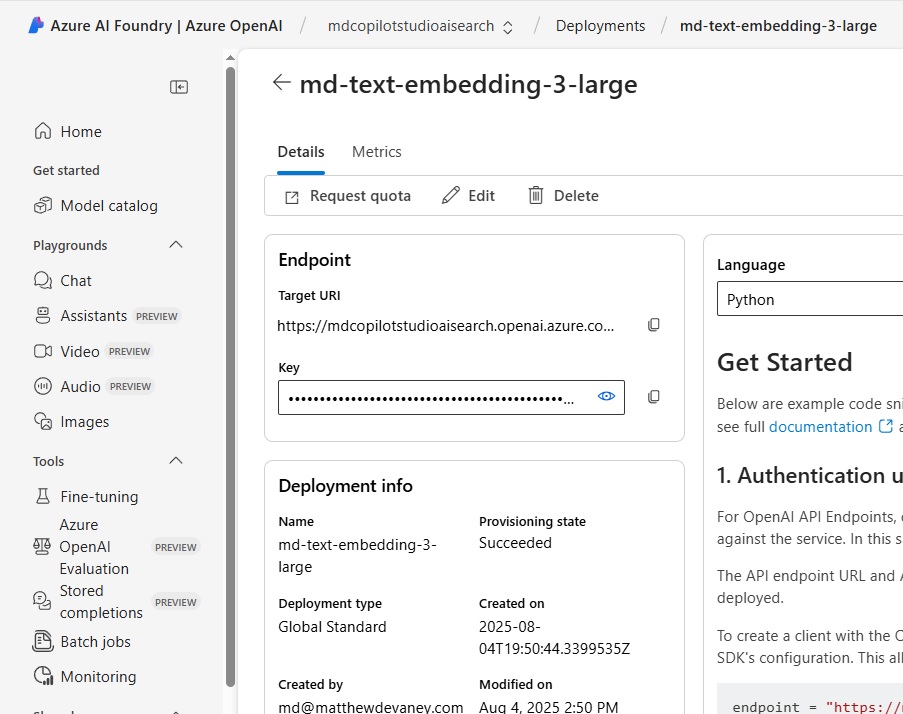
After a short while the embeddings model is deployed and the model’s details page appears.
Import And Vectorize Data In Azure AI Search
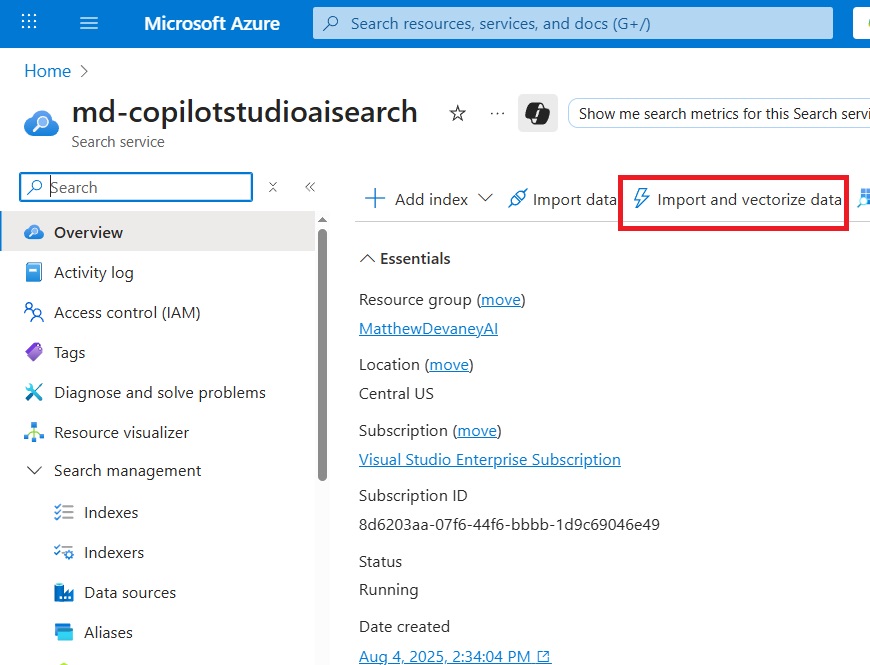
Now that we have created all 3 of the necessary resources we can create a search index which includes the employee handbook. Go to the Overview page for the Azure AI Search resource and press the Import and vectorize data button.
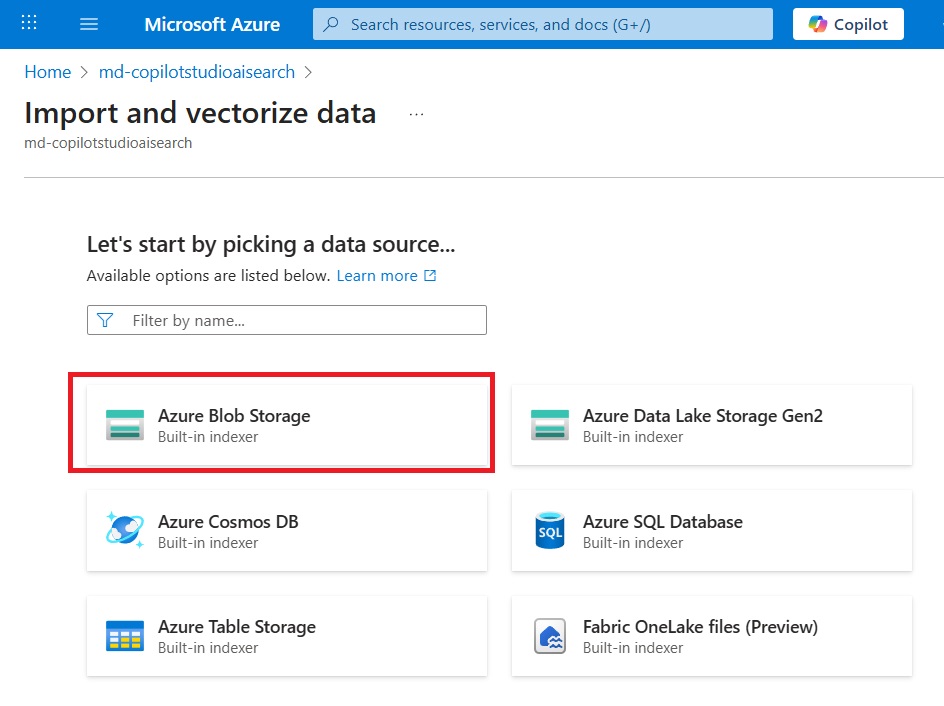
Select Azure Blob Storage.
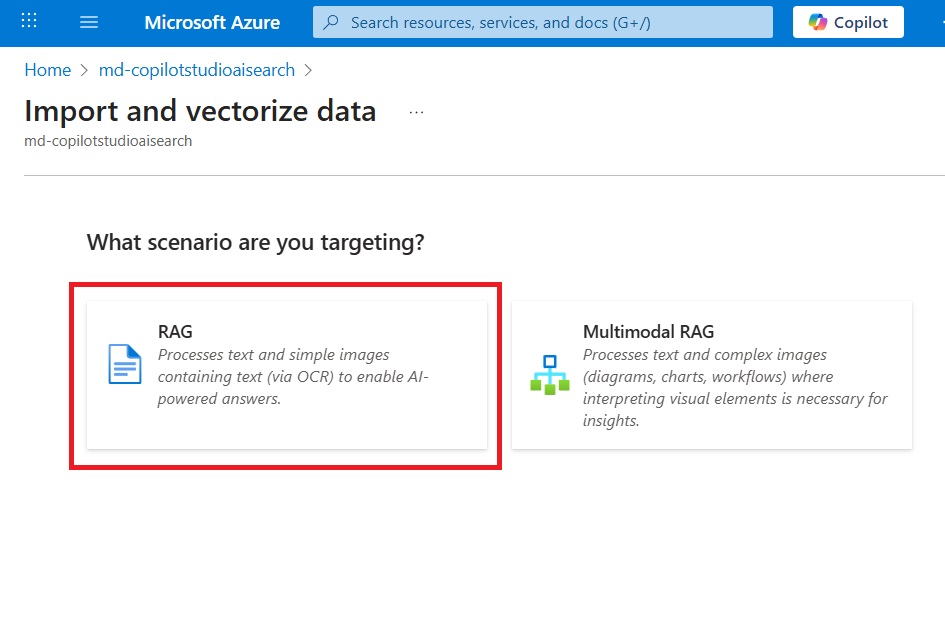
Then choose the RAG scenario.
Configure The Azure AI Search Indexer
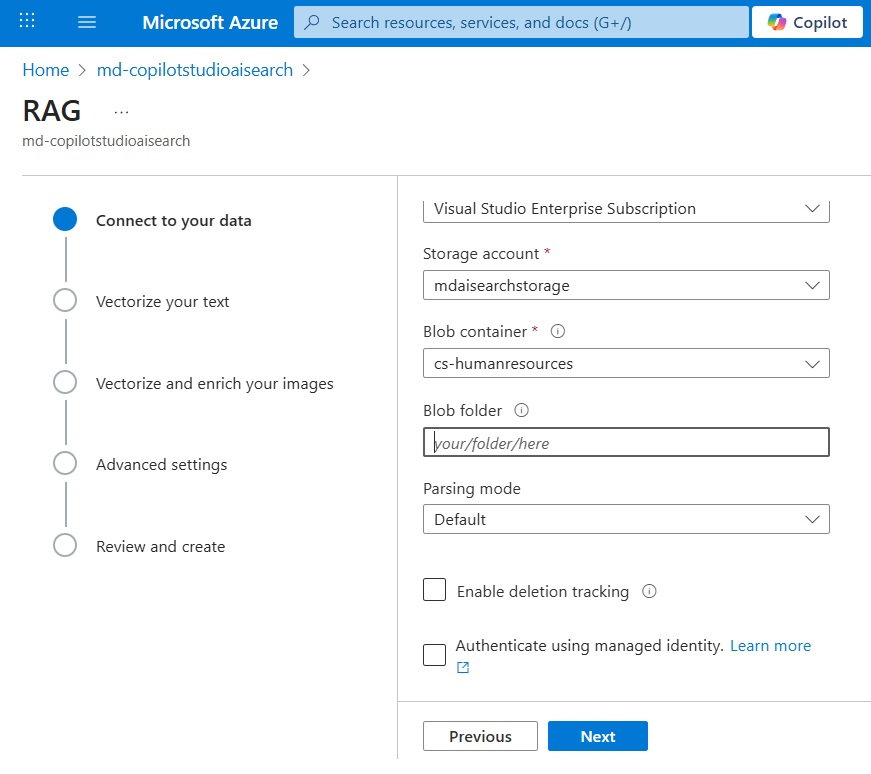
An indexer is a component which automates the vectorization of data. We will start by choosing the data source the indexer will get documents from to vectorize. Select these options then press Next.
- Subscription: same as the Azure AI Search resource
- Storage account: select the new account we created earlier
- Blob container: select the container we created
- Blob folder: leave this blank
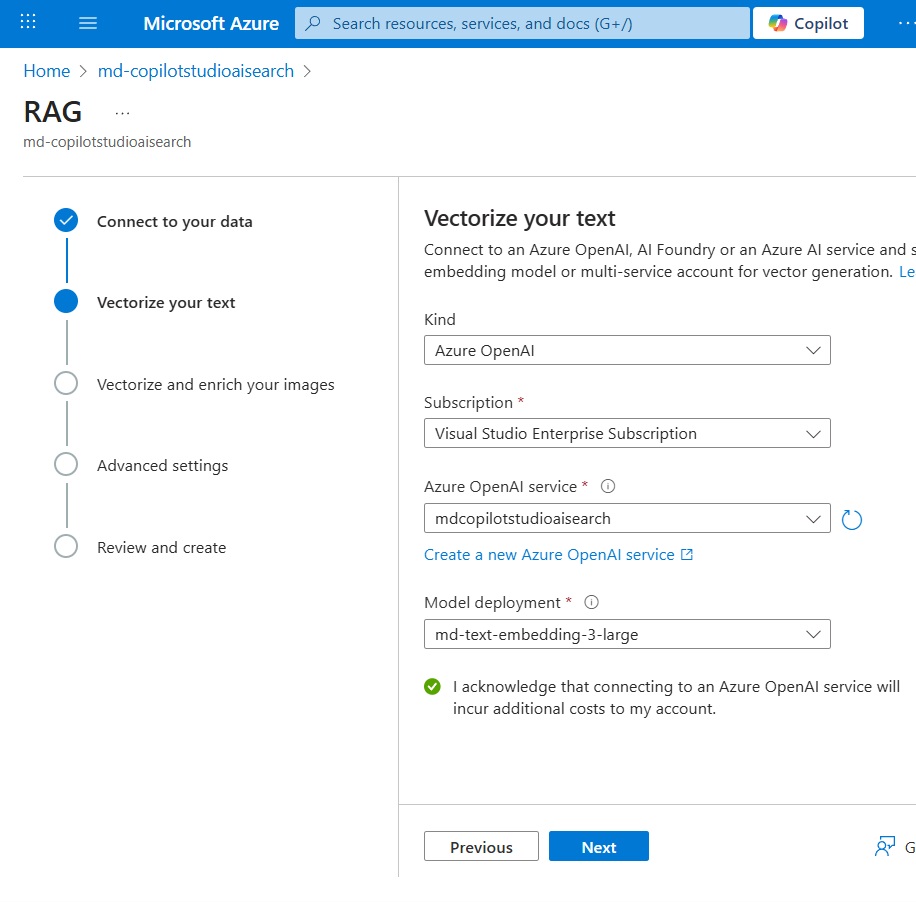
Next, define how the document’s text will be vectorized, then press the Next button:
- Kind: Azure Open AI
- Subscription: same as the Azure AI Search resource
- Azure Open AI Service: select the Azure AI Search resource
- Model deployment: name of the embeddings model we deployed earlier
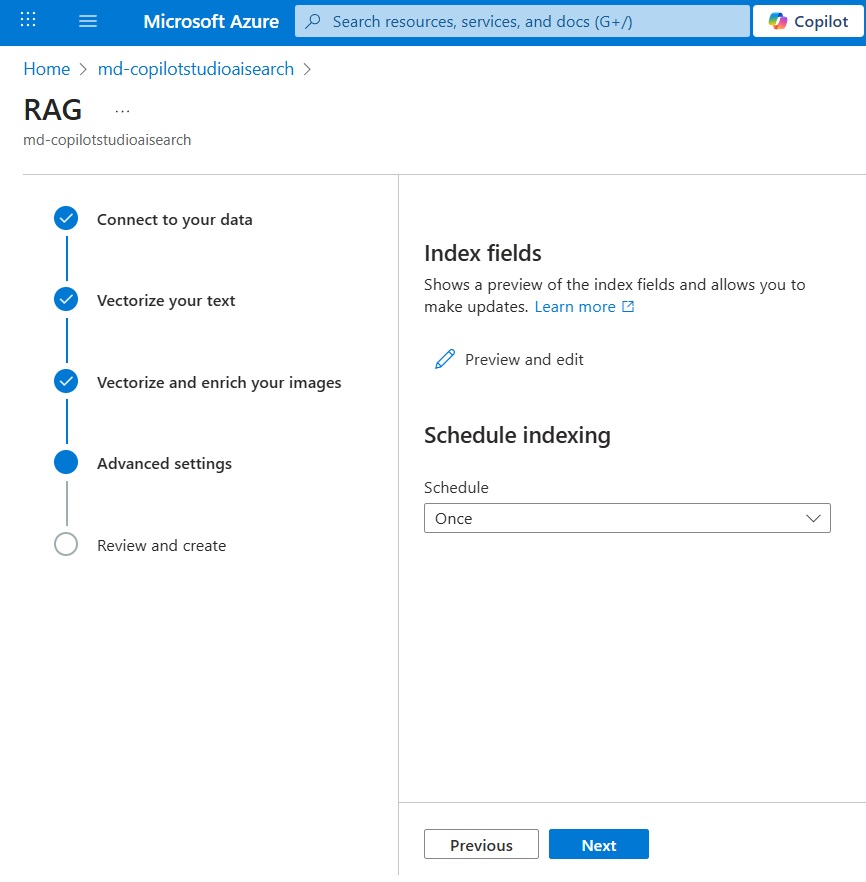
Skip the vectorize and enrich your images screen and go to advanced settings. Schedule indexing only Once.
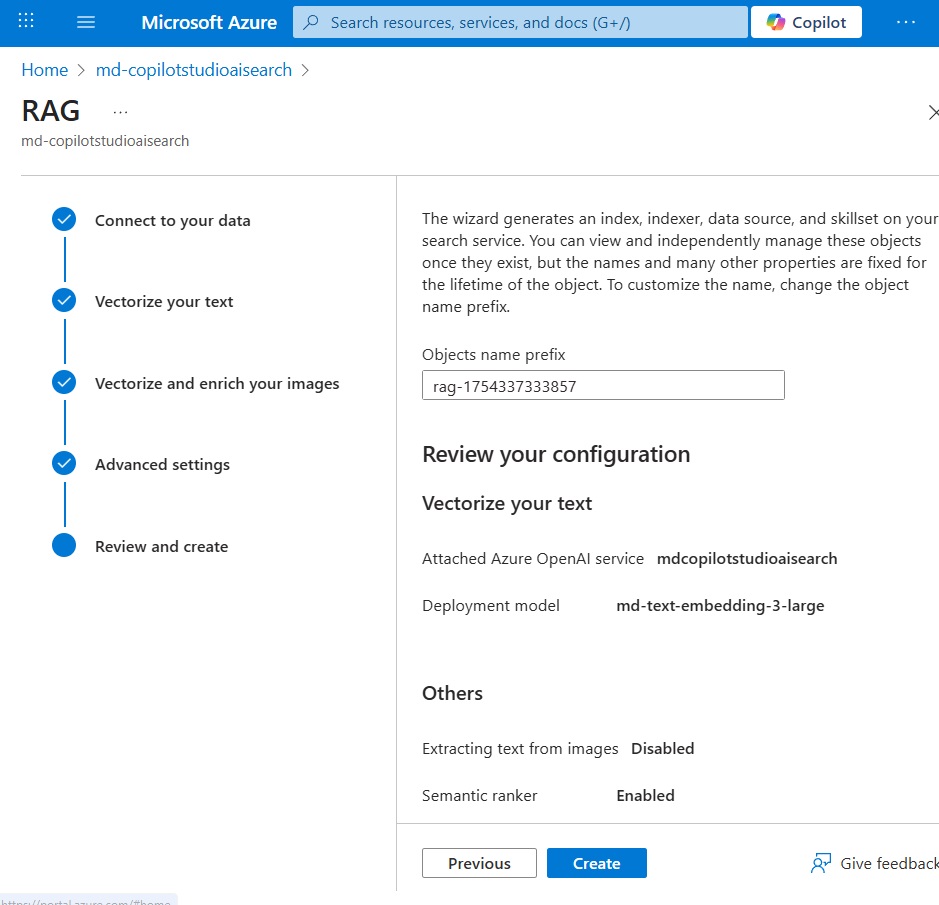
Then proceed to the Review and Create screen and press Create.
Check The Indexer Status For Successful Completion
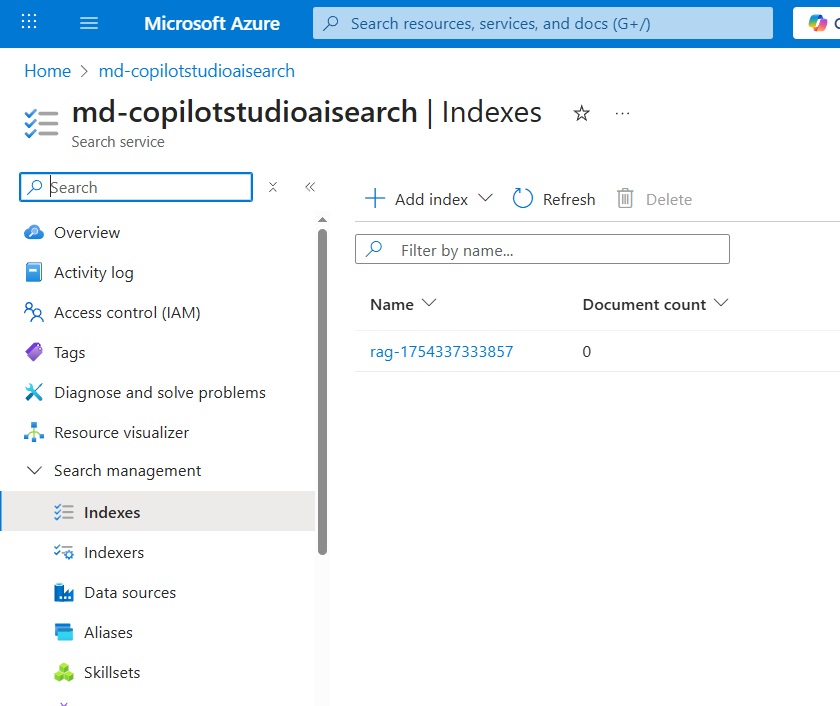
After the Create button is press the Indexer will begin to consume all files in the blob storage container and convert them to embeddings. To ensure this is successful, go to the Indexers screen and look for the status Success. If there is a failure, open the Indexer up, read the error message, fix the problem, then run it again. One common reason for failure is there are too many words (tokens) in the document.

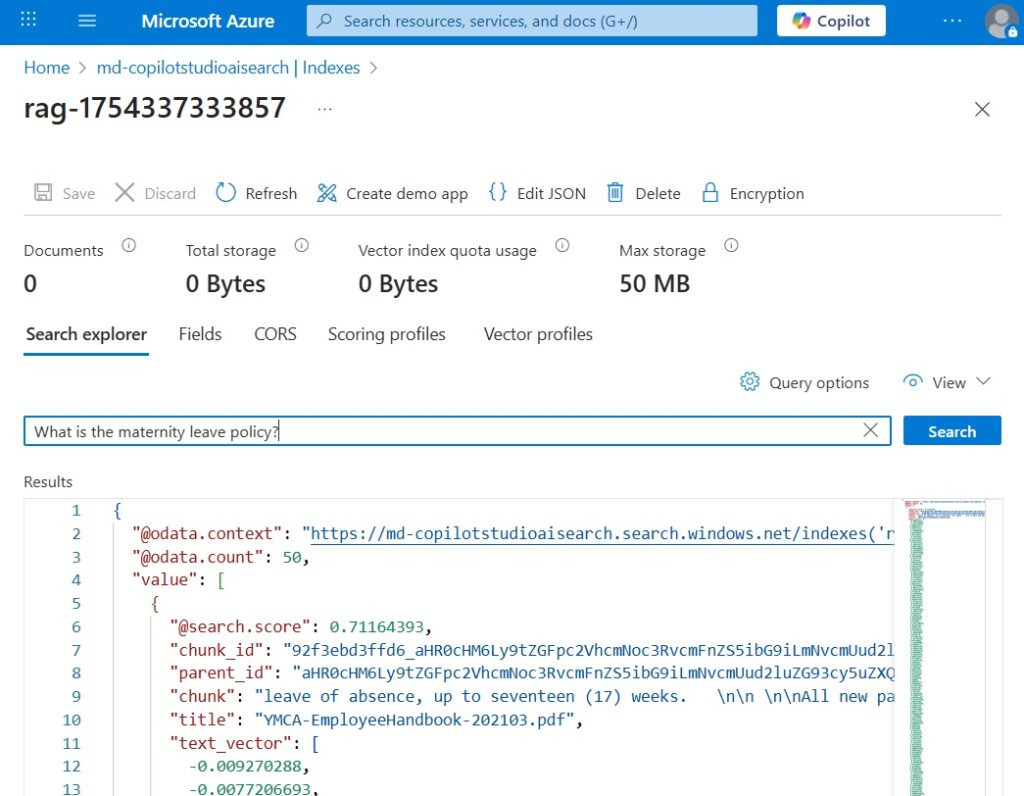
The indexer loads data into an index. We can test the index by going to the Indexes tab and opening the only index that appears.
Type a question into the search bar and watch as the index retrieves results.
Get The Azure AI Search Endpoint URL and Admin Key
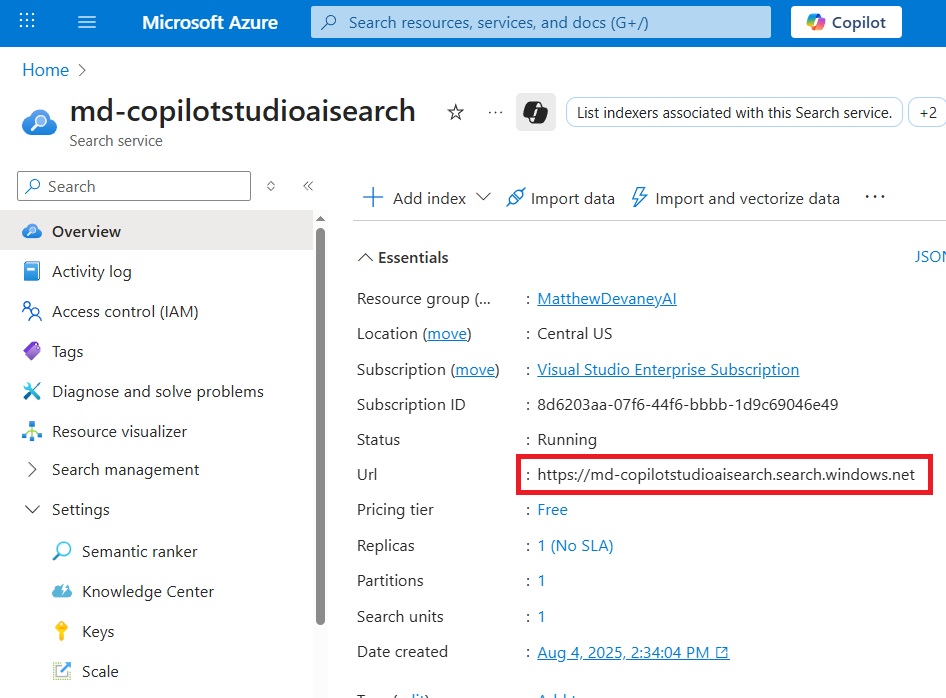
To connect the Azure AI Search resource with Copilot Studio we will need its endpoint url and admin key. The endpoint url can be found on the resource’s Overview page.
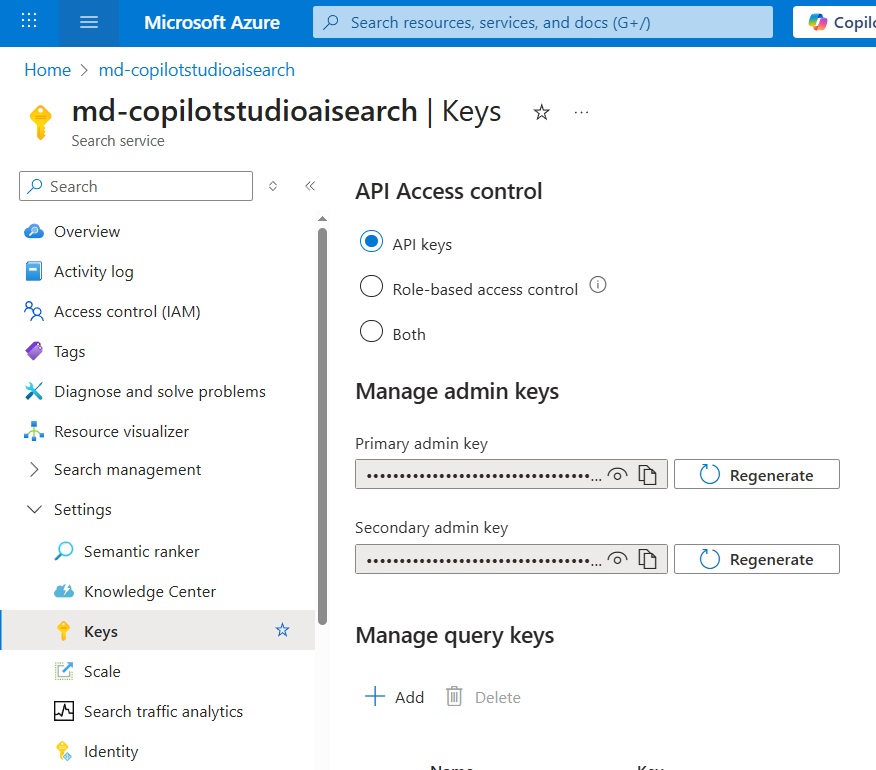
And the Admin Key can be found on the Keys page. Use the primary admin key shown below.
Start A New Copilot Studio Agent
It’s time to create our Copilot Studio Agent and connect it to Azure AI Search. Create a new Agent named Azure AI Search Agent.
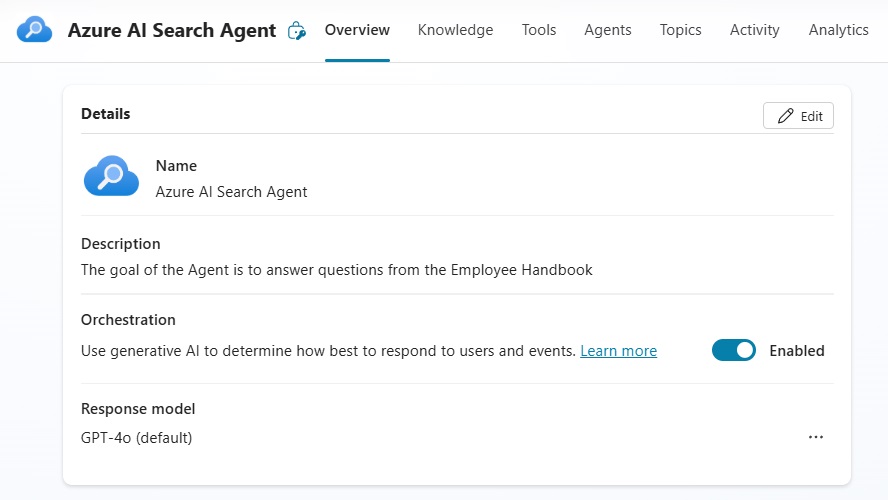
Give it the following instructions:
| The goal of the Agent is to answer questions from the Employee Handbook. |
Connect The Copilot Studio Agent To Azure AI Search
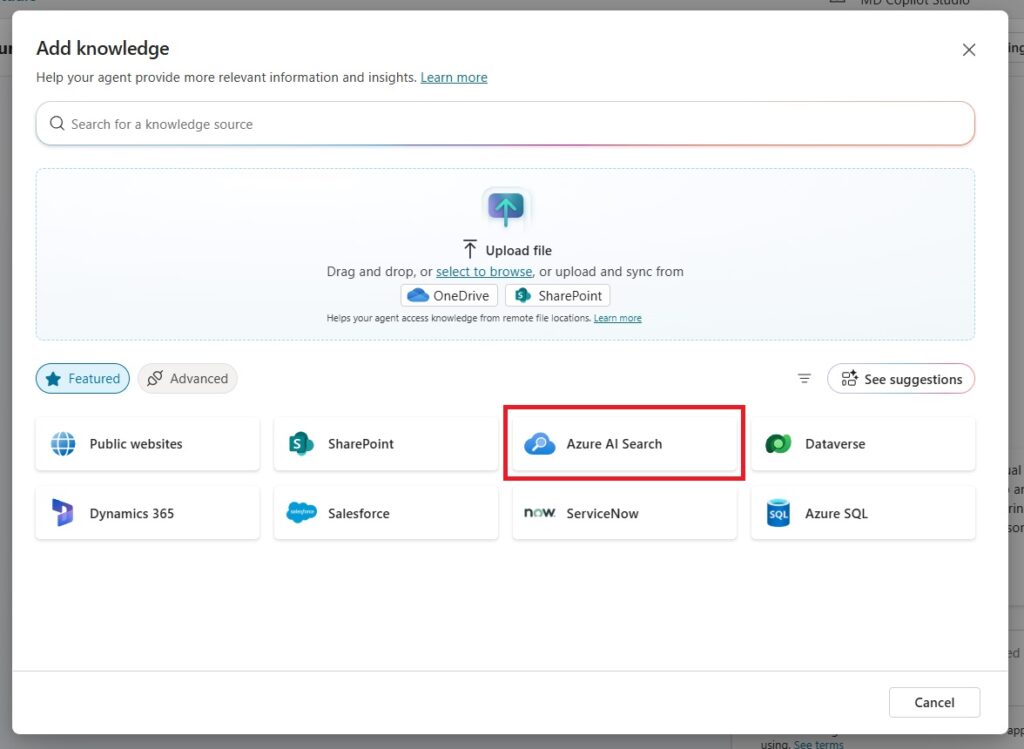
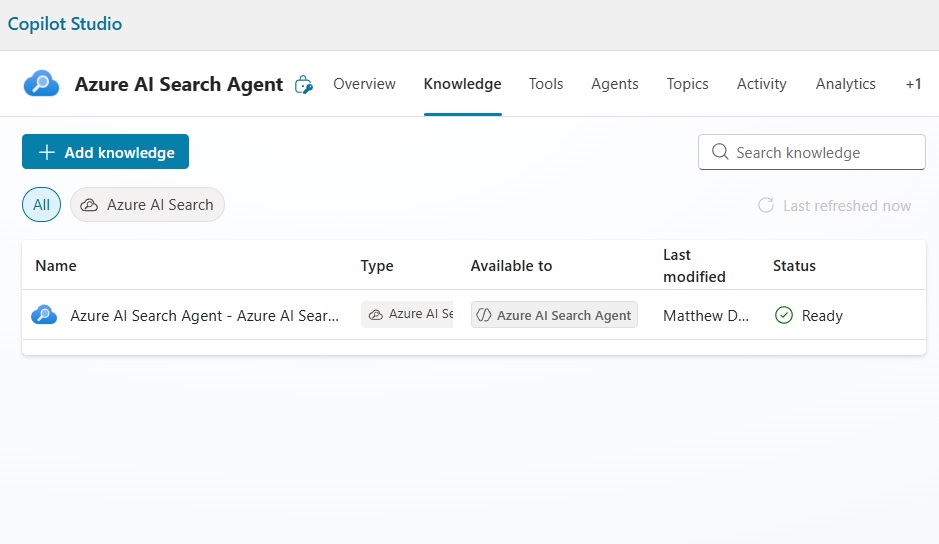
Go to the Agent’s Knowledge tab and select the Add Knowledge button. Then choose Azure AI Search.
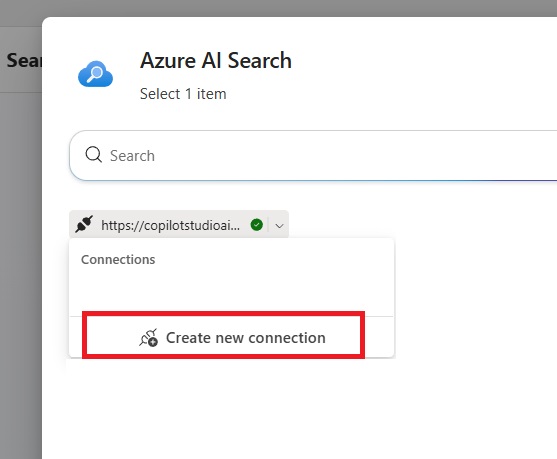
Create a new connection.
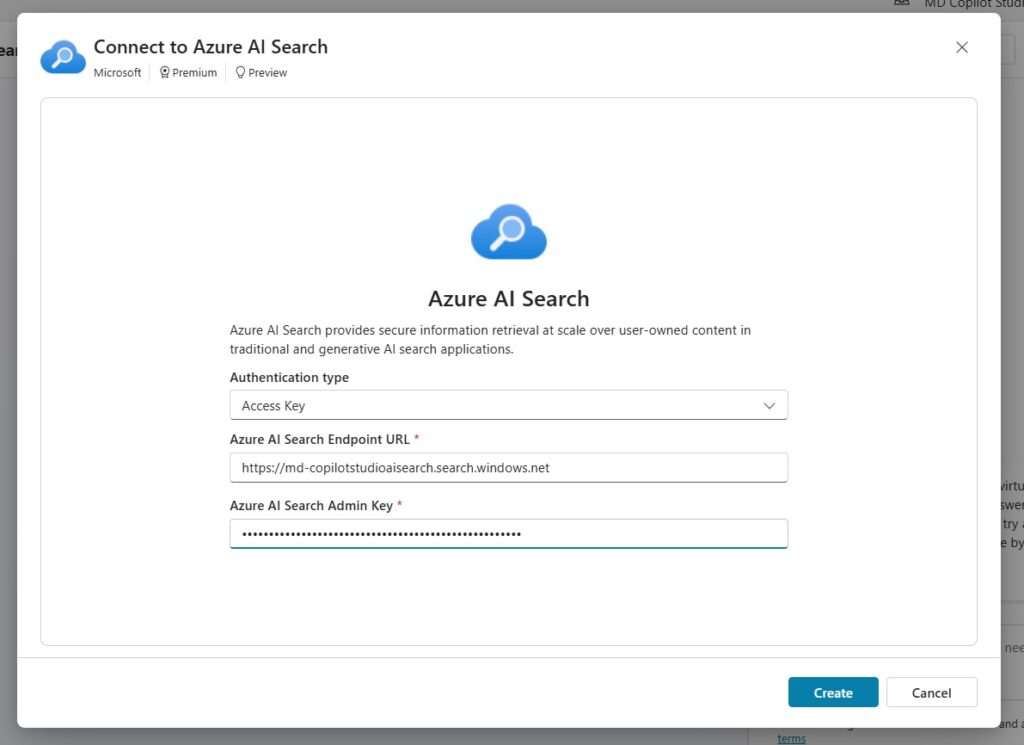
Choose the authentication type Access Key, then provide the Endpoint Url and Admin Key we located a few moments earlier in the Azure AI Search resource.
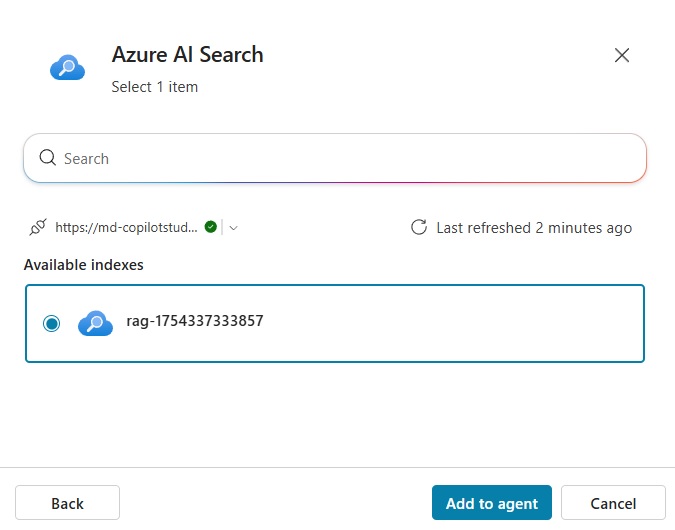
Select the only available index that appears and press Add to Agent.
Then Azure AI Search will show in the knowledge components list and immediately have a status of Ready so we can use it right away.
Test The Copilot Studio Agent With Azure AI Search
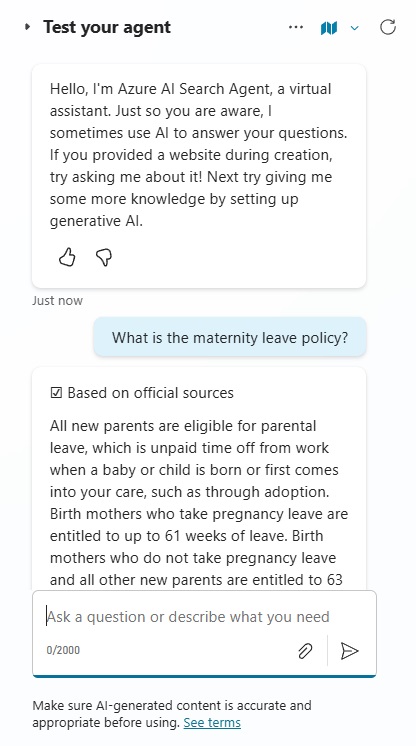
Let’s test our Copilot Studio Agent that we connected to Azure AI Search. Open the Copilot Studio test panel and ask the question “What is the maternity leave policy?”

The Agent responds with an answer from the AI Search index.
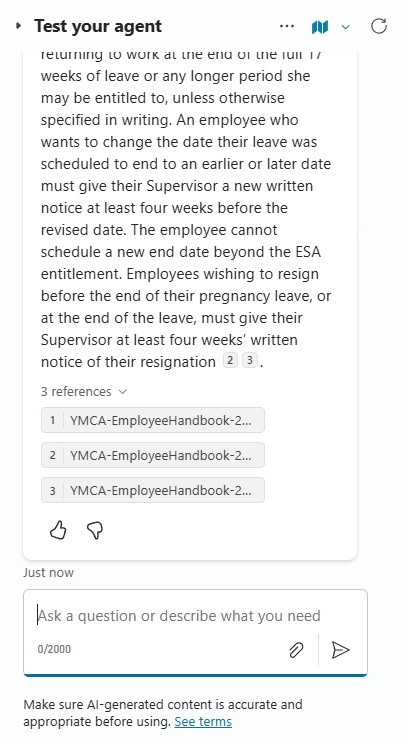
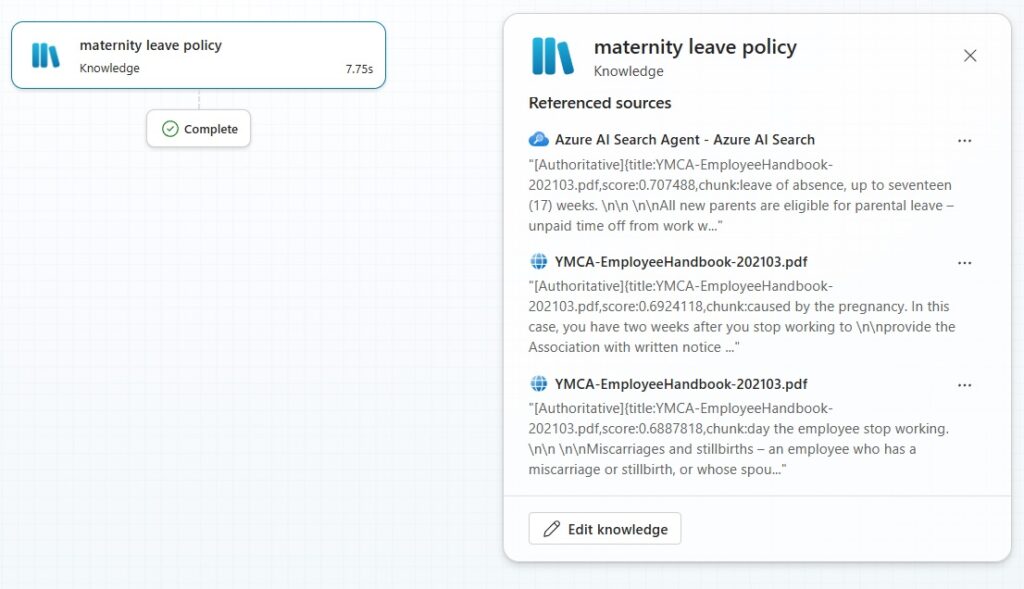
And we can see that the specific text the Agent is referencing in the Activity Map as well the chat panel citations.

Video: Copilot Studio: Azure AI Search Complete Setup Guide
Watch this video for a complete walkthrough of how to build the Agent outlined in the article.
Did You Enjoy This Article? 😺
Subscribe to get new Copilot Studio articles sent to your inbox each week for FREE
Questions?
If you have any questions or feedback about Copilot Studio: Azure AI Search Complete Setup Guide please leave a message in the comments section below. You can post using your email address and are not required to create an account to join the discussion.


Hey Matt,
How’s it going?
Great content! I’m messing around with this to index blob storage with tons of files (with metadata). This is super helpful right now.
Amar V,
Thanks bud. Miss you. Wish you were still with us at Hitachi!
Hello Matthew,
Followed your tutorial and it was successful.
Thank you
Hey Matt,
Really great article, I have a question around when/why to use AI Search over just standard linking of Sharepoint files directly into an Agent.
Is there any insights / guides which outline when the becomes the best approach?
Would appreciate any insights.
Thanks,
Maurice
Thank you very much for the article and video. Worked fine.
BUT I need something not in Preview. Do you have an idea on how to connect using a GA connector?