How To Create A Pop-up Menu In Power Apps

A pop-up menu brings a question to the user’s attention and asks them to make a decision. Though it is a common element in many app designs you must create a pop-up in Power Apps for yourself. It does not come as a standard feature.
This tutorial will show you how to make 2 different types of pop-up menus: a form to add new/edit items in a gallery and another pop-up to confirm removal of an item.
Confirmation Pop-up Menu: Delete An Item
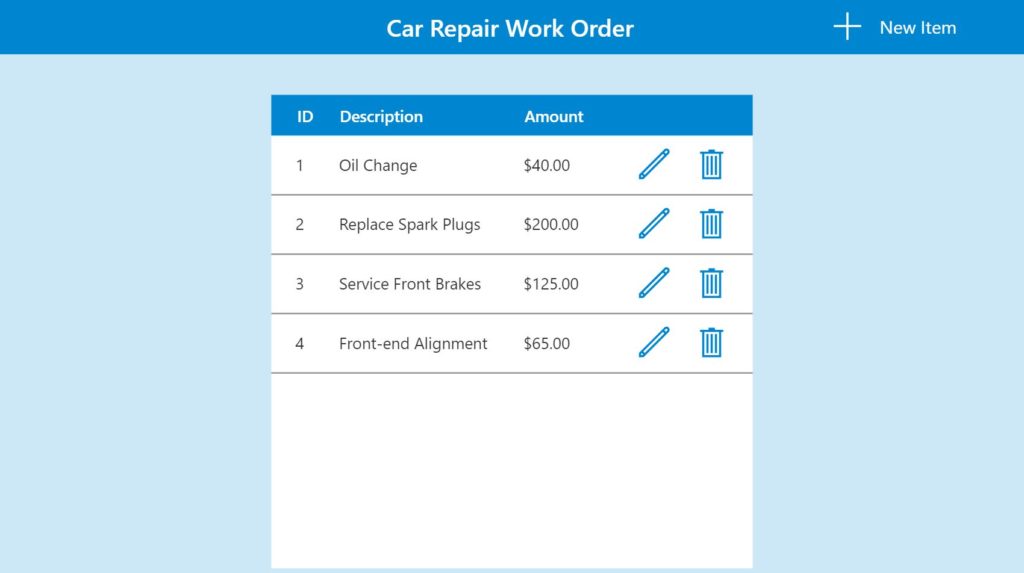
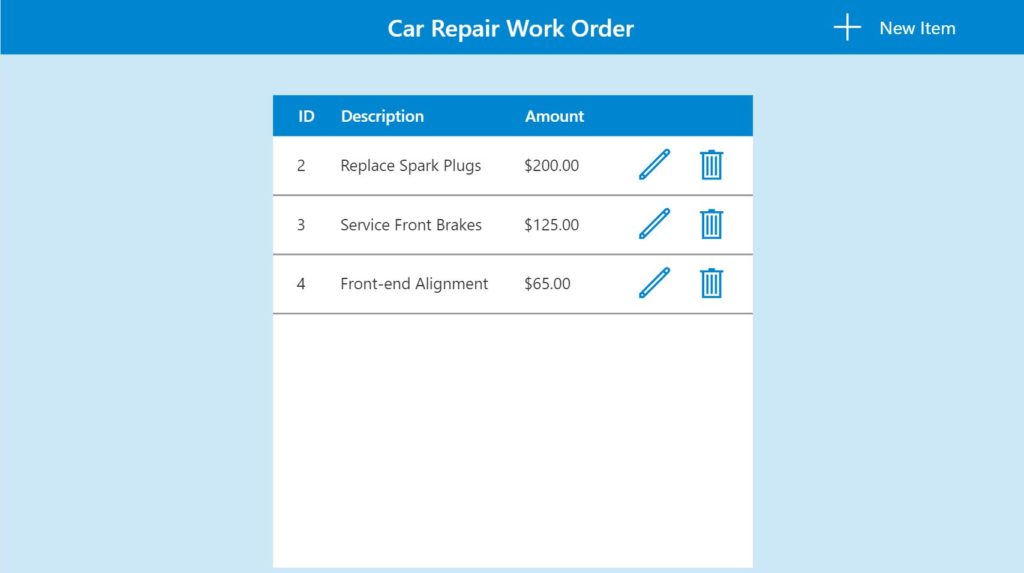
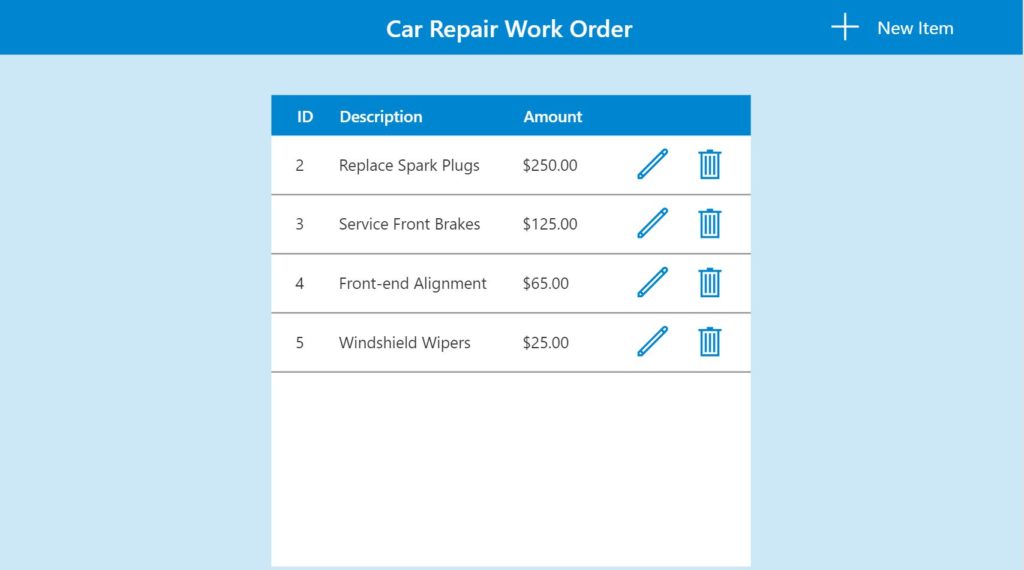
The ‘Car Repair Work Order’ app is used by an auto-service business to record work being done on customer’s cars. Each work order item in the gallery can be edited by clicking the pencil icon or deleted by clicking the trash can icon.
We will start by building a pop-up menu to confirm deletion of a work order item. Preventing the user from accidentally deleting an item is good app design.
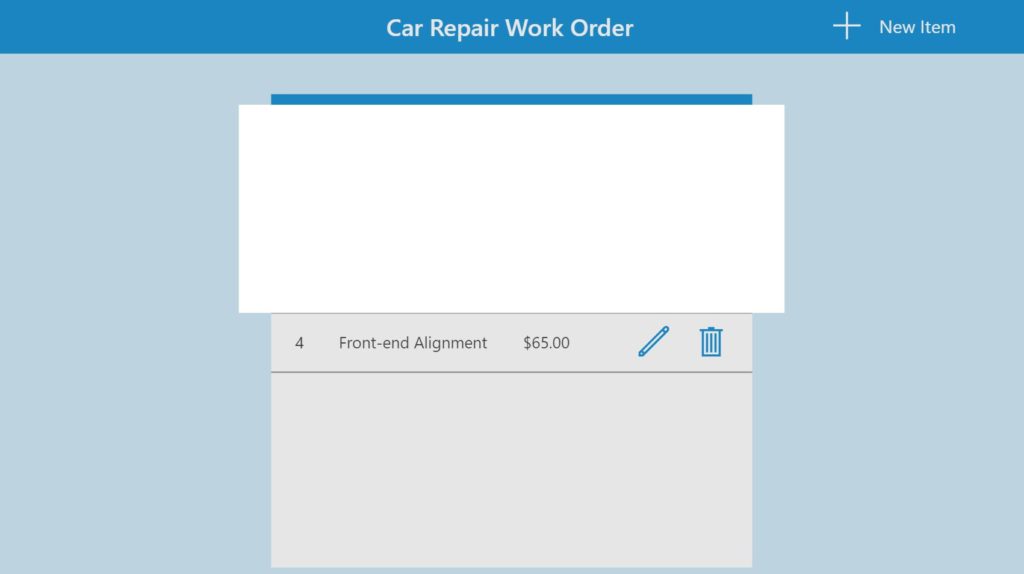
Place a new label with no text and a white fill on the screen called lbl_PopUpDelete_Window.
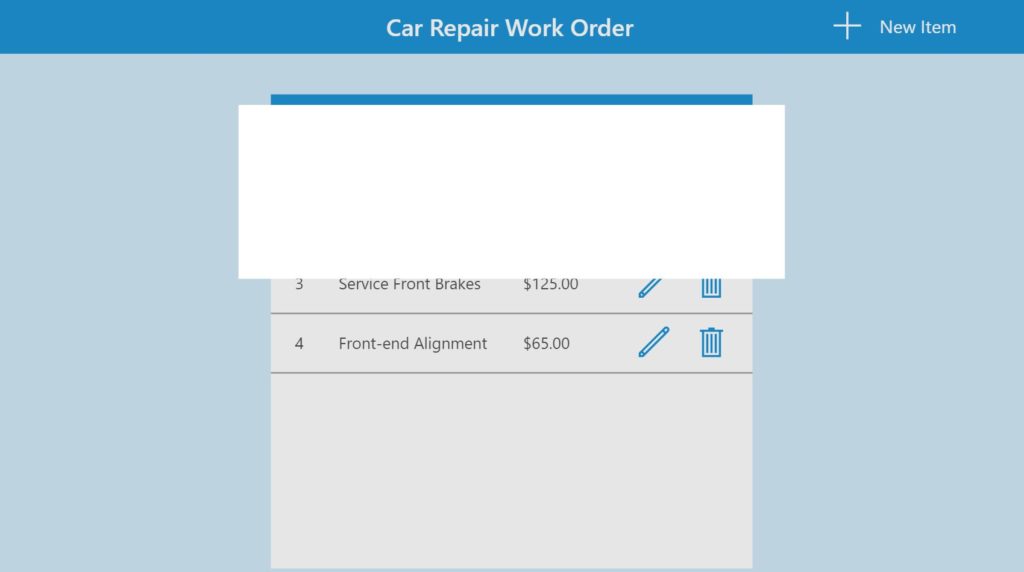
Add this code to the Visible property of lbl_PopUpDelete_Window.
locShowPopupDelete // variable to open the popupCode language: JavaScript (javascript)
Directly underneath create another label called lbl_PopUpDelete_Overlay with the following properties. This will serve as an overlay to prevent a user from clicking elsewhere in the app when the popup is open.
Fill:  RGBA(128, 128, 128, 0.2)  // transparent gray color
Height:  App.Height
Visible: locShowPopupDelete  // variable to open the popup
Width:  App.WidthCode language: HTTP (http)
The popup menu should appear when the the user clicks the delete icon. Put this code in the OnSelect property of the delete icon.
UpdateContext({
    locShowPopupDelete: true,

    // stores which record was selected for deletion
    locRecordPopupDelete: ThisItem
})Code language: CSS (css)
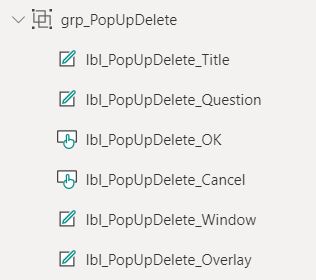
Click the trash can icon to make the pop-up appear. Then we will add four new controls to make the menu shown below.
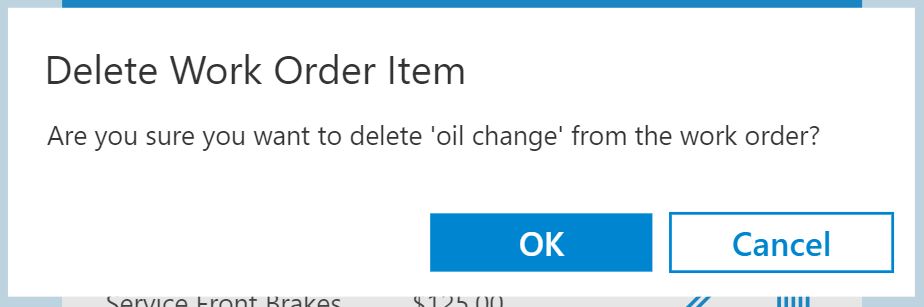
Label: lbl_PopUpDelete_Title
Text: "Delete Work Order Item"Code language: JavaScript (javascript)
Label: lbl_PopUpDelete_Question
Text: "Are you sure you want to delete '"&locRecordPopupDelete.Description&"' from the work order?"Code language: JavaScript (javascript)
Button: lbl_PopUpDelete_OK
OnSelect:

//deletes the item from the datasource
Remove('Car Repair Work Orders', LookUp('Car Repair Work Orders', ID=locRecordPopupDelete.ID));

// hides the popup menu
UpdateContext({locShowPopupDelete: false})Code language: JavaScript (javascript)
Button: lbl_PopUpDelete_Cancel
OnSelect:

UpdateContext({locShowPopupDelete: false})Code language: CSS (css)
Now you should have 6 controls included in your pop-up menu. They can be grouped together to achieve better organization.
Click the OK button on the confirmation popup to delete the item. It will be removed from the datasource and the gallery. You have now created your first pop-up menu in Power Apps.
Data Entry Pop-up Form: Add An Item
We will now create another pop-up: a data entry form used to add new items to the work order. Once again, insert a new label with no text and a white fill on the screen and call it lbl_PopUpForm_Window this time.
Put this code inside the Visible property of lbl_PopUpForm_Window.
locShowPopupForm // variable to open the popupCode language: JavaScript (javascript)
Then make another label to act as the overlay called lbl_PopUpForm_Overlay with these properties:
Fill:  RGBA(128, 128, 128, 0.2)  // transparent gray color
Height:  App.Height
Visible: locShowPopupForm  // variable to open the popup
Width:  App.WidthCode language: HTTP (http)
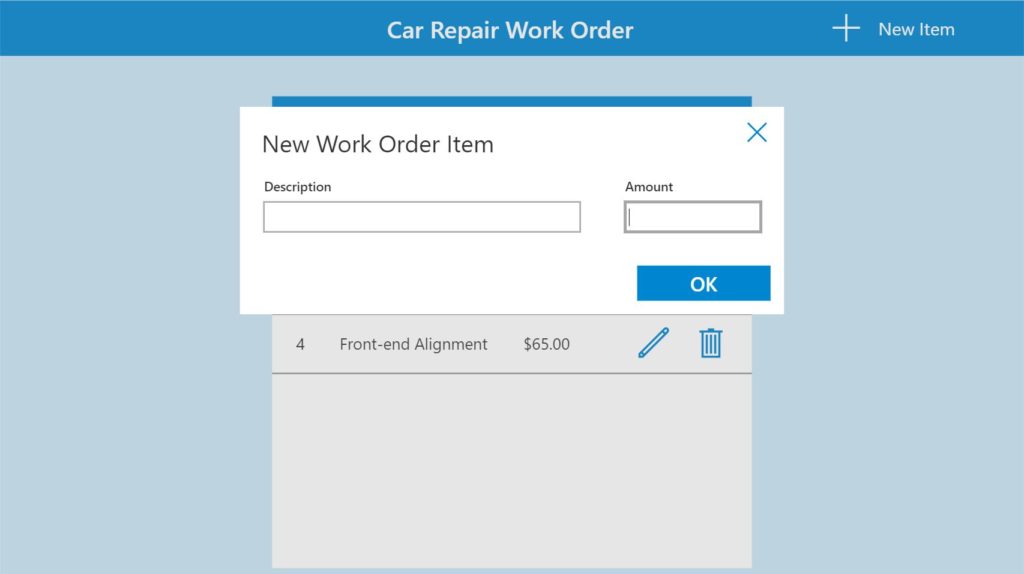
Create the following 3 controls and place them within the pop-up.
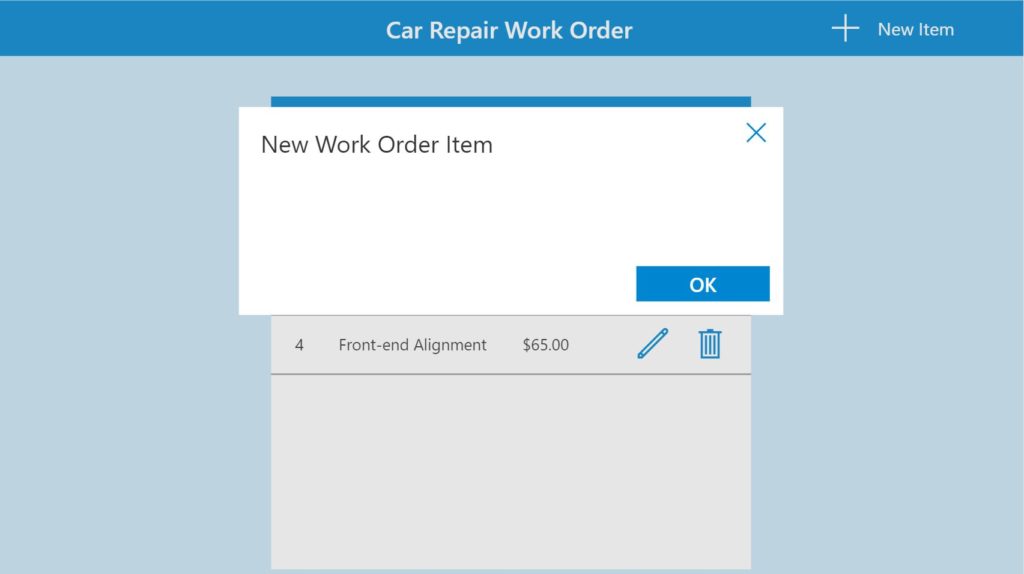
Label: lbl_PopUpForm_Title
Text: "New Work Order Item"Code language: JavaScript (javascript)
Button: lbl_PopUpDelete_OK
OnSelect:

// code to submit the form will go hereCode language: JavaScript (javascript)
Icon: ico_PopUpDelete_Close
OnSelect:

//deletes the item from the datasource
Remove('Car Repair Work Orders', LookUp('Car Repair Work Orders', ID=locRecordPopupDelete.ID));

// hides the popup menu
UpdateContext({locShowPopupDelete: false})Code language: JavaScript (javascript)
Next, create an Edit Form called frm_PopUpForm_Form and place it inside the popup. Change the layout of the Edit Form to 1 row and 2 columns. Resize the fields as shown below.
Write this code in each respective property of the form.
Datasource: 'Car Repair Work Orders'
Item: locRecordPopupForm
Visible: locShowPopupFormCode language: HTTP (http)
Then go back and write this code in the OnSelect property of the OK button. It will submit the form and hide the pop-up.
SubmitForm(frm_PopUpForm_Form);
UpdateContext({locShowPopupForm: false});Code language: CSS (css)
The user opens the pop-up form by clicking the New Item icon.

Put this code in the OnSelect property of the icon.
// change the form to new mode
NewForm(frm_PopUpForm_Form);

UpdateContext({
    locShowPopupForm: true,

    // use a blank record to fill-in the form
    locRecordPopUpForm: Blank()
});Code language: JavaScript (javascript)
Now test the pop-up form by entering a new item ‘Windshield Wipers’ with an amount of $25.00.

Once you click OK the New Item is inserted into the datasource and appears inside the gallery.
Data Entry Pop-up Form: Edit An Item
With only a few lines of code we can use the same pop-up to edit an item as well.
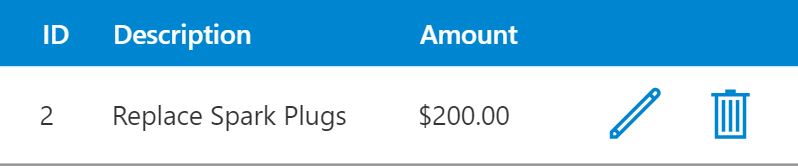
Write this code in the OnSelect property of the edit icon.
UpdateContext({locRecordPopupForm: ThisItem});
EditForm(frm_PopUpForm_Form);
UpdateContext({locShowPopupForm: true});Code language: CSS (css)
Click on the edit icon to open the pop-up form. Change the Text property of lbl_PopUpForm_Title to this code.
If(frm_PopUpForm_Form.Mode=FormMode.New, "New Work Order Item", "Edit Work Order Item")Code language: PHP (php)
Write-in a new amount for the ‘Replace Spark Plugs’ item: $250.00
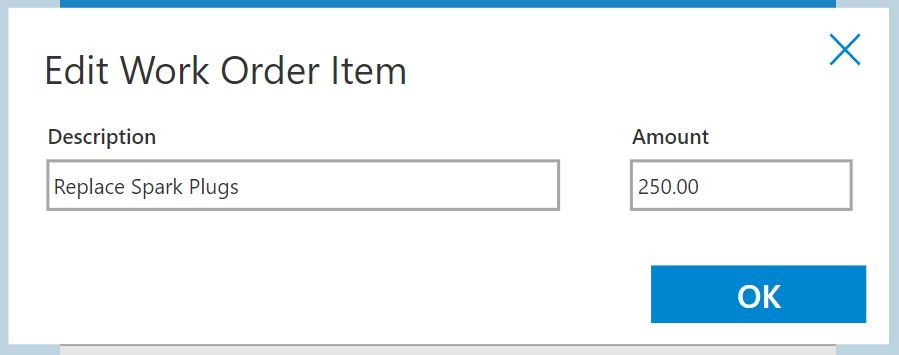
Click the OK button. The amount is now changed to $250.00.
Did You Enjoy This Article? 😺
Subscribe to get new Copilot Studio articles sent to your inbox each week for FREE
Questions?
If you have any questions or feedback about how to create a pop-up menu please leave a message in the comments section below. You can post using your email address and are not required to create an account to join the discussion.


Awesome post as always Matt!
It may help to know that you can expand this even further by using a second variable to toggle the ‘type’ of pop up shown, i.e.:
locShowPopUp = true / false
– determines visibility of the pop up
locPopUpType = “New” / “Edit” / “Delete”
– determines content of the pop up (i.e what text is shown, what happens on the button’s OnSelect)
This means you only need to configure the look & feel of the pop up once, and can reduce the number of controls in your app! Just use Switch(locPopUpType, to customise any methods or text that need to differ per pop up! 🙂
I really enjoy your approach of using a single variable called ‘locPopUpType’ to control which Pop-Up is shown. This is something I will use in my own work! Thank you so much for sharing Clarissa 🙂
Hi Matt!
Thank you for the post, I have managed to create my own popup window with this. 🙂
I have only one issue. I have been building a colleague performance app for the company i work for and i have issues to find a solution. If you could help me solve the problem, that would be much appreciated.
I have a gallery with the colleagues for the relevant manager. For every colleague I have a dropdown for booking meeting. If they choose postpone, an empty document icon appears and if it’s clicked on, there is a popup window for the postpone reason. If they press submit on that window, the popup disappears and the icon for that colleague should change to doccheck icon. This part works. But from this moment whenever i choose postpone, it gives me the doccheck icon, not the empty document and i cannot add any reasons as the popup is not opening. Is there any chance that the popup submit button only belongs to the person whose icon i pressed? Please help, i have been struggling with this for 2-3 weeks now… thank you for your time.
Hello Dominika,
It might be best to post your question in the Power Apps forums. That way you can share the code, provide screenshots and there are also ‘threaded’ replies. Feel free to tag me there once you post it @mdevaney.
Link to forums:
https://powerusers.microsoft.com/t5/Building-Power-Apps/bd-p/PowerAppsForum1
Hi Matt,
Thanks for your reply. I had issues with logging in to write anything there due to company policy, that’s why I tried alternate methods.
Anyway, somehow I managed to do what I wanted and now I’m extremely happy. 🙂
Yay, way to go Dominika!
Love your cat pics!!!
I apologize for this VERY rudimentary question, but how do I put the control, form, and button elements within the label?
Trent,
This is one of the first articles I wrote a few years ago. Can you please help me to understand what section of the tutorial you are stuck on?
Also, the Variable “locShowPopupForm // variable to open the popup”
doesn’t seem to be working for me.
Trent,
What have you done to test this so far? Some advice, when I want to test whether a variable is working I put the variable into the text property of a label to monitor its current state. Then I go through my testing step by step to see where it fails.
Doesn’t this popup block the controls underneath it even when visible=false? Seems like a function to toggle the height and/or width between 0 and App.Width/Height would be a better way than using the visible property?
Anton,
No, when a control is not Visible it does not block the controls underneath it. Changing the Height/Width properties to show a form would result in weird looking movement as the user watches the menu expand.
Maybe this is just a phenomenon when creating this kind of popup in a component library? I can’t seem to work around it without changing the height/width.
Anton,
It’s likely a Power Apps bug that you are seeing. The product is not supposed to behave like that.
Hello,
I’m having some issues replicating your steps for :
Icon: ico_PopUpDelete_Close
OnSelect:

//deletes the item from the datasource
Remove('Car Repair Work Orders', LookUp('Car Repair Work Orders', ID=locRecordPopupDelete.ID));

// hides the popup menu
UpdateContext({locShowPopupDelete: false})
Error : Expected a value compatible with ‘Datasource’
Write this code in each respective property of the form.
Can you help please ?
Advait,
Can you please post a screenshot of the error?
From above (Advait):
I’m having some issues replicating your steps for :
Icon: ico_PopUpDelete_Close
OnSelect:

//deletes the item from the datasource
Remove('Car Repair Work Orders', LookUp('Car Repair Work Orders', ID=locRecordPopupDelete.ID));

// hides the popup menu
UpdateContext({locShowPopupDelete: false})
I was having an issue where the Popup was not closing and changed it like below.
From: UpdateContext({locShowPopupDelete: false})
To: UpdateContext({locShowPopupForm: false})
Instead of adding new item within the Gallery, how do you add an item into a new Gallery?
Kent,
Both of those sound the same to me. What’s the difference?
Hello Matt,
Where did you create the pop up variables at? I tried creating them in the OnStart of the app and my pop up label wasn’t showing up.
Love your website! I am always looking here for the best way to do things in PowerApps!
I was curious why you chose labels/controls + grouping vs putting the labels/controls into a container. Are there performance implications with the container method?
Sam,
This article was written in 2020. Containers did not exist yet.