Copilot Studio: Connect An Azure SQL Database As Knowledge

Copilot Studio can connect to an Azure SQL database and use its structured data as knowledge. It is recommended to use a Service Principal for authentication to ensure a secure, and shareable connection. Once the SQL tables have been added to the agent, additional context can be provided for each column so the agent knows how to use the data properly.
Introduction: The Real Estate Listings Agent
The brokers at a real estate agency use an agent built with Copilot Studio to look up property listings for their customers. The property listings are stored in an Azure SQL database.
Create A New Azure SQL Database
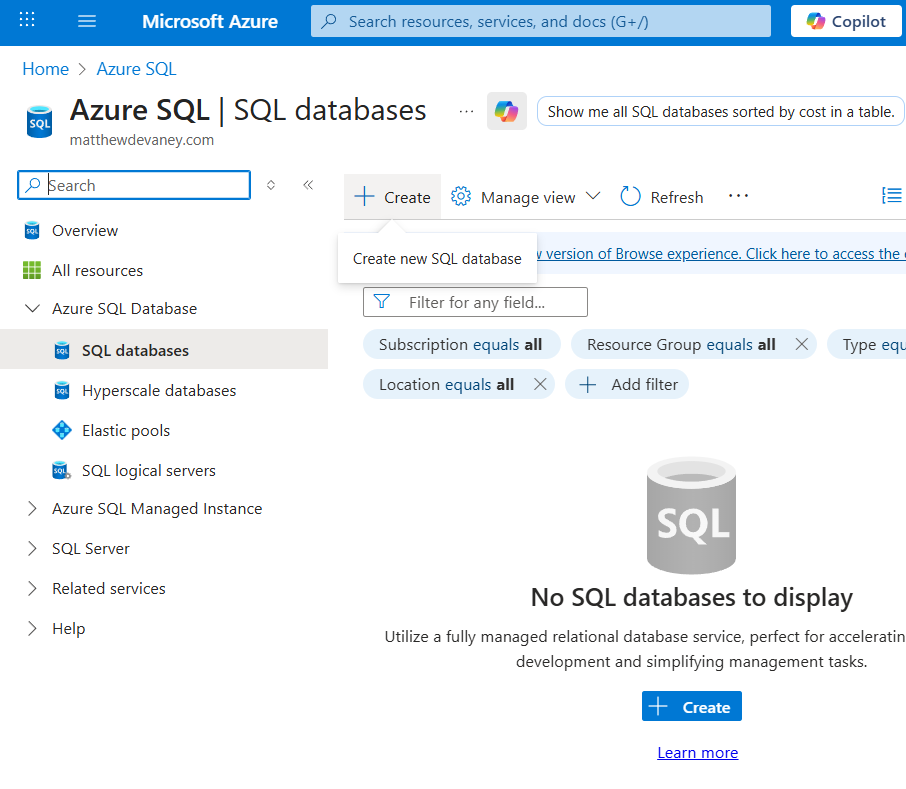
The property listings will be stored in an Azure SQL database. Go to the Azure portal and navigate to the Azure SQL service. Select the create new SQL database button.
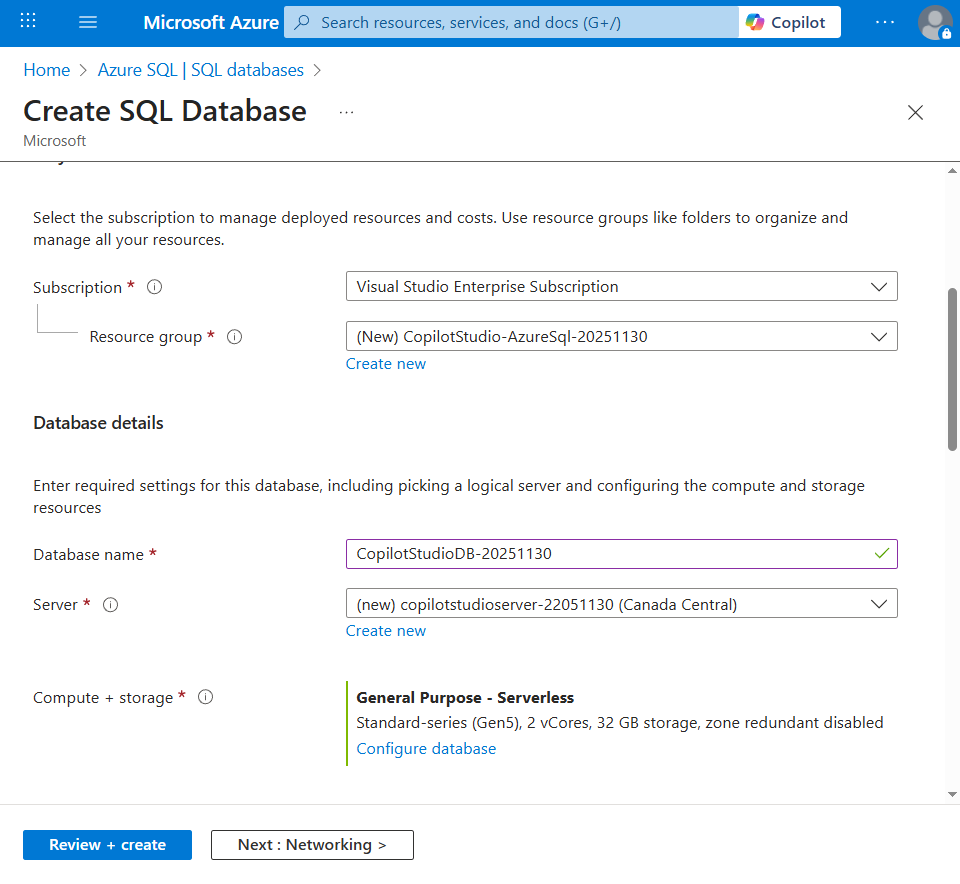
Choose the resource group, database name, compute + storage options. Then, select the option to create a new server from the dropdown menu.
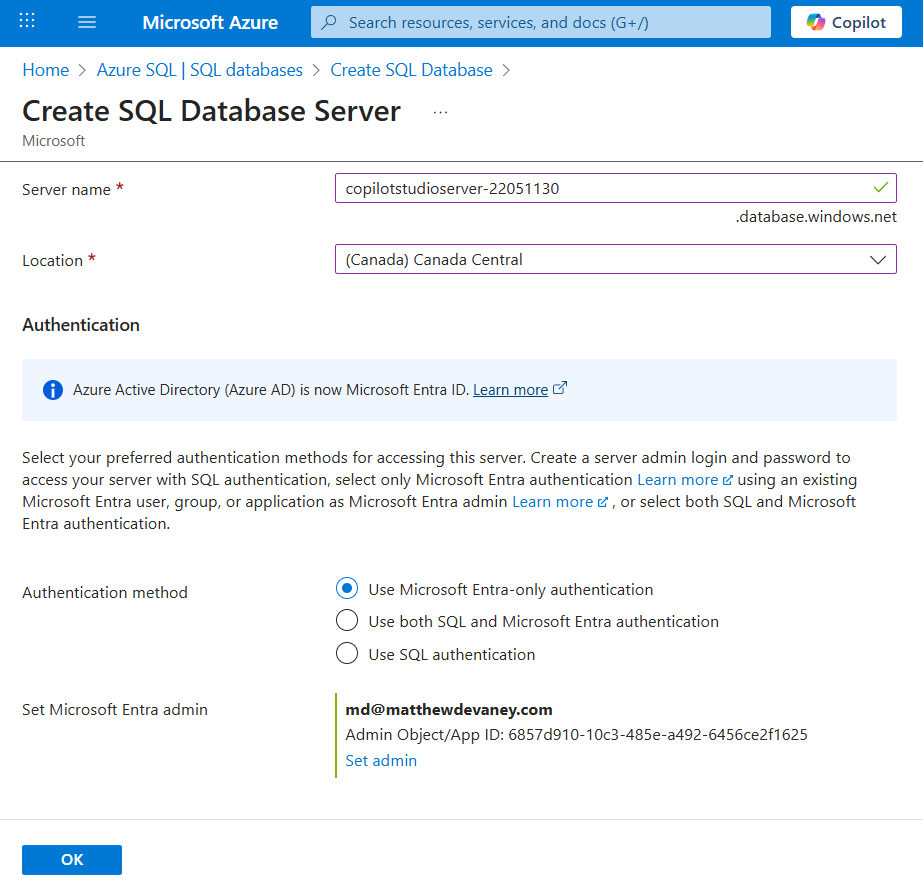
Give the server a name and location. Then press OK.
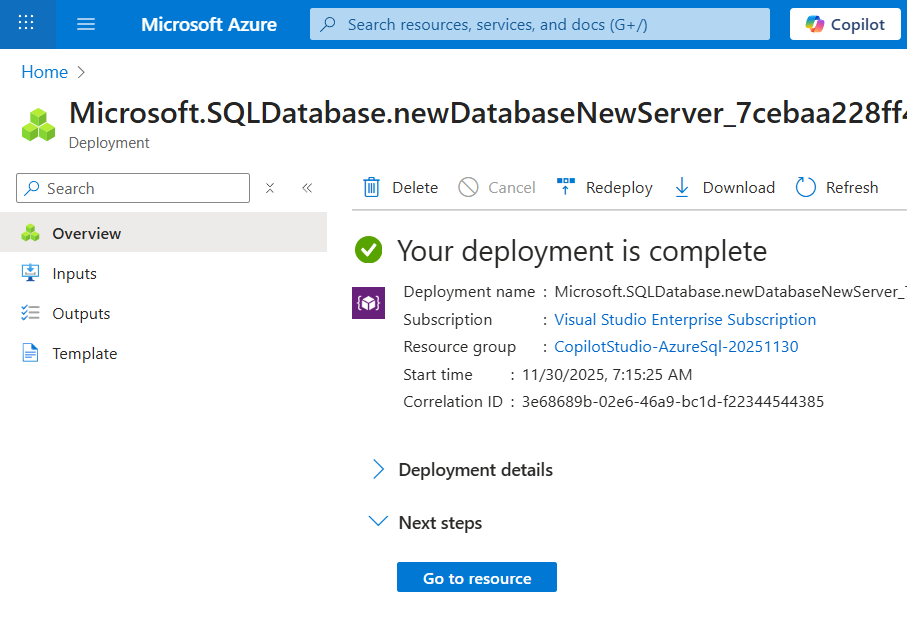
Press the Review + Create button on the new SQL Database menu to deploy the new SQL database and server. Once the deployment is completed, press the Go to resource button.
Configure Network Security Settings On The SQL Server
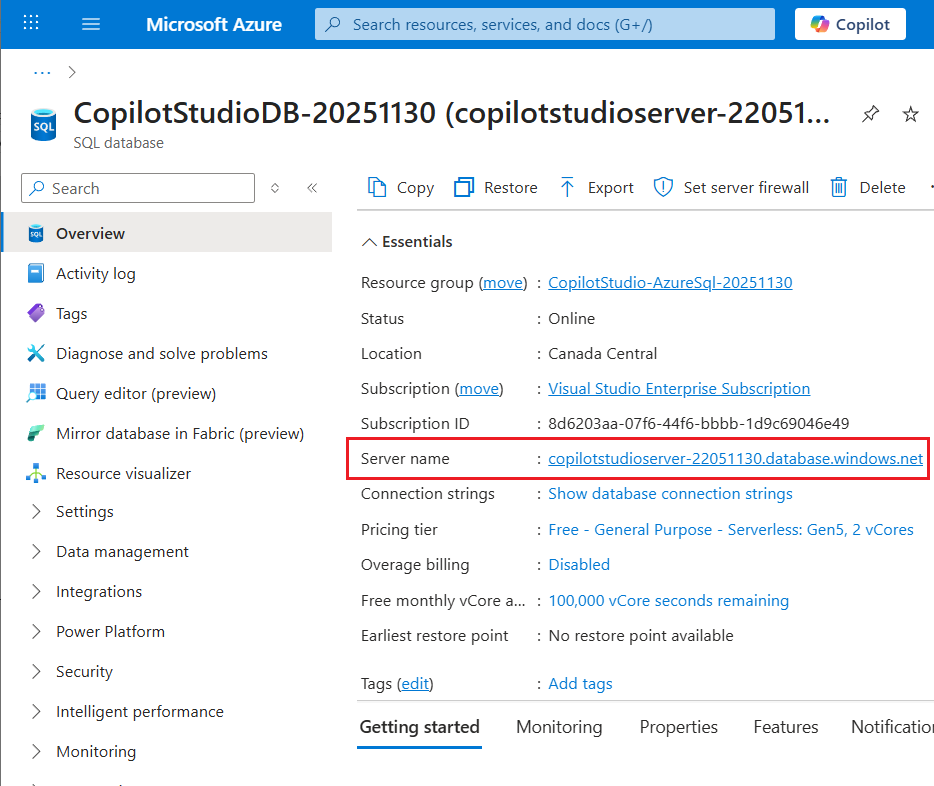
To gain access to the server we must perform a few additional configuration step. While on the SQL database Overview page click on the Server name to navigate to the SQL Server overview page.
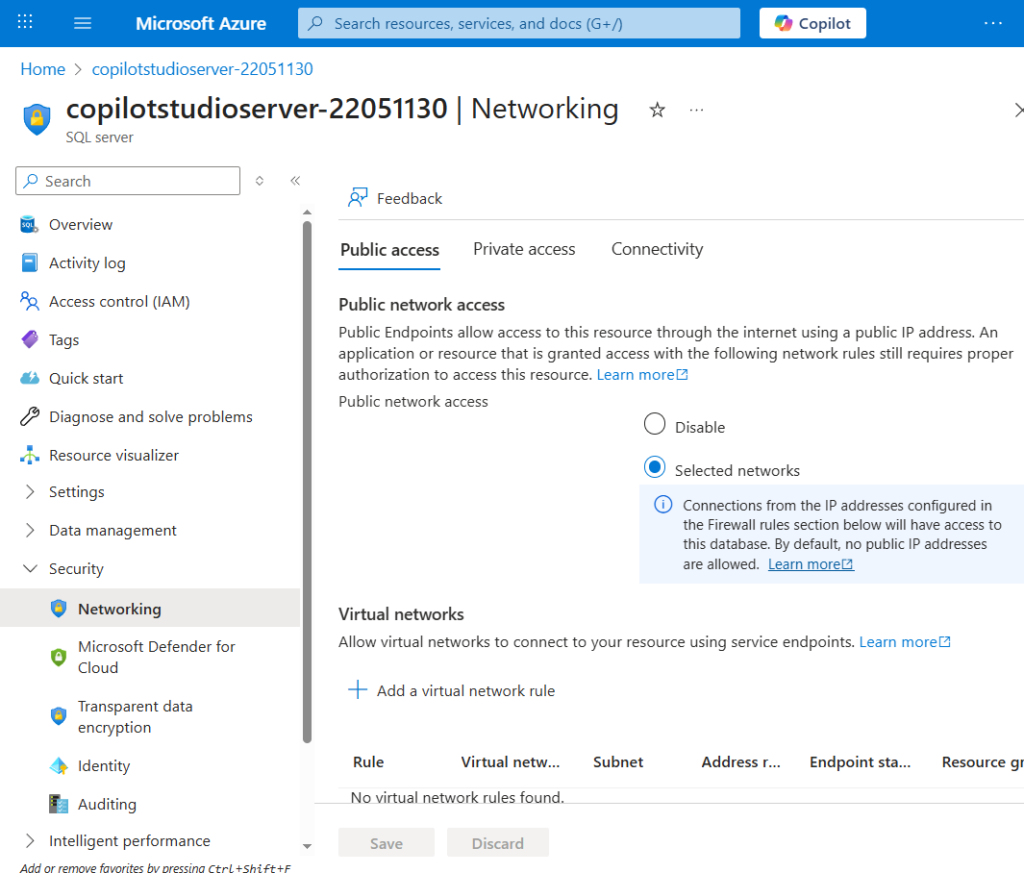
While on the SQL Server page, navigate to the Networking menu. On the Public access tab set the public network access option to selected networks. This will allow us to connect to the database using SQL Server Management studio on our local machine, which we need to create the database tables.
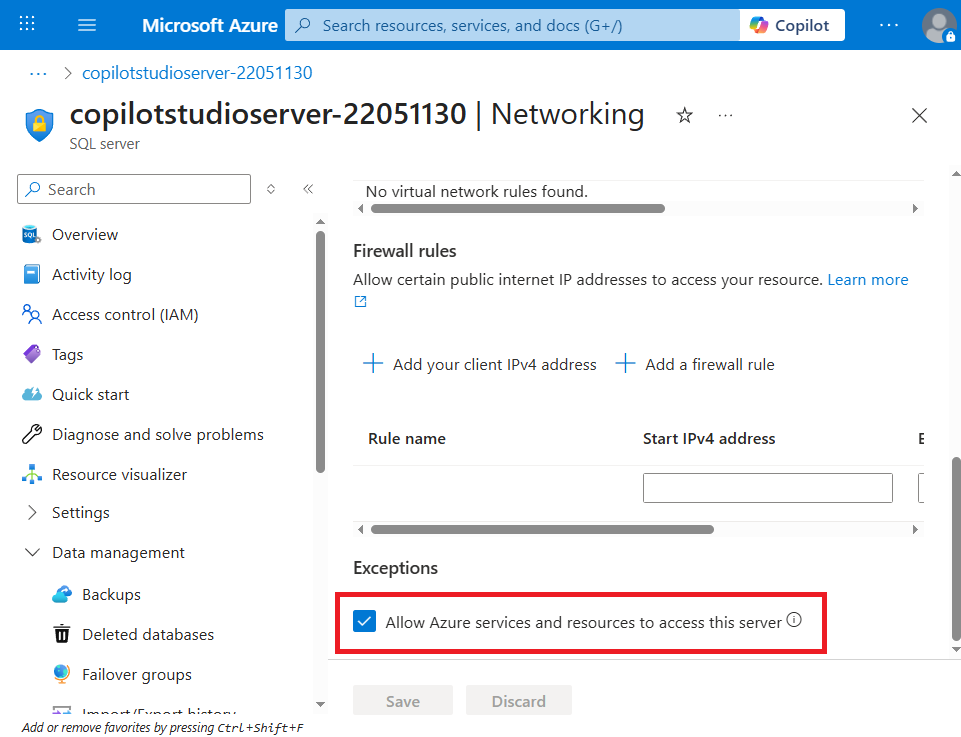
Scroll down to the Exceptions section and check Allow Azure services and resources to access this server. This setting grants Copilot Studio access to databases hosted on the SQL Server.
Install SQL Server Management Studio
SQL Server Management Studio is a desktop application that can connect to and query an Azure SQL database. To download SQL Server Management Studio go to the official Microsoft webpage.
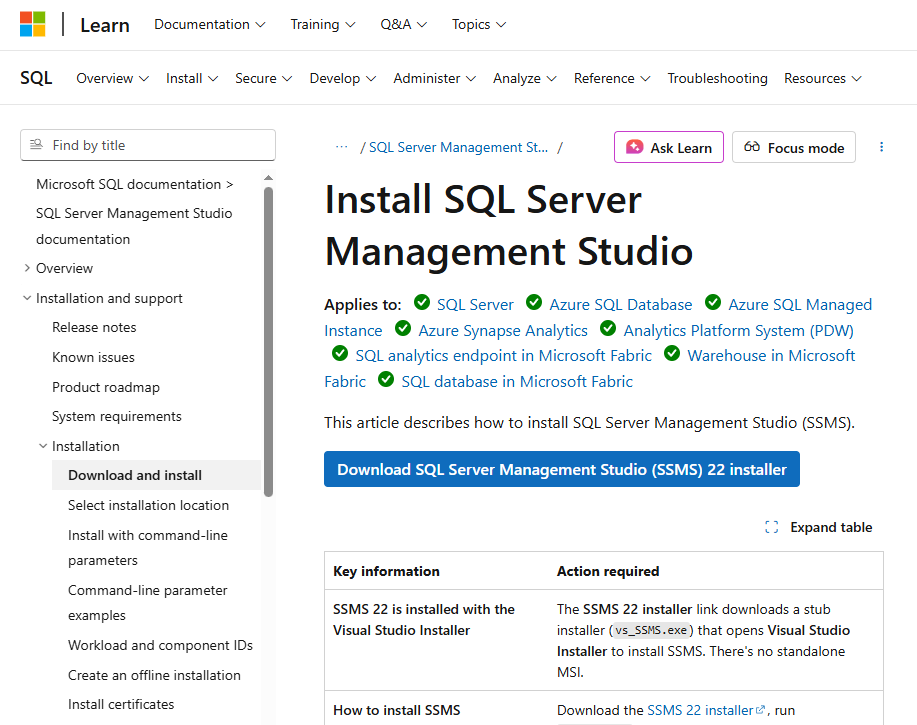
Wait for the download to complete, then launch the application.

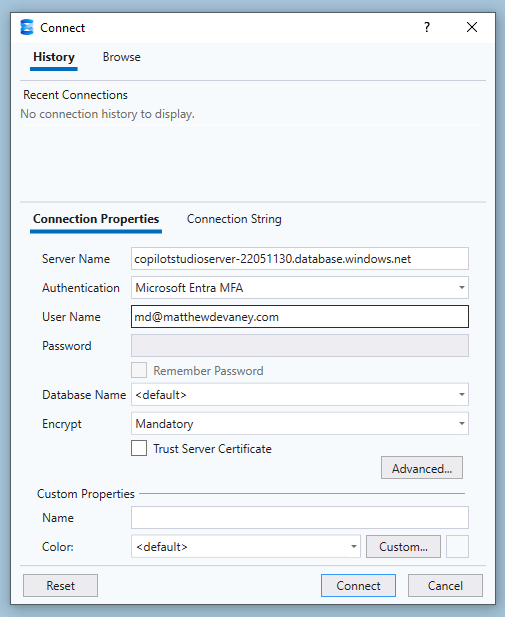
Connect to the the Azure SQL Server using these options. You will be prompted to add your IP address to the SQL server firewall rules. Click OK.
- Server name: name of the server we created in Azure
- Authentication: Microsoft Entra MFA
- User Name: user principal name of the user used to create the SQL database
Create SQL Tables For Real Estate Listings And Real Estate Agents
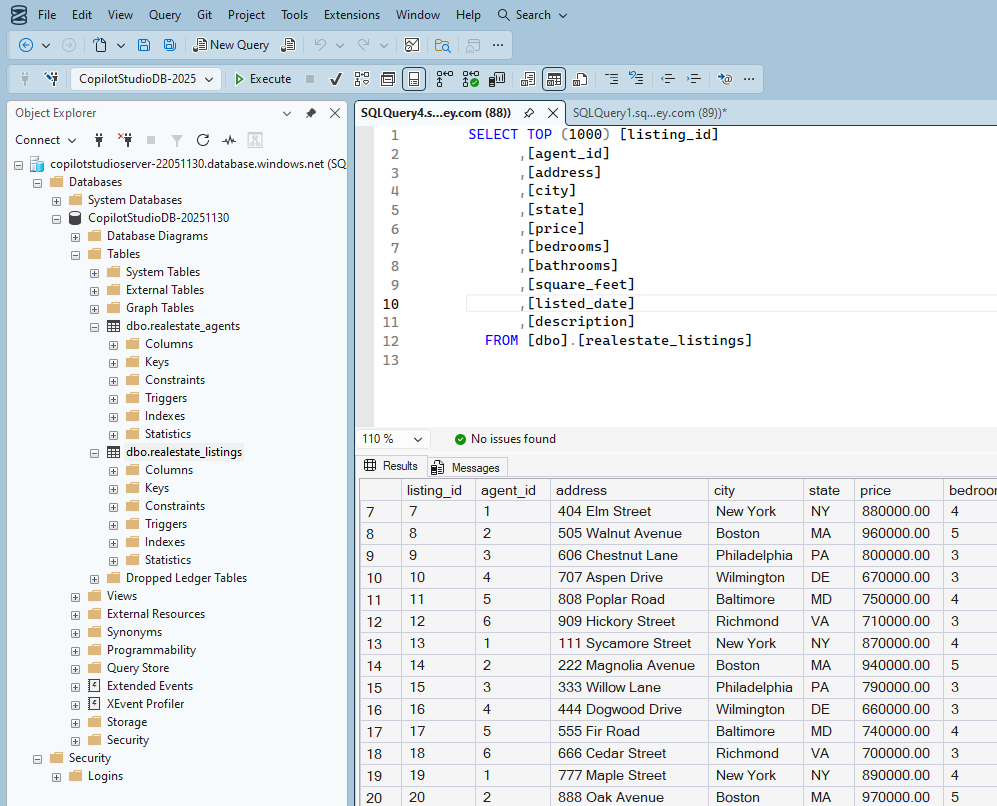
Our agent will use two SQL tables: Real Estate Listings and Real Estate Agents. The listings table contains details about each real estate property. It includes a foreign key to the agents table which has the contact information of the real estate agent who listed the house.
Download the SQL query from Github. Then run it to create the two tables & insert new records into them.

The Real Estate Listings table looks like this:
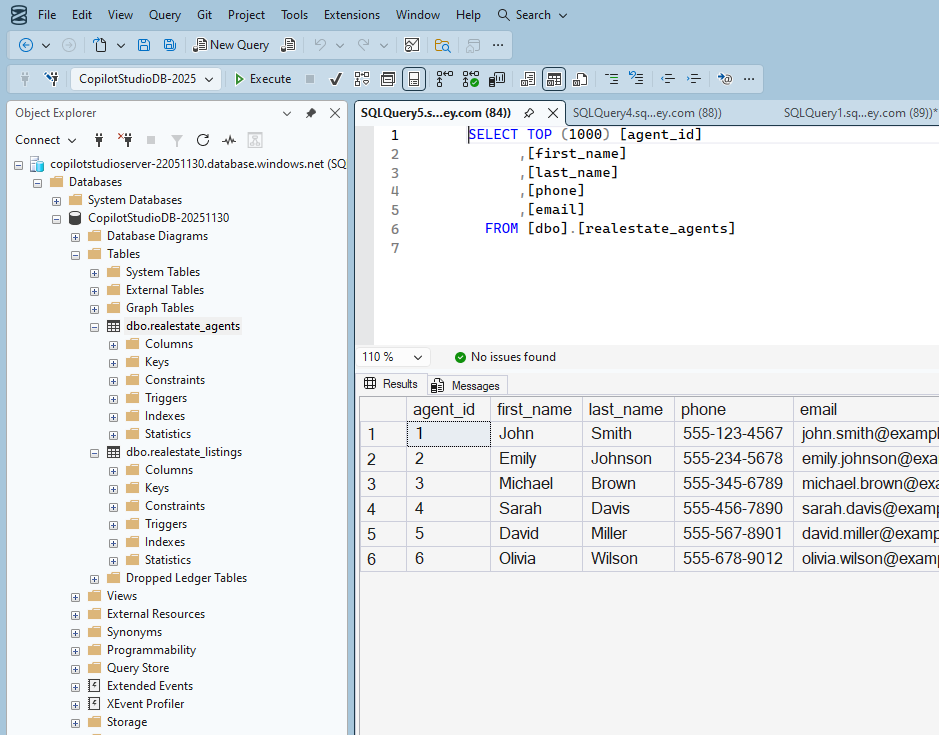
And the Real Estate Agents table looks like this:
Register A New Application in Azure
The SQL Server Power Platform connector offers many authentication options. Authenticating using a Service Principal is an excellent choice because the connection can be shared with all users of the agent. Users will not have to create a SQL connection for themselves, which easy for a developer but many end-users find it confusing.
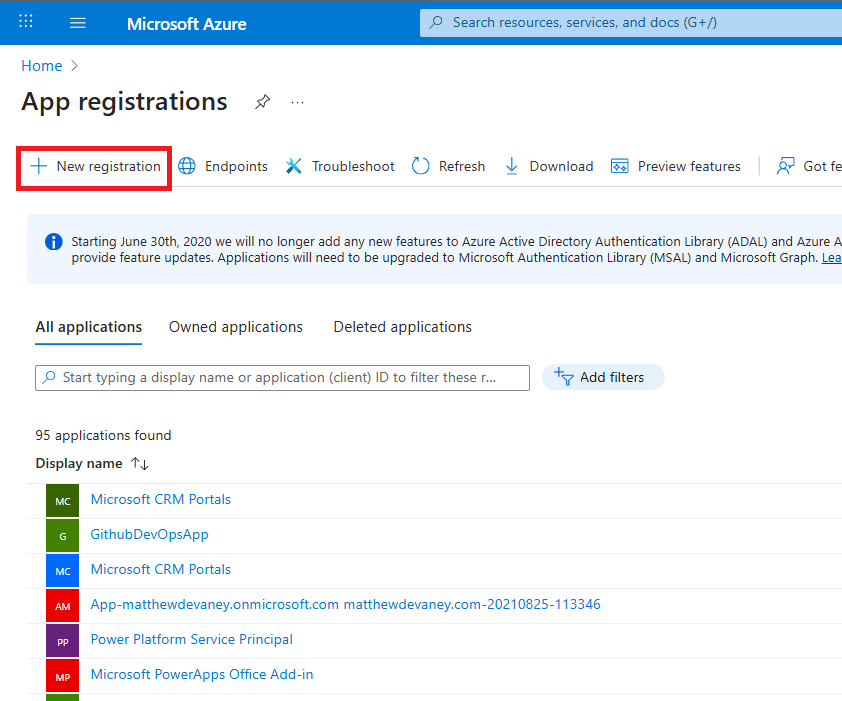
Go to the App Registrations menu in the Azure Portal and select New registration.
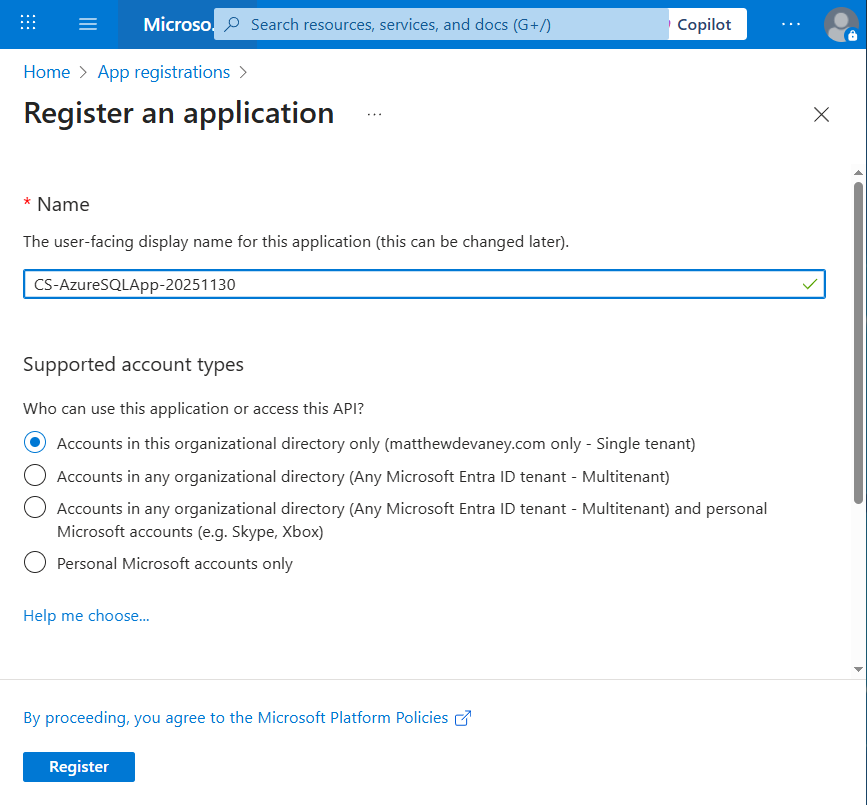
Give the app registration a name and press the register button.
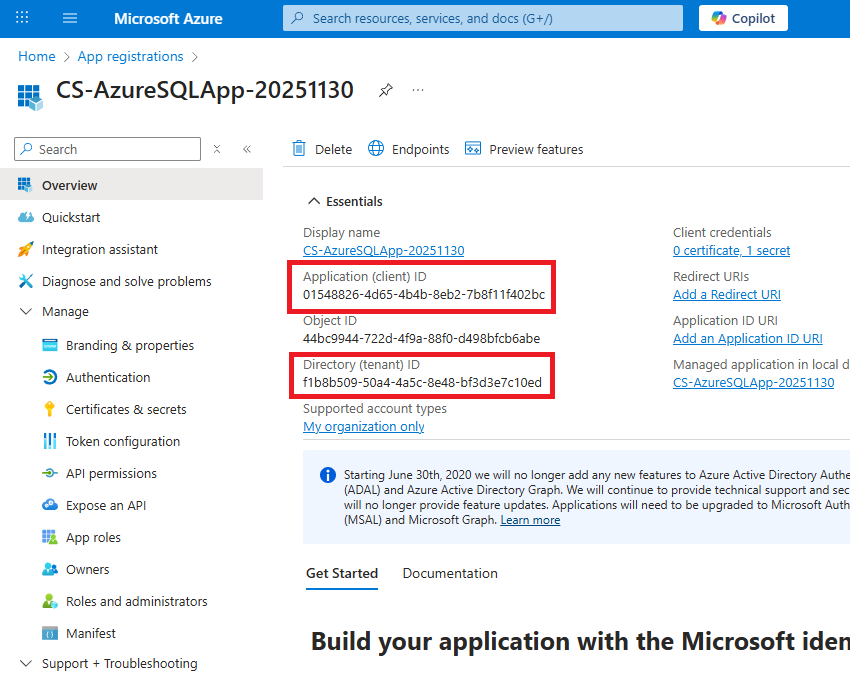
Note the Client ID and Tenant ID on the app registration overview page. These will be needed later when we setup the connection in Copilot Studio.
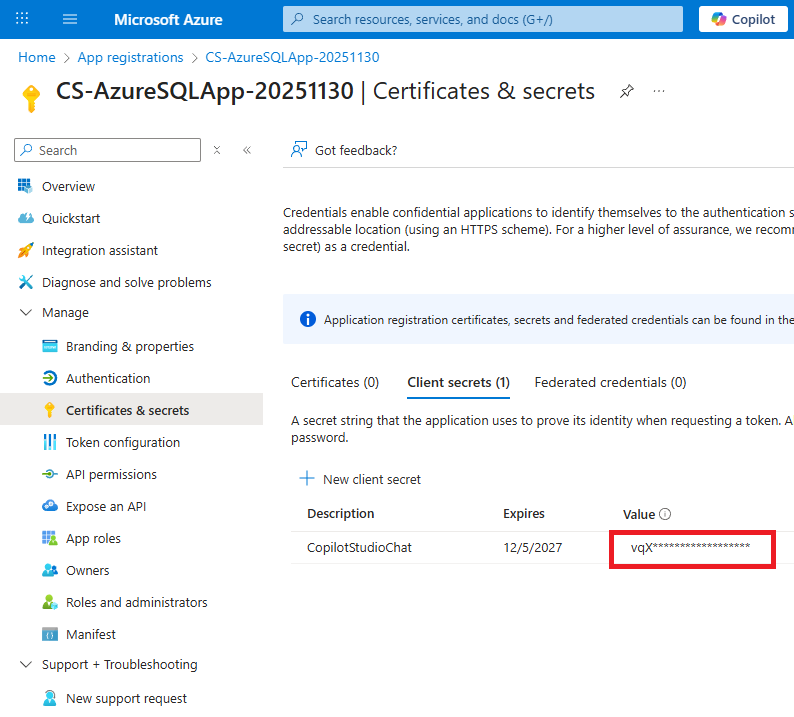
Navigate to the secrets menu and create a new client secret. Remember to copy this to a temporary location since secret values are only displayed on-screen once during their lifetime.
Setup A New External User In SQL Server Management Studio
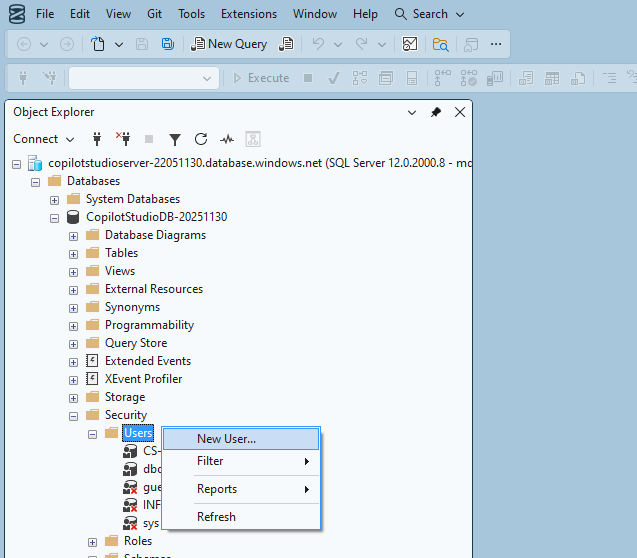
The SQL database requires a User account to be setup for the Service Principal. Right-click on the Users folder and select New User.
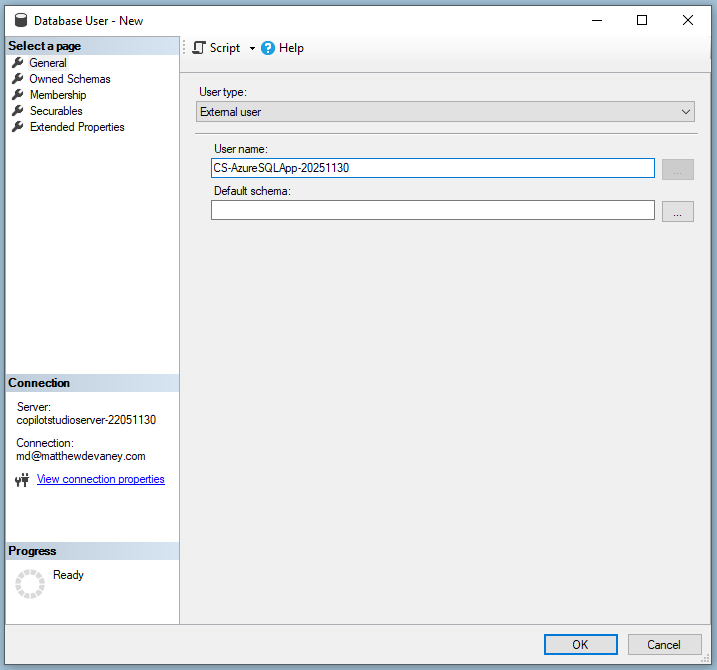
Select the user type External user and give it the exact same name as the app registration.
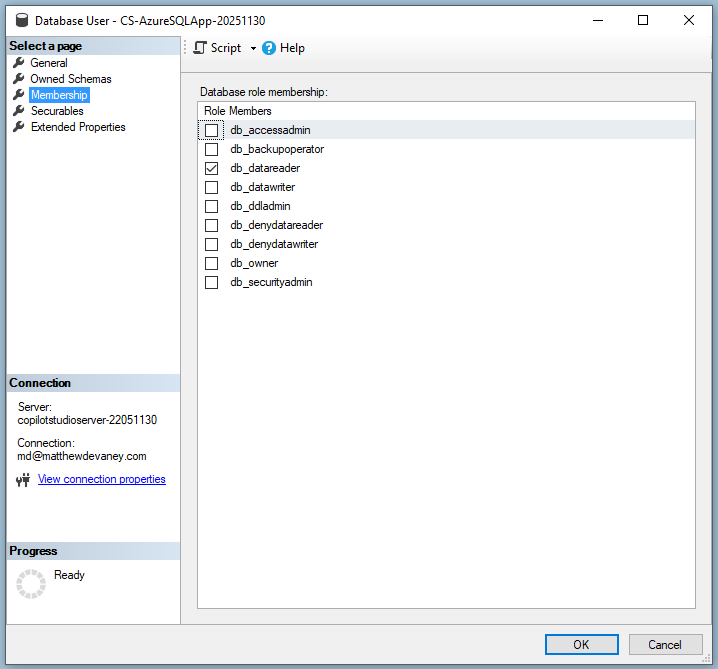
In the Membership tab select db_datareader. This will give the Service Principal read-only access to the SQL database.
Add Azure SQL Server As A Knowledge Source In Copilot Studio
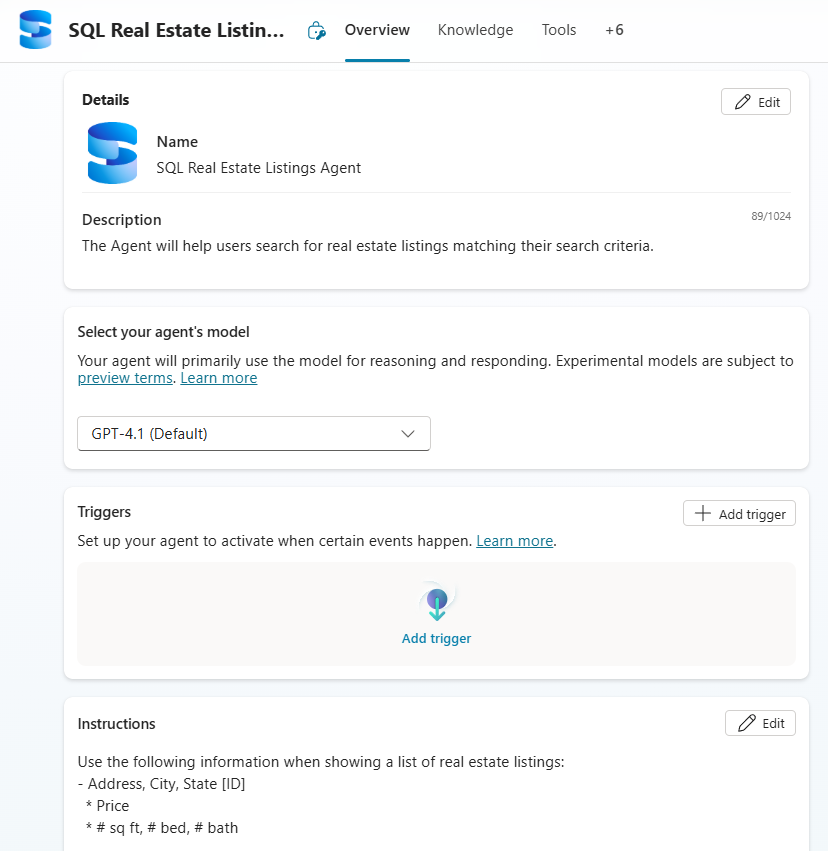
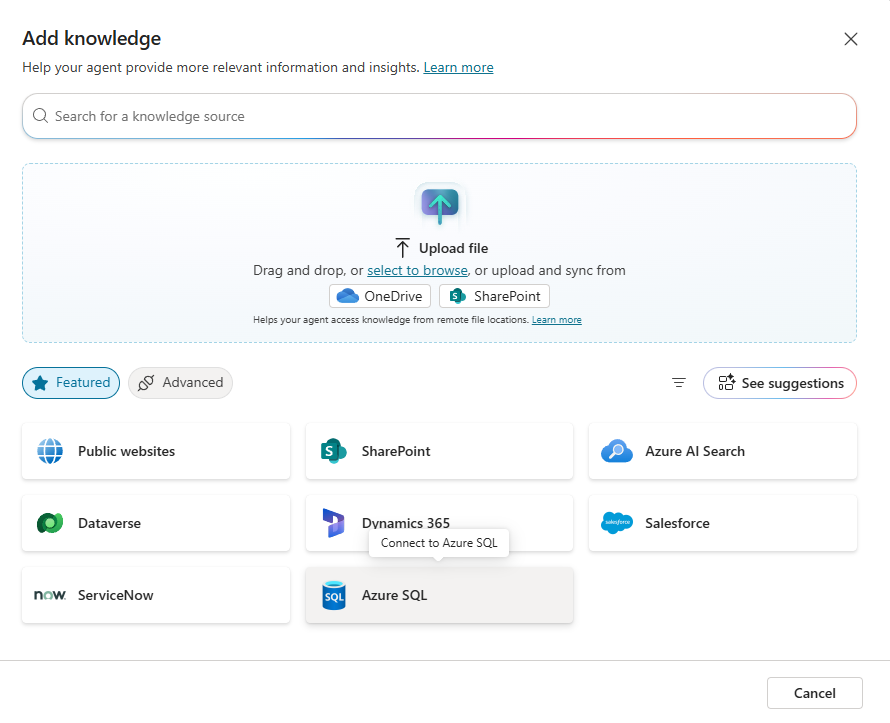
Now we are ready to add the SQL Server tables as knowledge in Copilot Studio. Create a new Agent, then navigate to the Knowledge tab and press the Add Knowledge button.
Choose the Azure SQL option.
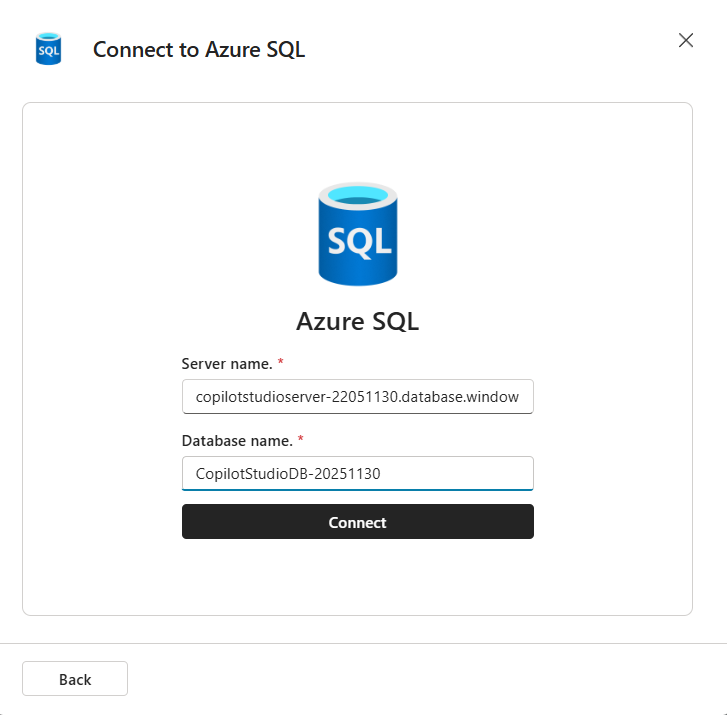
Input the Server name and the Database name used to create the new resources in Azure.
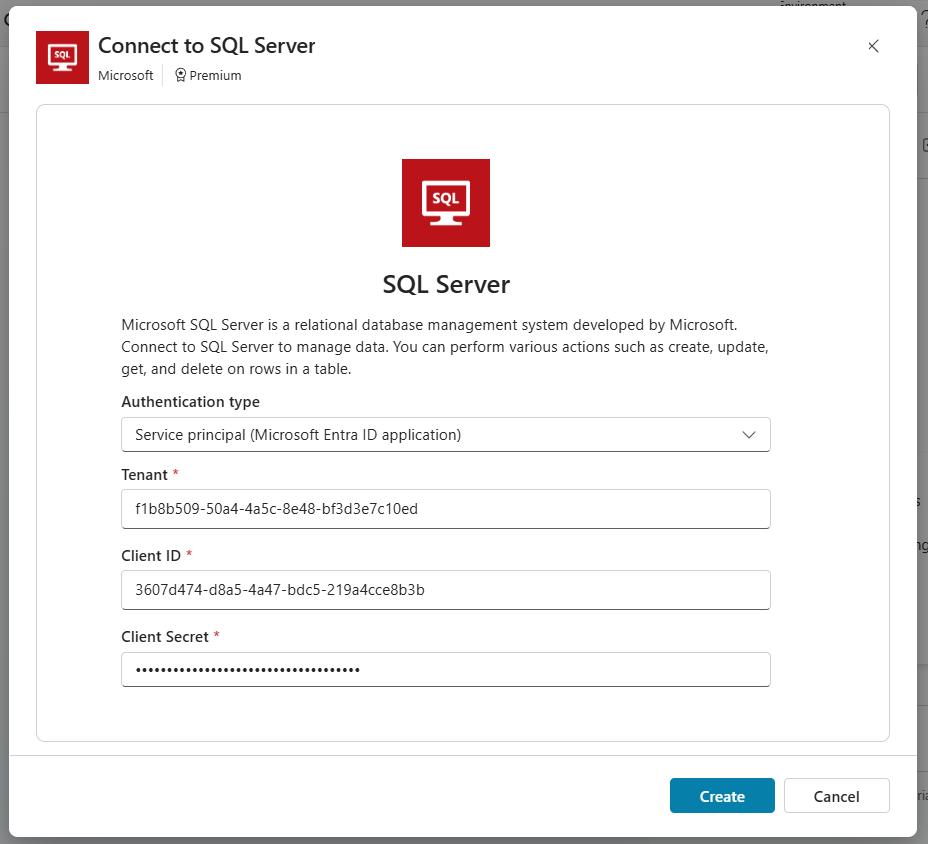
Choose the authentication type Service principal (Microsoft Entra ID application) and provide the Tenant, Client ID and Secret from the app registration.
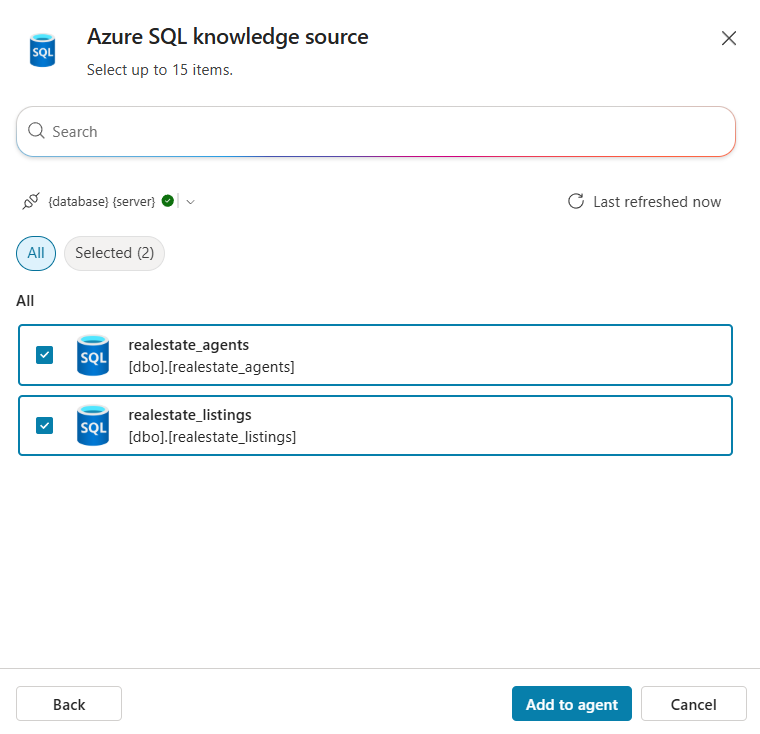
Finally, select the Listings and Agents table then press the add to Agent button.
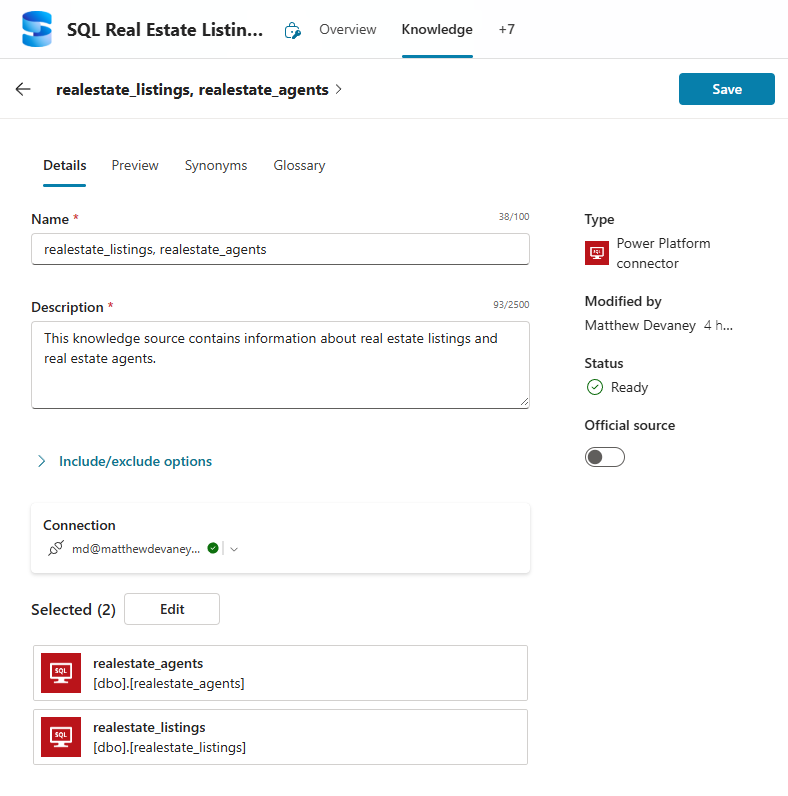
Inspect The Azure SQL Knowledge Source Details
To review the newly created Azure SQL knowledge source click on the three dots icon and select Edit.
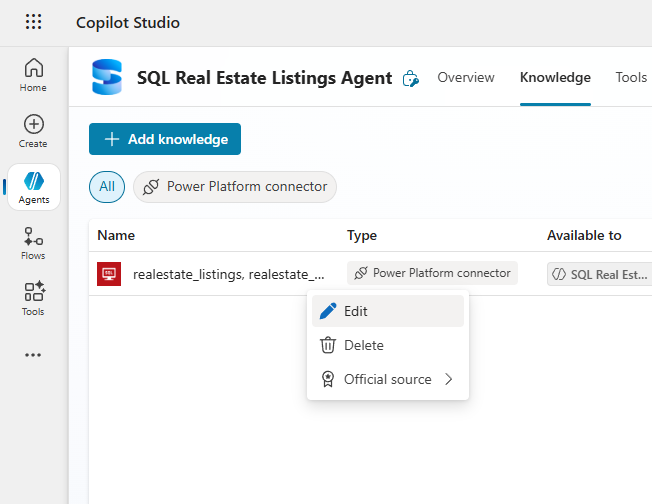
On this menu, we can edit the Name, Description, and selected tables. Leave them as they are.
Add Synonyms And Descriptions To Table Columns
Synonyms are words or phrases that have the same or very similar meanings. In the synonyms menu we can add synonyms to any table column to give it an alternate name. This helps the agent to understand when to use the column. Locate the listing_id column and give it the synonyms MLS Number, Property ID and Reference Number.
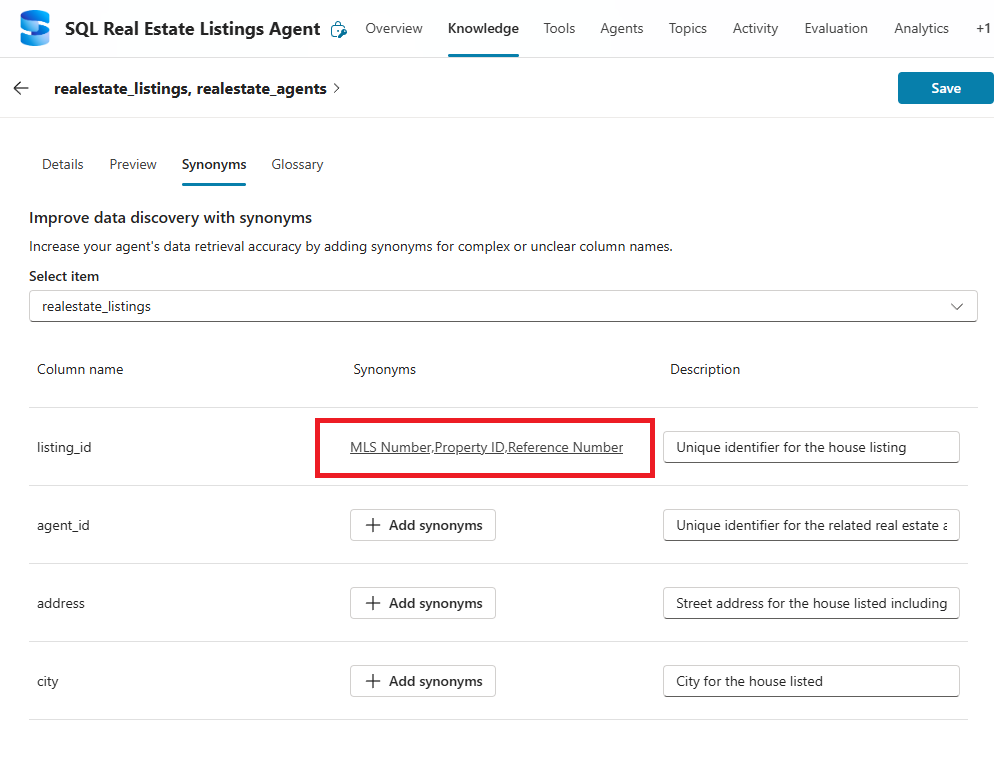
Now when we chat with the agent we can use a synonym like MLS Number and the Agent knows it is referring to the listing_id column.
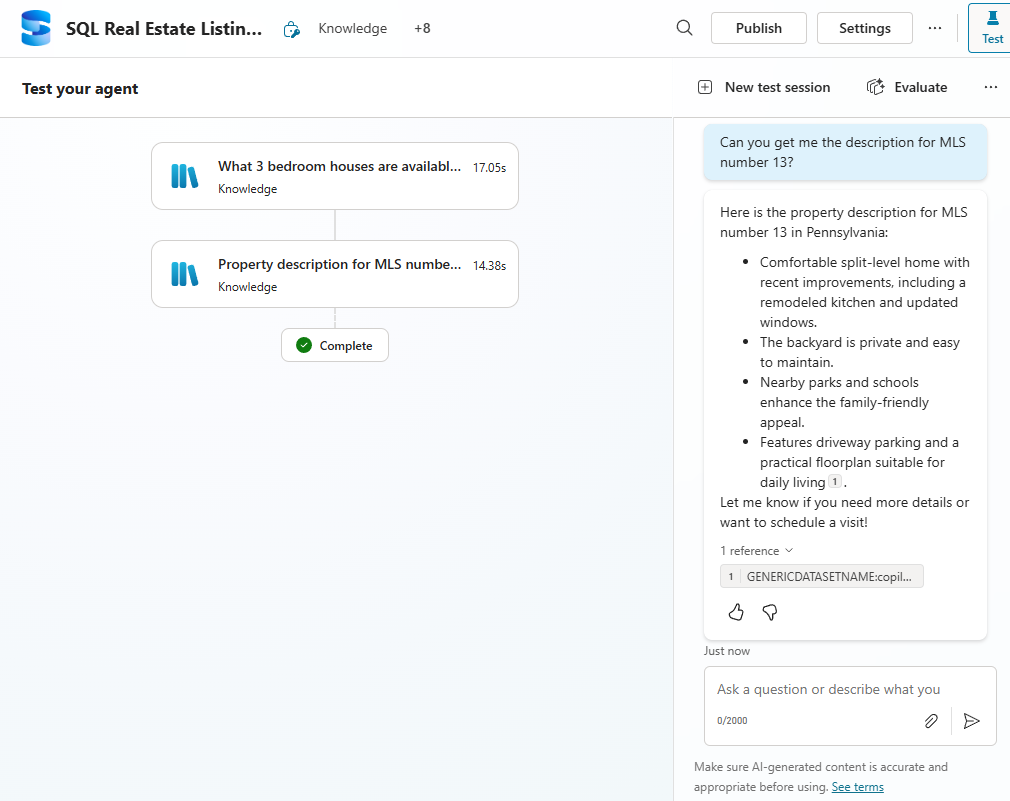
Descriptions are also helpful for providing context on when to use each table column. Write the a descriptions shown in the image below for the bedroom and bathrooms columns. It is recommended to write a description for all columns used by the agent.
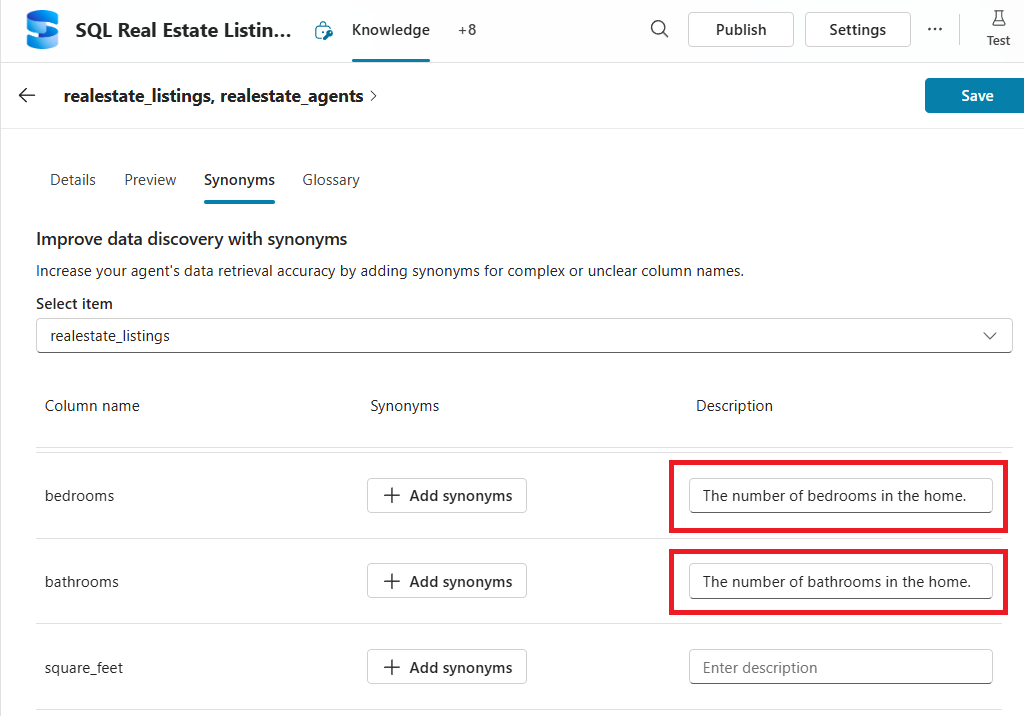
The agent successfully locates a house with 3 bedrooms in the search query shown below.

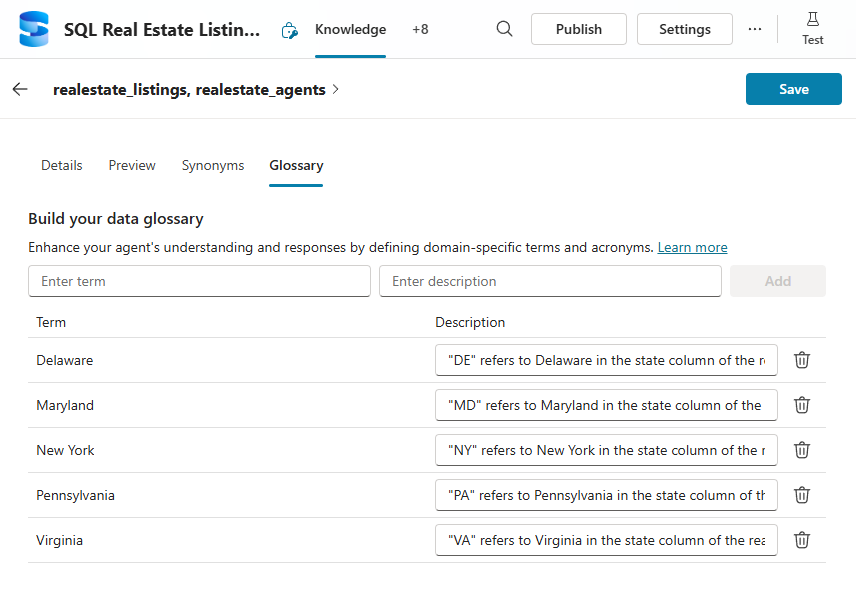
Build A Data Glossary For The Azure SQL Knowledge
The glossary is useful to give alternative descriptions of values found in a table’s data. In our database we used two character US state codes to describe where a property is located such as “DE”. However, the user might ask a question like “Show me homes listed in Delaware” which uses the State’s full name instead.
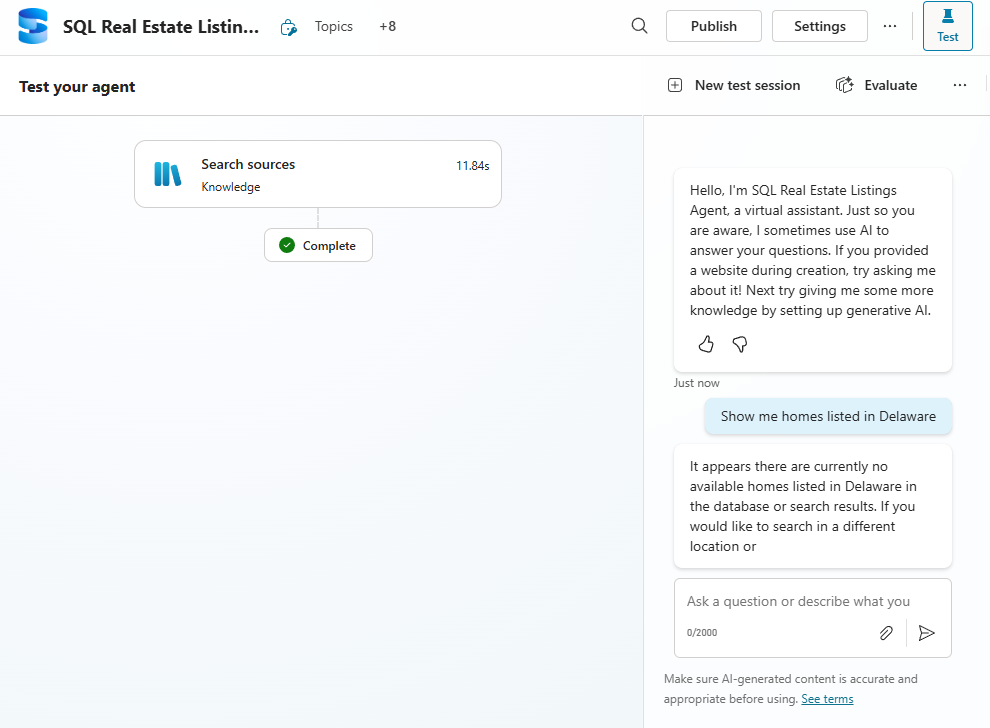
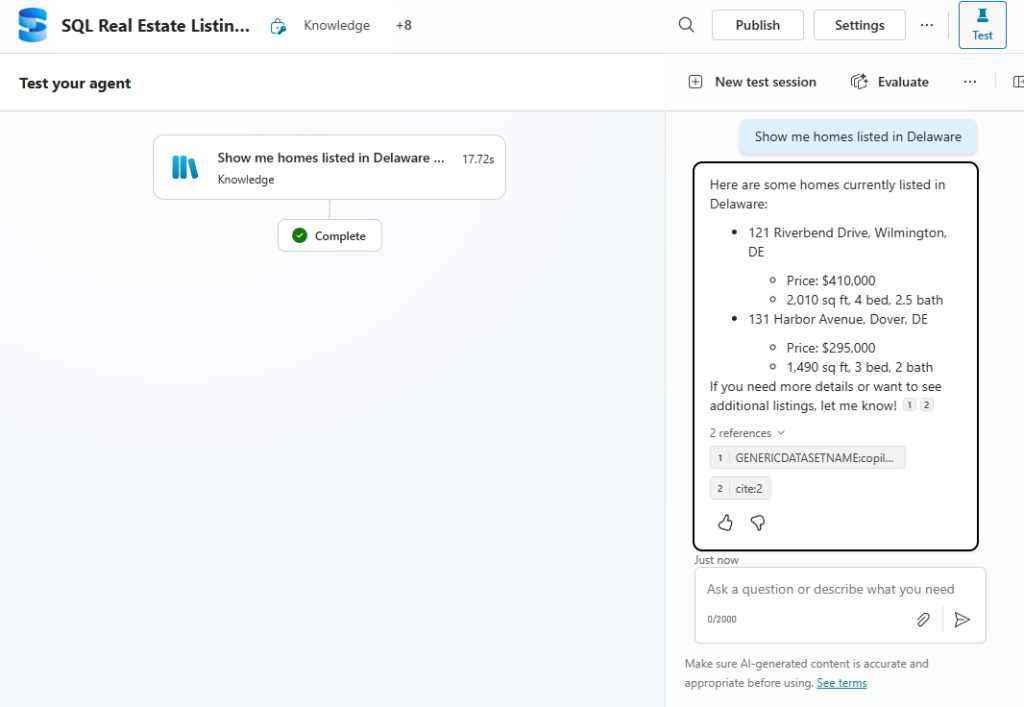
To solve this issue, we can add each US State to the data glossary as shown below.
Now the agent can search for homes in Delaware when the user’s query includes the full name.
Video: How To Use Azure SQL Knowledge In Copilot Studio
Watch this video for a full walkthrough of everything covered within the article.
Did You Enjoy This Article? 😺
Subscribe to get new Copilot Studio articles sent to your inbox each week for FREE
Questions?
If you have any questions or feedback about Copilot Studio: Connect An Azure SQL Database As Knowledge please leave a message in the comments section below. You can post using your email address and are not required to create an account to join the discussion.


Good morning and excellent work…
I actually set this up but then experienced very random results with out of date information. I queried copilot about this and it told me that you cannot use SQL as knowledge when the tables were extremely large. I have a sales orders table of over 600k lines and it indicated that there was a limit, I think of about 6k, that it would actually pull and use. Is that correct? Is there no way to use the capabilities of SQL to store large databases as knowledge?
Thank you for the great tutorial. I followed your guide and successfully creating an agent to answer question about O&G daily production volumes. I created a View from three tables to get all needed values and import into the agent.
The result is that it can answer value from a specific date but I noticed that if the question sth like show me production value from last 5 days, it can only return 2 values out of 5. The same with drawing line chart, the agent can only draw line from two days not 5, and agent indicated clearly that there is no data from other 3 days but indeed the value is exist on the preview tab.
Can you help me on this?
Thank you.