Azure AI Foundry Model In Copilot Studio Custom Prompts

Any custom model created in Azure AI Foundry can be used in Copilot Studio. This means developers are now longer limited to the standard Open AI models: GPT 4o-mini, GPT 4o, o3. Now we can use other models from different providers such as Llama (Meta), Grok (X), Deepseek, etc. After setup in Azure AI Foundry, the models can be selected in the AI Prompt designer and sent to the User as a message.
Introduction: Azure AI Foundry Custom Model In An AI Prompt
A Power Platform developer wants to use a custom model from Azure AI Foundry in an AI Prompt. After adding the custom model to Power Platform it becomes available to select in the models list.
Create An Azure AI Foundry Resource
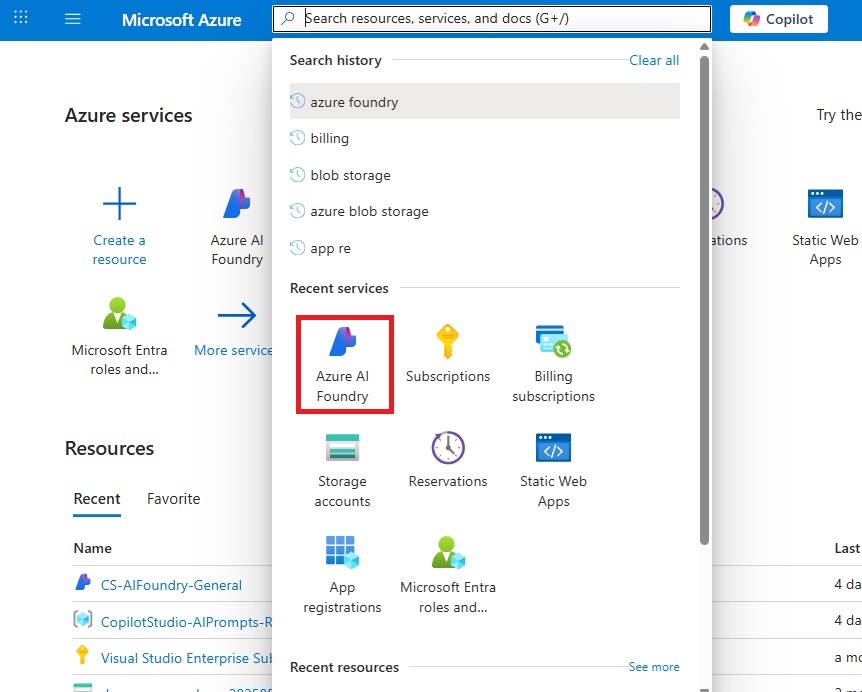
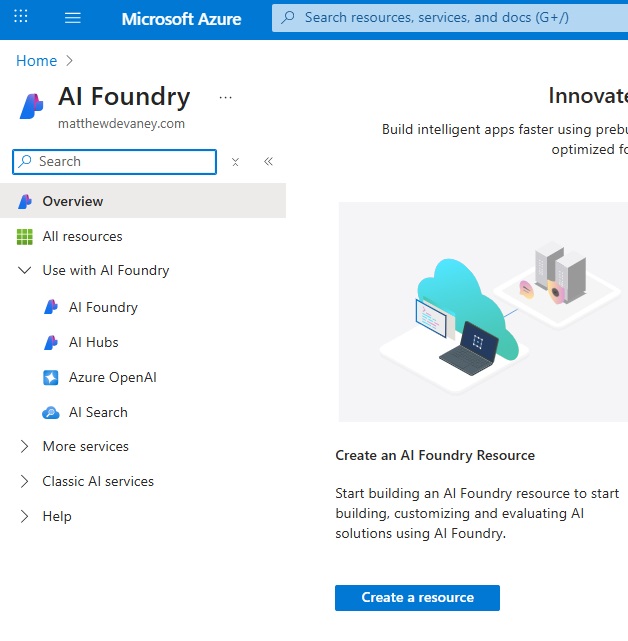
An Azure AI Foundry resource is required to be setup before deploying a custom model. Go to the Azure Portal and open Azure AI Foundry.
Press the create a resource button.
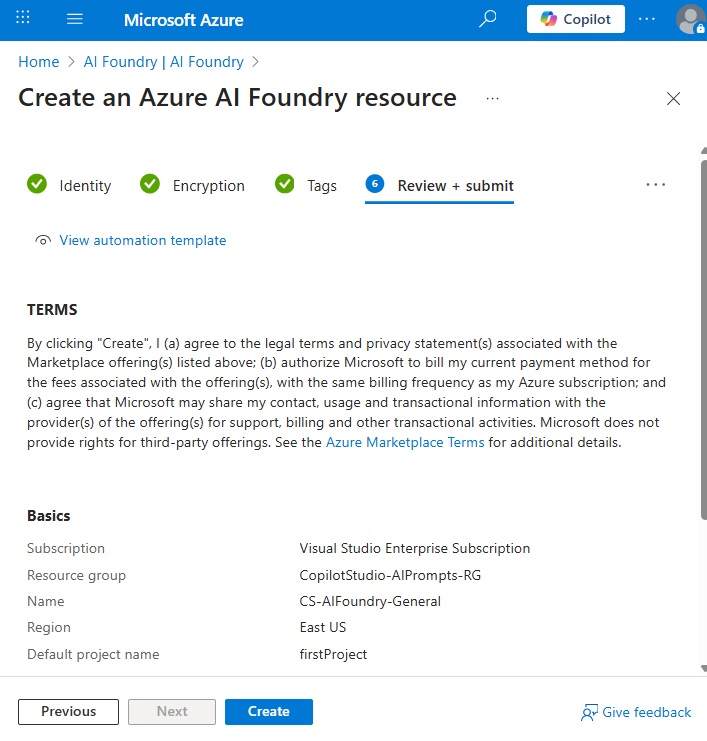
Choose a subscription, resource group, name and region. It is recommended to create a new resource group to track AI usage separately from other Azure resources.

Advance through the remaining tabs by pressing the Next button. Do not update any fields in them. On the review and submit tab press the Create button.
Go To The Azure AI Foundry Portal
The Azure AI Foundry resource will take a few moments to be deployed. Once deployment is completed press the Go to resource button.
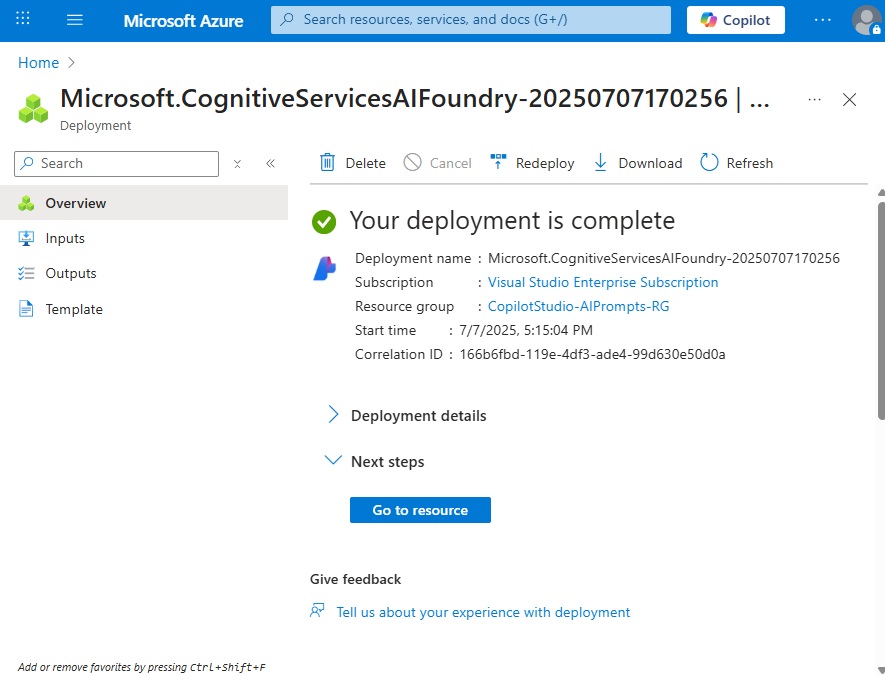
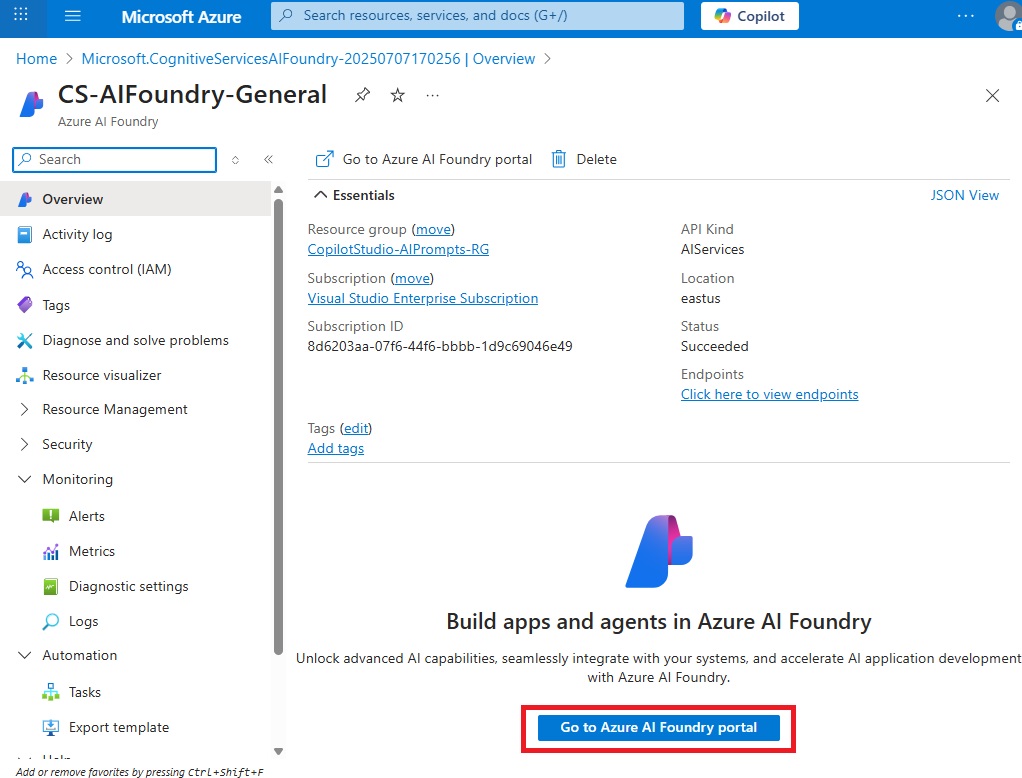
Then press the Go to Azure AI Foundry portal button on the next page.
Deploy A Custom Model In Azure AI Foundry
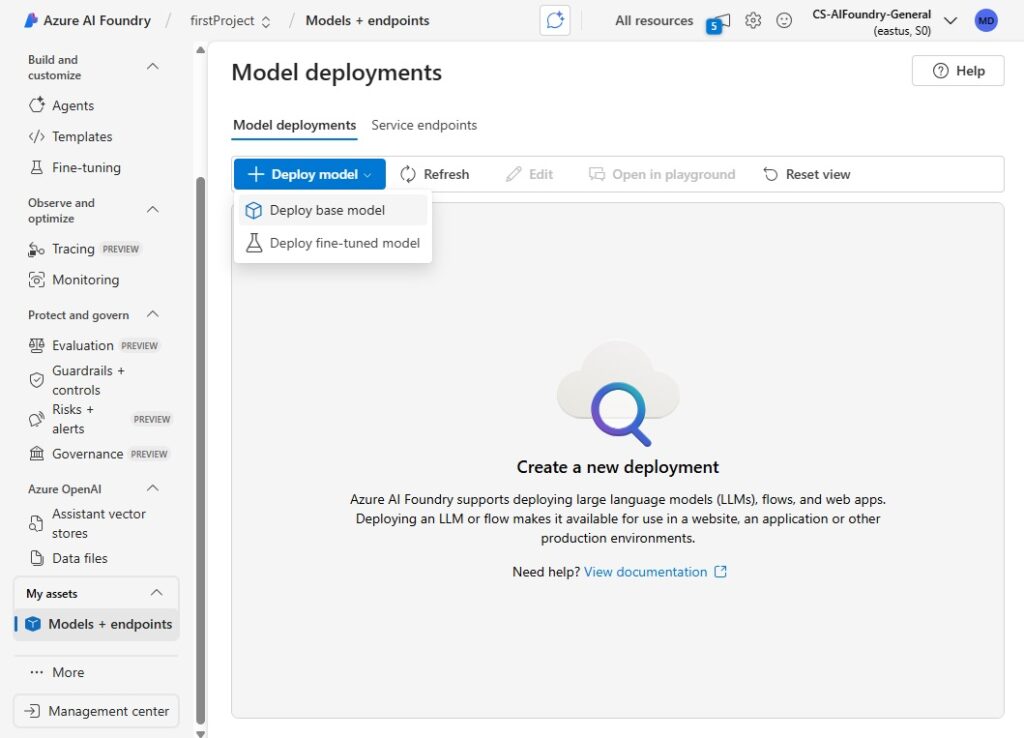
We want to deploy a custom model in Azure AI Foundry and use it in Copilot Studio. Navigate to the Models + endpoints page, then deploy a new base model.
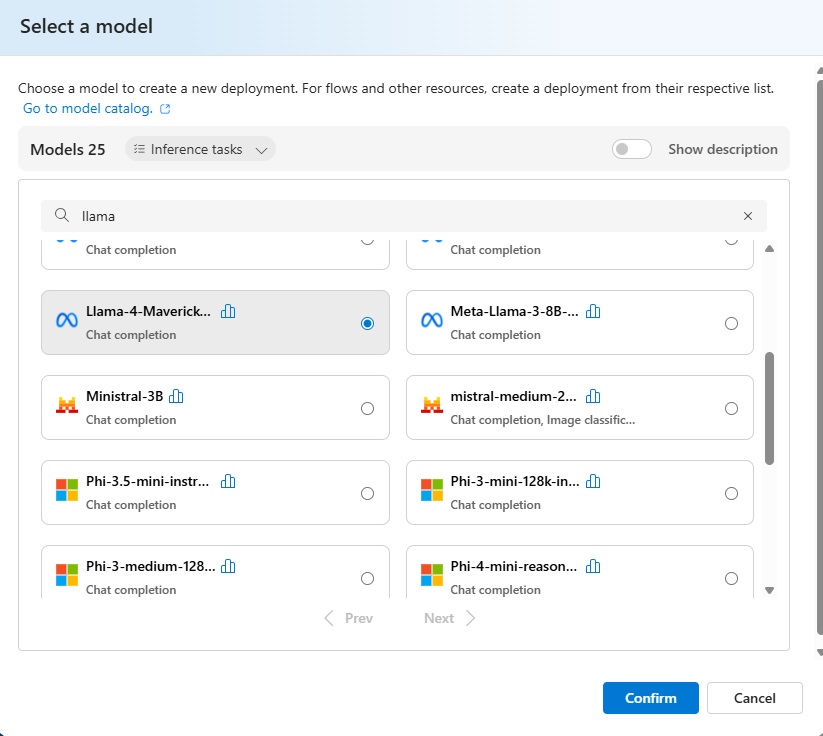
Select any model of your choice and press the Confirm button. In this example, we will use the Llama 4 Maverick model provided by Meta.
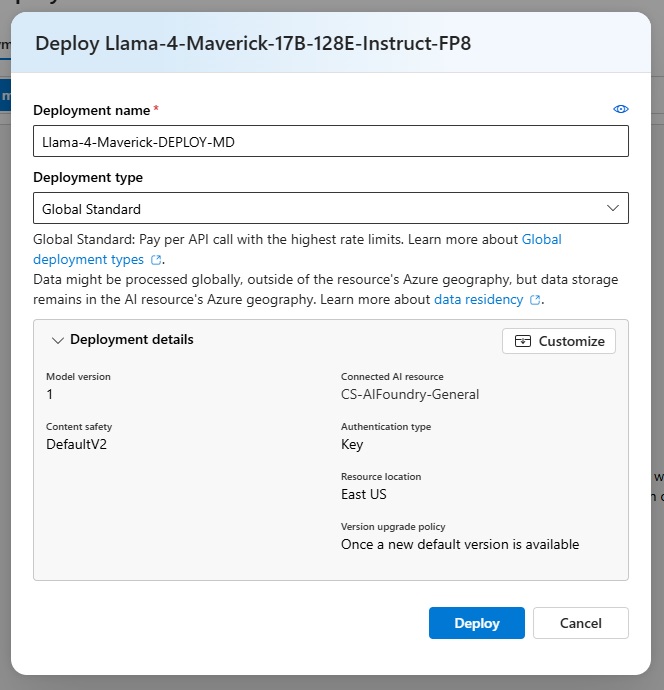
Give your deployment a unique name that is different from the default value. This will help us identify it from other custom models that have been deployed by others. Choose a deployment type and press the Deploy button.
Get The Azure AI Foundry Model Details
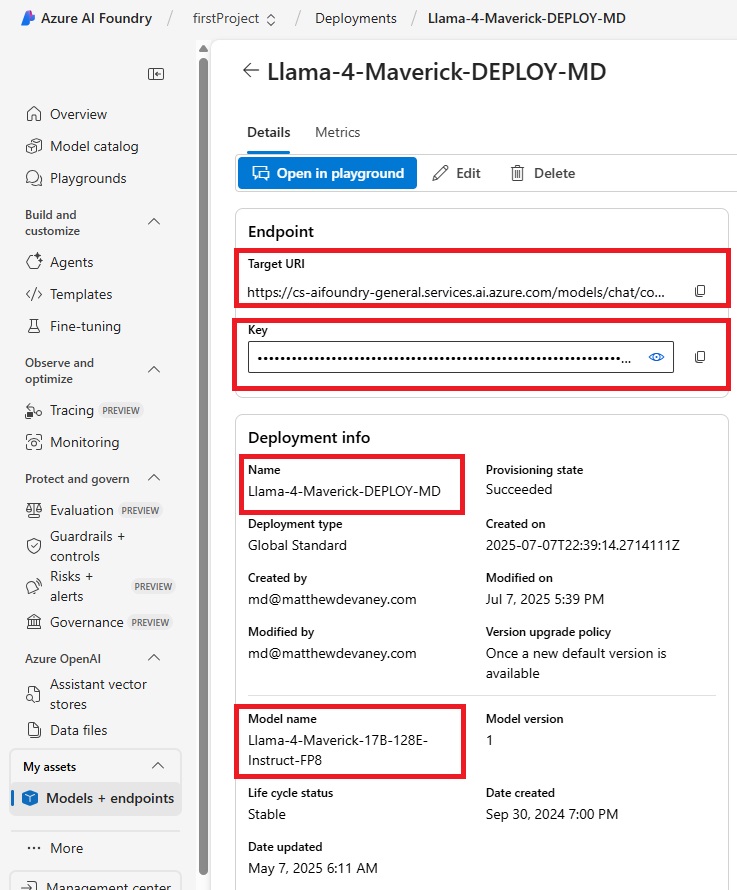
Azure AI Foundry will open the the model’s details page immediately after deployment. On this page there are pieces of information we will need to connect the model to Copilot Studio.
- Target URI – endpoint where requests to the Agent should be sent
- Key – password for access to the endpoint
- Name – display name of the model
- Model Name – base model name
Connect A Model From Azure AI Foundry
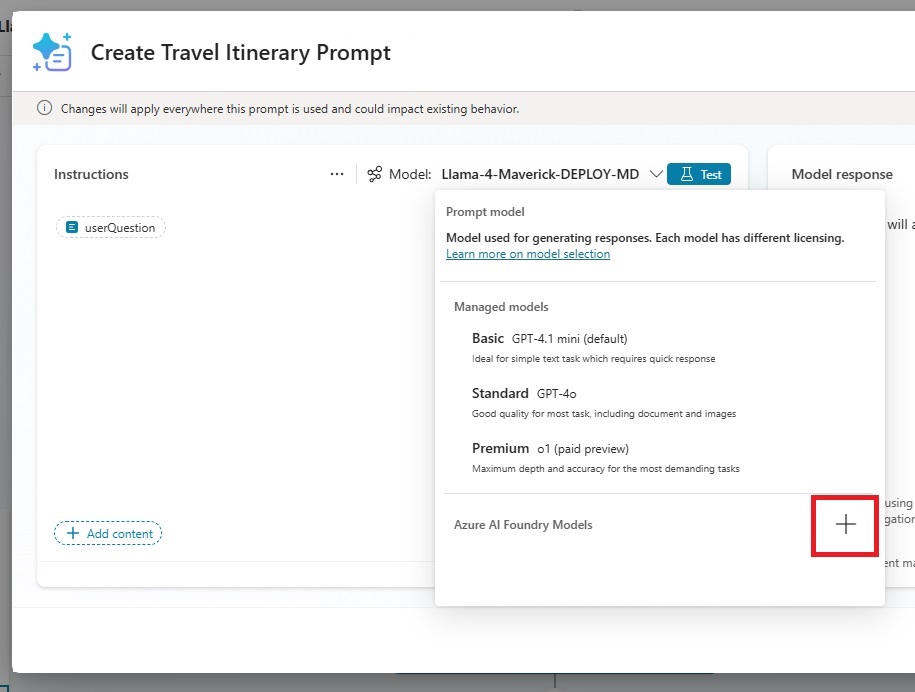
It’s time to connect our model to Copilot Studio. Create a new prompt action in an Agent, open the models dropdown, and press the add icon.
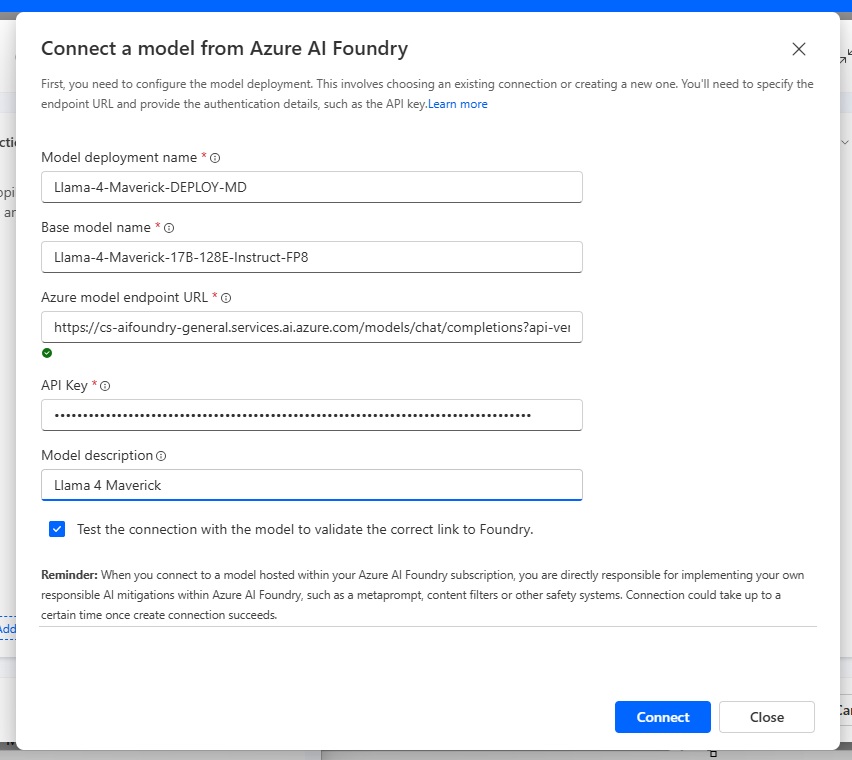
Supply the following values from Azure AI Foundry to the configuration form. Give the model a description in Power Platform and check the test the connection checkbox. Then press the Connect button.
| Copilot Studio Field Name | Azure AI Foundry Field Name |
| Model deployment name | Target URI |
| Base model name | Name |
| Azure model endpoint URL | Model Name |
| API Key | Key |
The connection will take a few moments to be verified and then the menu can be closed.
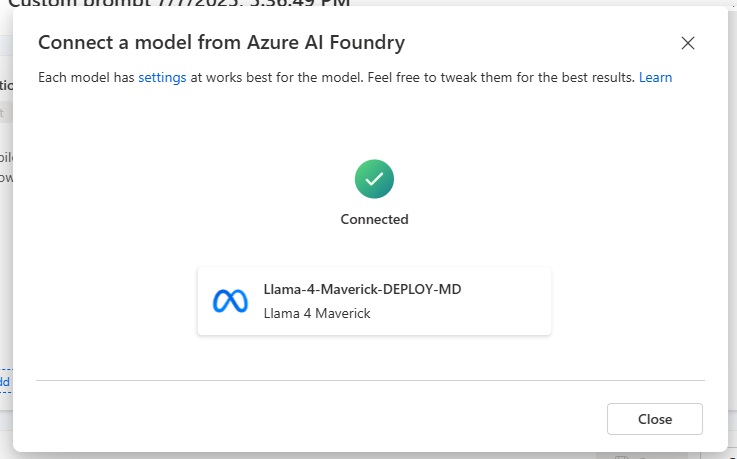
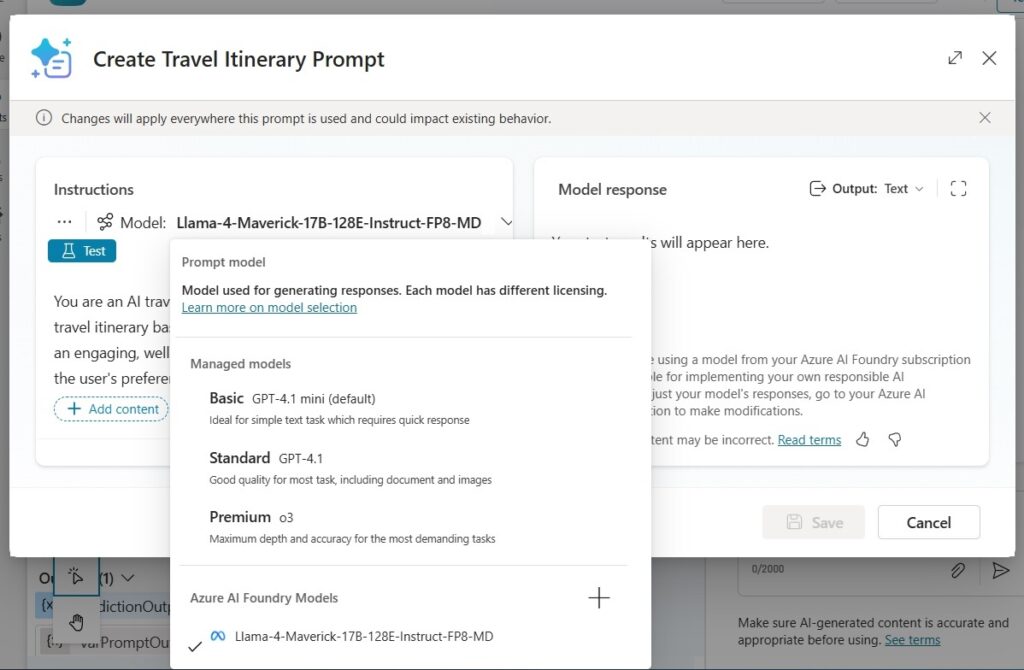
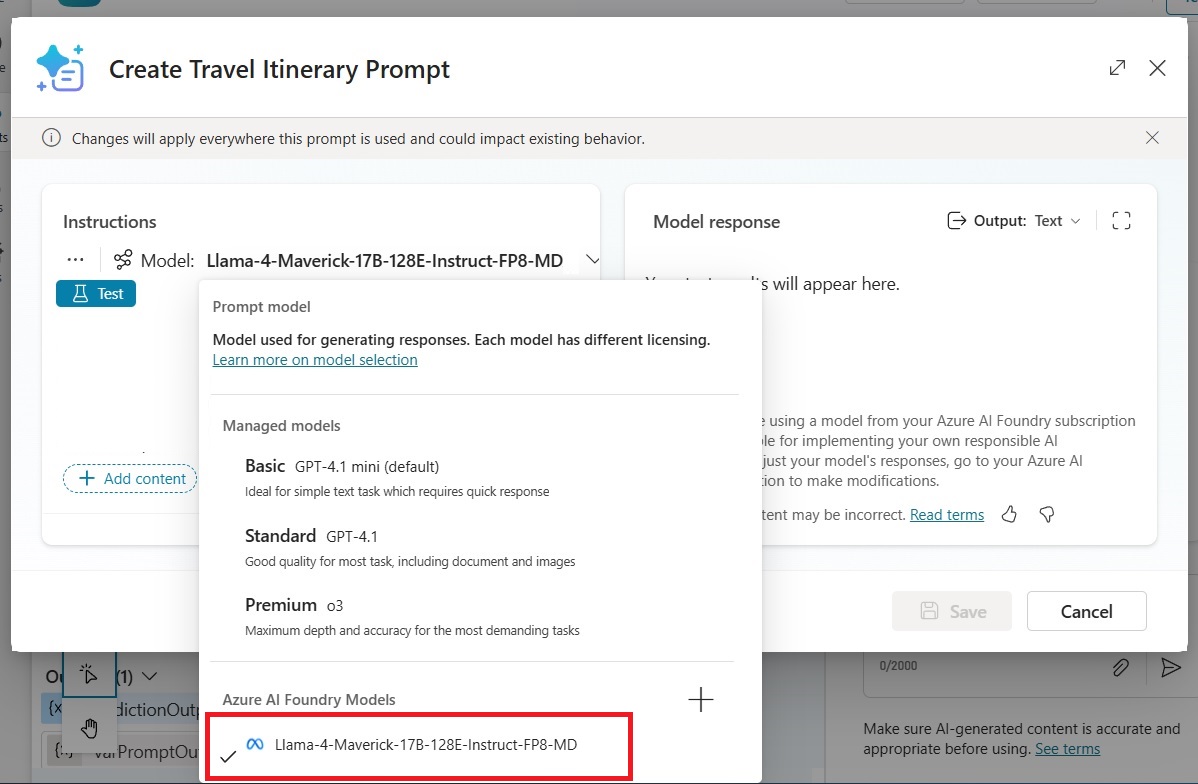
Select the Llama 4 Maverick prompt model in the AI Prompt designer.
Add Instructions & Input Variables To The AI Prompt
The prompt we will creates a travel itinerary for the user based on the User’s input city, number of days and travel preferences.
Name the prompt Create Travel Itinerary Prompt. Set model response output type to text.
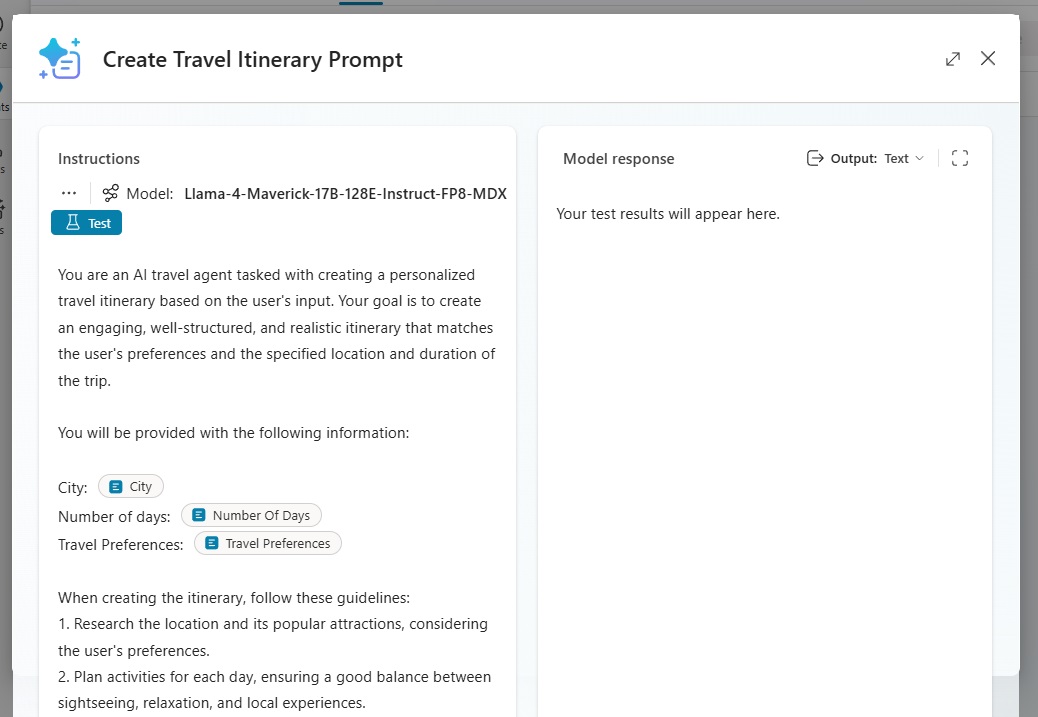
Use the following instructions:
| You are an AI travel agent tasked with creating a personalized travel itinerary based on the user’s input. Your goal is to create an engaging, well-structured, and realistic itinerary that matches the user’s preferences and the specified location and duration of the trip. You will be provided with the following information: City: [City] Number of days: [Number Of Days] Travel Preferences: [Travel Preferences] When creating the itinerary, follow these guidelines: 1. Research the location and its popular attractions, considering the user’s preferences. 2. Plan activities for each day, ensuring a good balance between sightseeing, relaxation, and local experiences. 3. Include recommendations for meals, considering local cuisine and the user’s dietary preferences if mentioned. 4. Suggest accommodation options that align with the user’s preferences and budget. 5. Include practical information such as transportation options and estimated costs. 6. Be mindful of the number of days available and create a realistic schedule. Present your itinerary in the following format: 1. Start with a brief introduction to the destination. 2. Provide a day-by-day breakdown of activities, meals, and accommodations. 3. End with additional tips or recommendations for the trip. Now, based on the provided location, number of days, and user preferences, create a personalized travel itinerary. Be creative and thorough in your recommendations, and ensure that the itinerary reflects the user’s interests and the unique aspects of the destination. Present your itinerary within <itinerary> tags. |
Add the following prompt input variables and use these test values.
| Input Variable | Test Value |
| City | London |
| Number Of Days | 7 |
| Travel Preferences | Must allow cats |
Build A Topic In Copilot Studio To Create A Travel Itinerary
In Copilot Studio, add a new blank topic named Create Travel Itinerary.
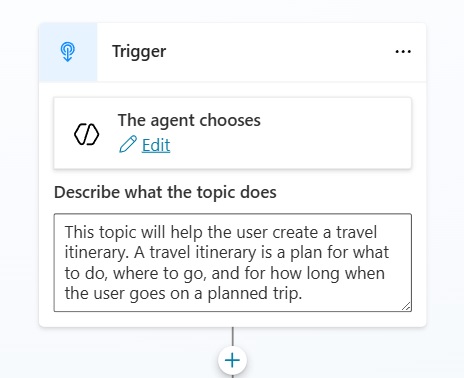
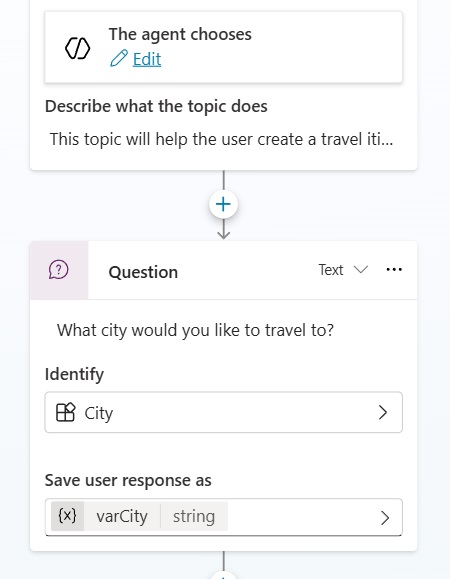
Use the following description for what the topic does in the trigger.
| This topic will help the user create a travel itinerary. A travel itinerary is a plan for what to do, where to go, and for how long when the user goes on a planned trip. |
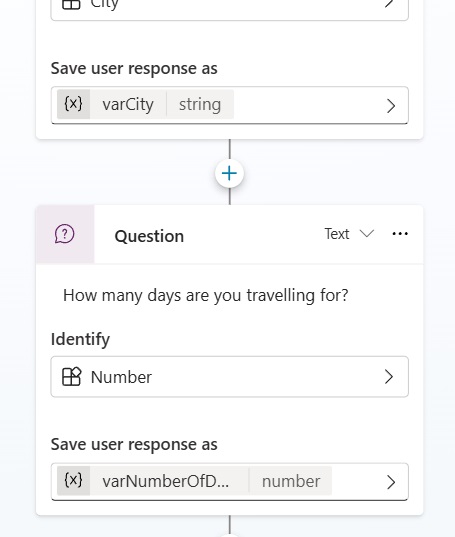
Then add three question nodes to capture the City, Number Of Days and Travel Preferences required for the prompt. Ask the User “What city would you like to travel to?” in the first question node and choose Identify City. Change the response variable name to varCity.
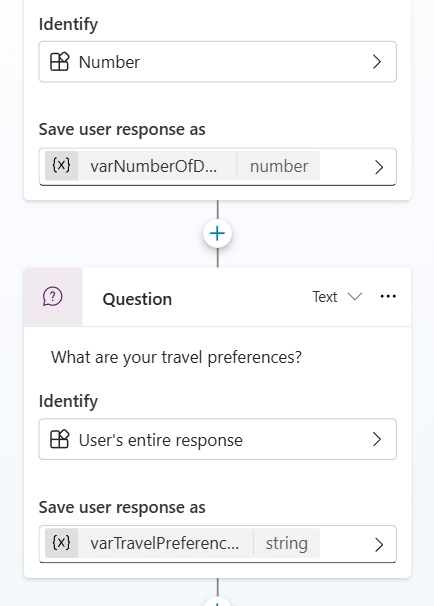
The second question node should ask “How many days are you travelling for?” Identify the Number and update the response variable to varNumberOfDays.
The third question node will ask “what are your travel preferences?” Identify the User’s entire response and set the response variable name to varTravelPreferences.
Add A Prompt Node To The Topic
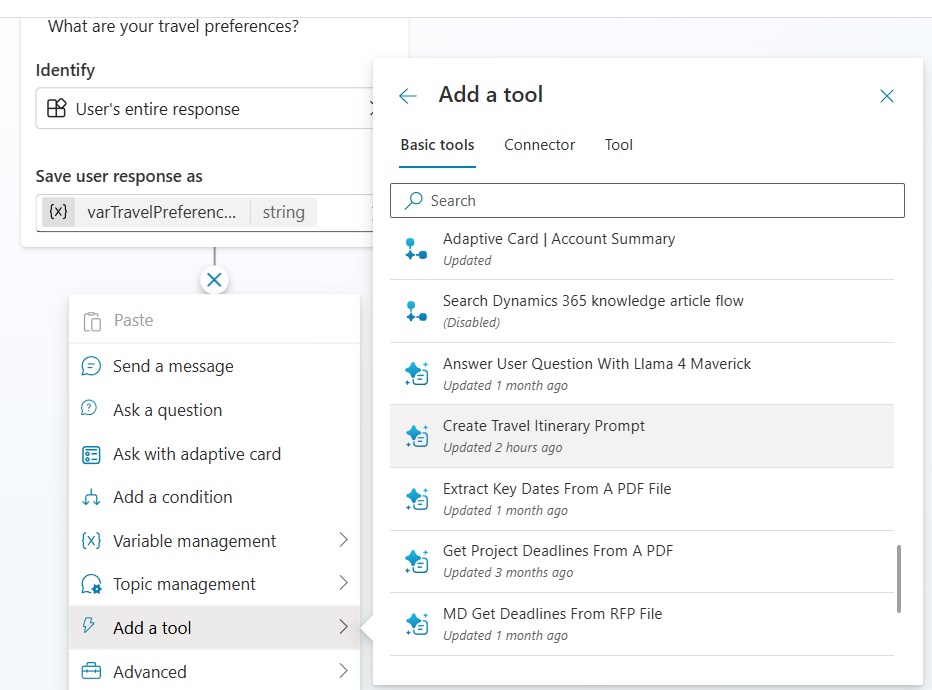
The 3 question nodes have now captured City, Number Of Days and Travel Preferences from the User. We will now supply them to the Create Travel Itinerary prompt.
Go to Add a Tool and select Create Travel Itinerary prompt to create a new prompt node.
Add the variables to the prompt inputs. Change the prompt output variable to varPromptOutput.
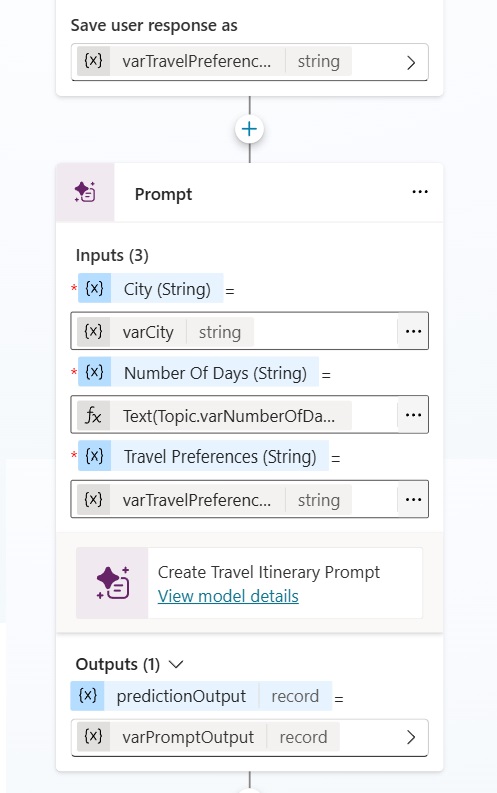
The Number Of Days variable must be entered as a formula because the prompt cannot accept a number. Use this formula to convert the number to text.
Text(Topic.varNumberOfDays, "0")Code language: JavaScript (javascript)
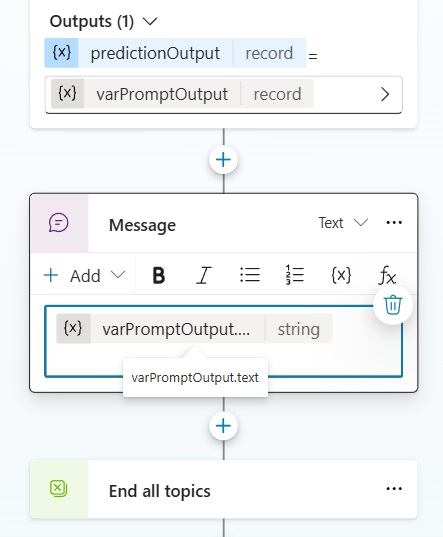
Finally, insert a message node and use the variable property varPromptOutput.text to display the model output to the User. Insert an End all topics node at the end of the topic.
Test The Custom Model Response In Copilot Studio
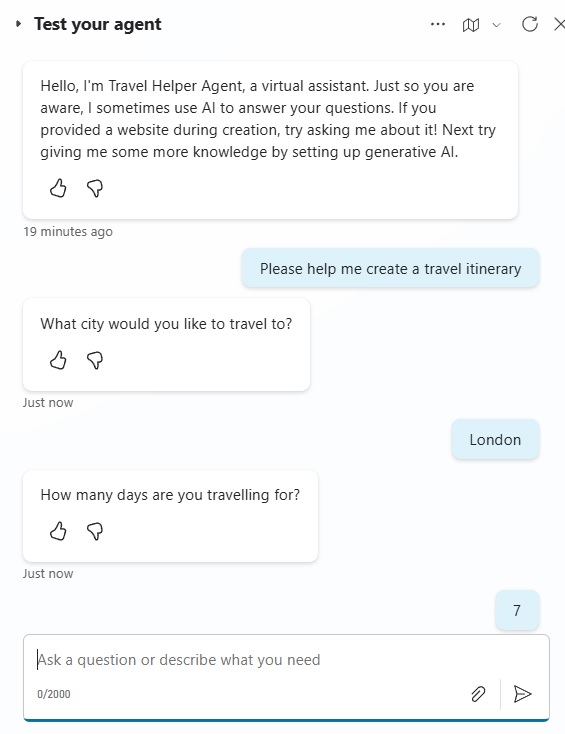
We’re done. Open the test chat window in Copilot Studio and trigger the topic. Ask the Agent a to help create a travel itinerary. The Agent will respond by asking for the City, Number Of Days and Travel Preferences.
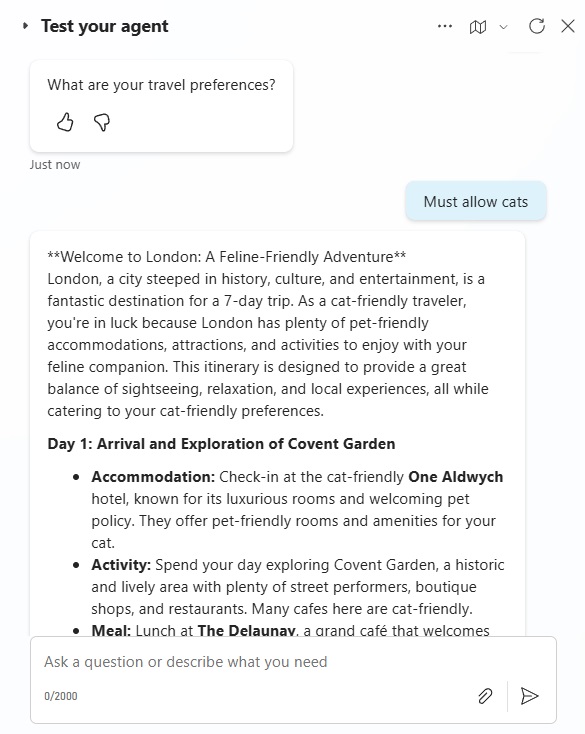
Then the Agent will output a full travel itinerary based on the User’s inputs.
Video: Master Copilot Studio Prompts with Azure AI Foundry Models
Watch this video for a complete walkthrough of how to build the Agent outlined in the article.
Did You Enjoy This Article? 😺
Subscribe to get new Copilot Studio articles sent to your inbox each week for FREE
Questions?
If you have any questions or feedback about Azure AI Foundry Model In Copilot Studio Custom Prompts please leave a message in the comments section below. You can post using your email address and are not required to create an account to join the discussion.


Great work putting this together.
Something I just learned is it is limited to chat-output models.
Was trying to output an image, but it doesn’t allow image-output models like Dalle/etc yet. So have stuck with HTTP connector in Power Automate for now for these action types