
Writing Reusable Code
Create Child Flows To Store Repetitive Logic
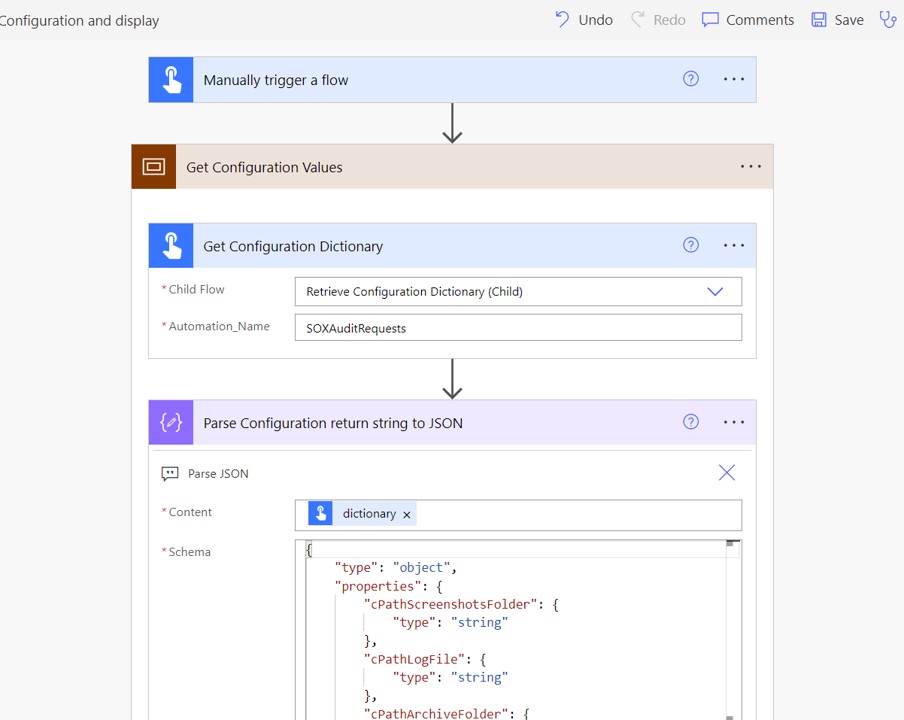
A flow that is called by another flow and passes back the result is known as child flow. Child flows should be created when there is repetitive logic used multiple times in the same flow. Or when there is repetitive logic used across multiple flows. Write the child flow once and use it in several locations.
Child flows are also recommended to abstract complex flow logic. Moving sections of code from a lengthy flow into child flows can make it more manageable/easy to understand.
Favor Custom Connectors Over The HTTP Action For Reusability
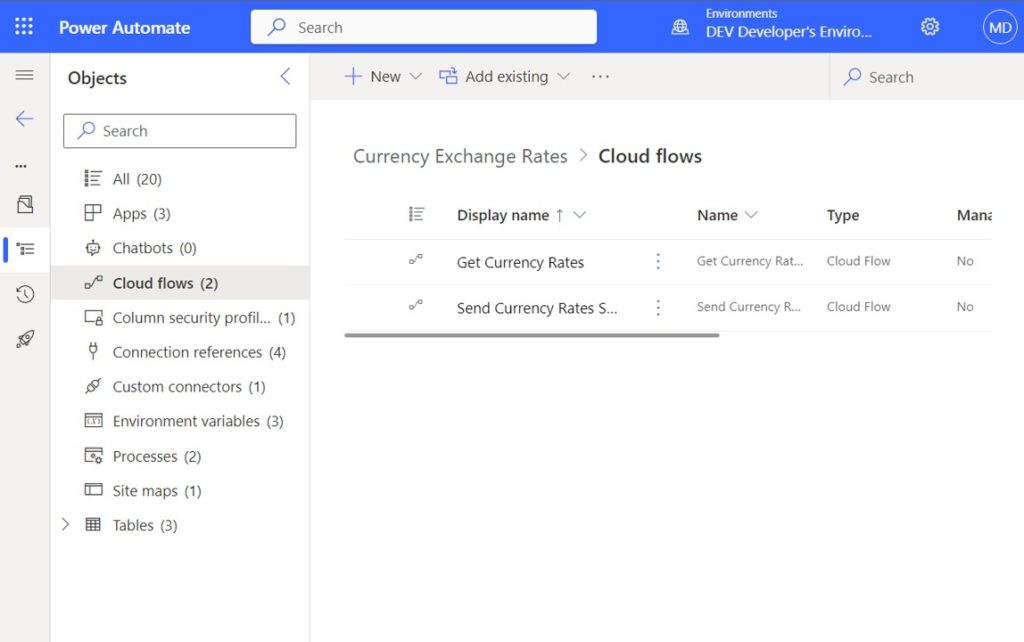
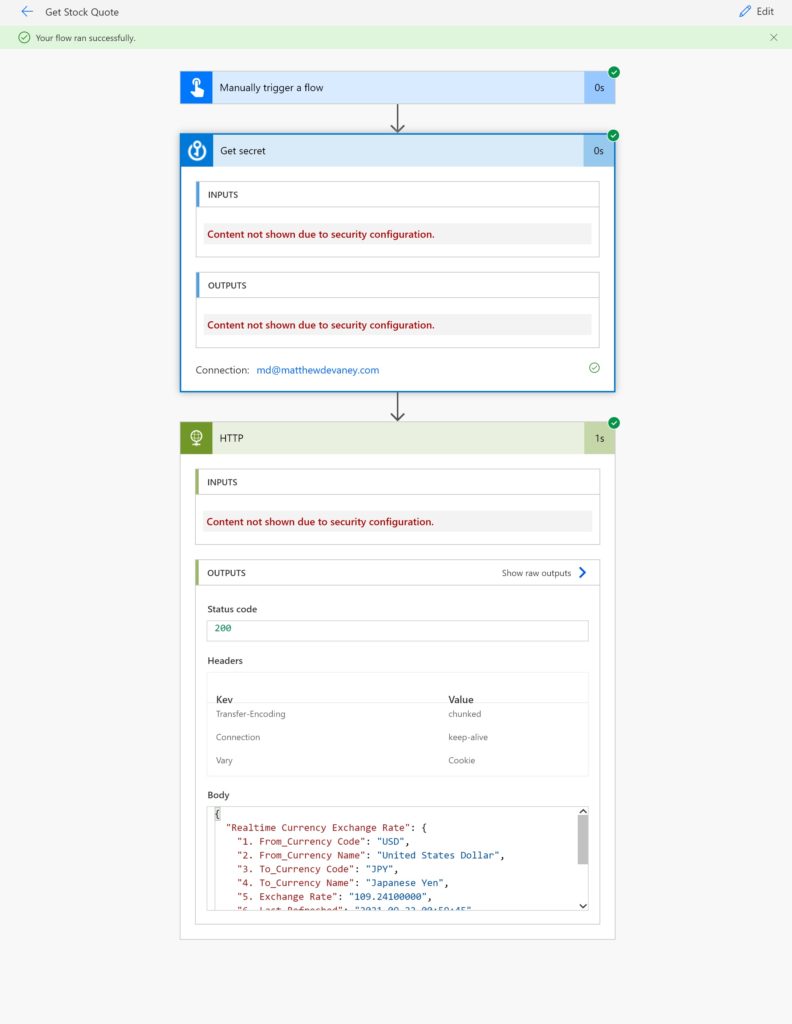
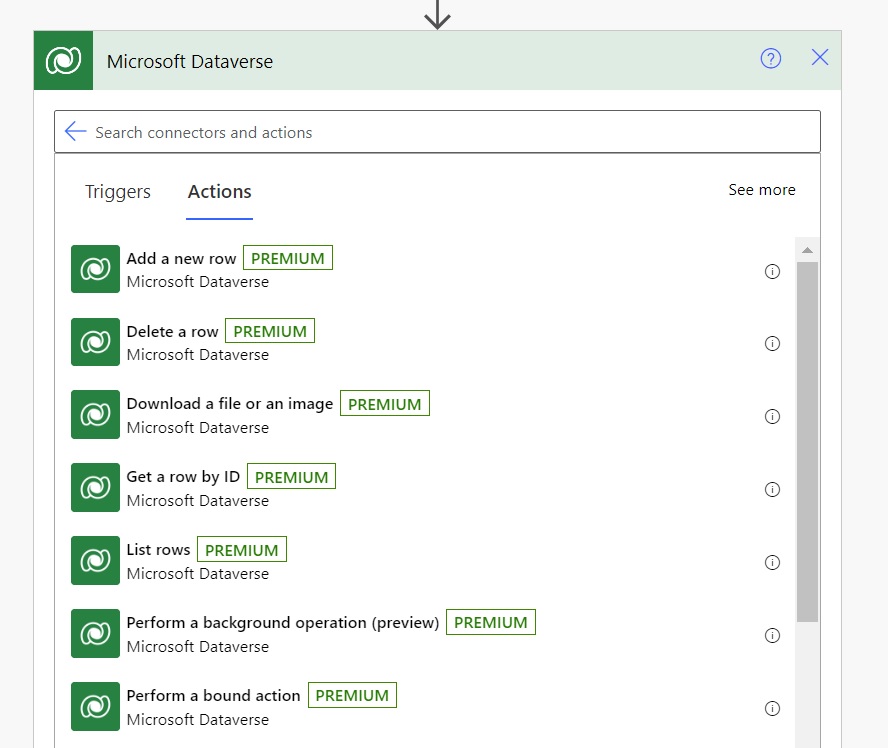
When no suitable connector exists we have the option to use an HTTP action or a custom connector to extend Power Automate’s capabilities. Custom connectors are preferable because they can be created once and deployed to the rest of the organization for everyone to use. For example, a custom connector to find the US Dollar exchange rate has many use-cases.

Always Build Flows Inside Of A Solution
Build flows inside of a solution so they can be easily transported across environments. As new flow actions are added, and connection references are created, those connection references will automatically be placed in the solution. Environment variables used by the flow should also be added to the solution as well.
Security Architecture
Secure Inputs/Outputs For Passwords, API Keys and Secrets
Credentials coming from Azure Key Vault, CyberArk, etc. should never be displayed in the flow run history. Change the flow action settings to secure inputs/outputs for every step where sensitive information is showing.
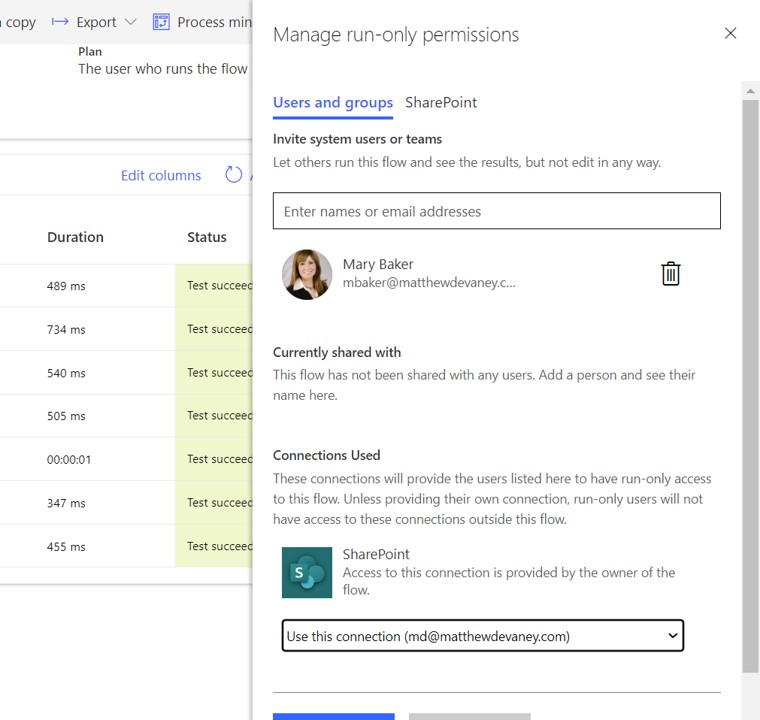
Enable Elevated Permissions By Configuring Run As User
Power Automate flows are run in the context of a user account. The user account is what determines the permissions a flow has. Flows with instant or Power Apps triggers are run in the context of the user who performed the action to start them.
Configure the Run As Users setting to impersonate another user account during the flow run. Use this ability to grant elevated permissions inside the flow that the user would not normally have.
Platform Considerations
Be Aware Of Power Platform Request Limits
There is a maximum amount of Power Platform requests a user can make in a 24 hour period. Most flow triggers and actions count as 1 request. To get a rough of estimate the number of requests a flow will make multiply the anticipated number of flow runs by the total number of actions plus the trigger.
Purchase a Power Automate premium or a Power Automate Process license to increase the request limits if needed. Or reduce the number of flow runs/actions to minimize the number of requests made.
Decide Whether To Use Premium Flow Connectors
Any flows containing a premium connector will require additional licensing to run. Consider moving premium functionality into flows run by the service account as opposed to an end-user to save costs. For example, a flow using premium actions to generate and collect a contract signature could be triggered indirectly by the end user and run by the service account.
Always follow the licensing rules set forth by Microsoft. Do not engage in multiplexing activity.
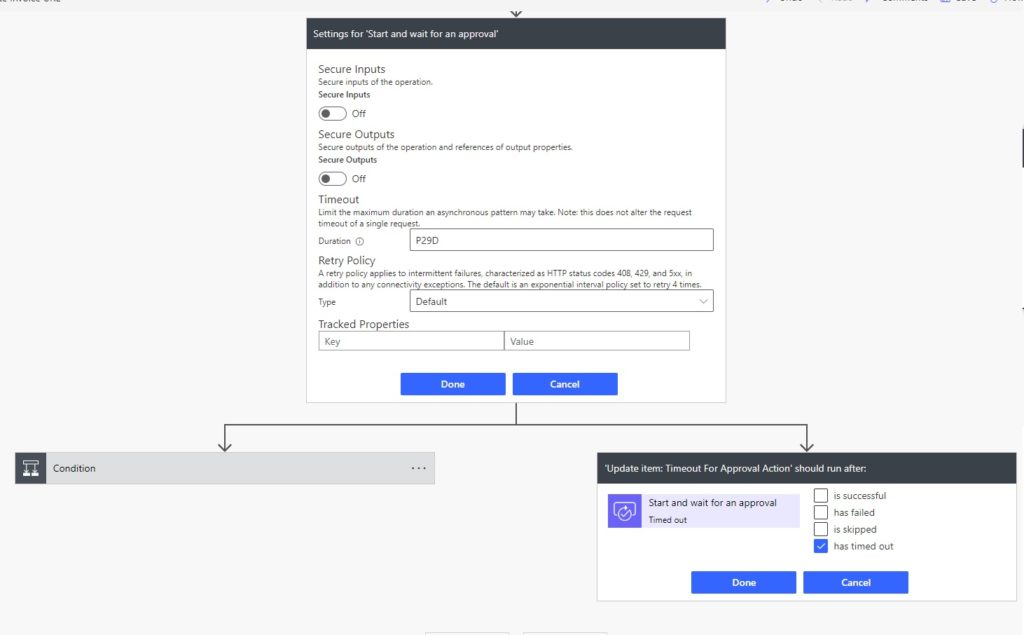
Keep The 30 Days Flow Duration Limit In Mind
After 30 days a flow run will terminate even if it is not done running. For example, a Wait For Approval action that receives no response from the application approver.
To restart a long running flow set a timeout value of 29d in the advanced settings. Then create a parallel branch with actions to re-trigger the flow when only when the previous step times out. Terminate the flow as the final action in this branch.
Designing Flow Triggers
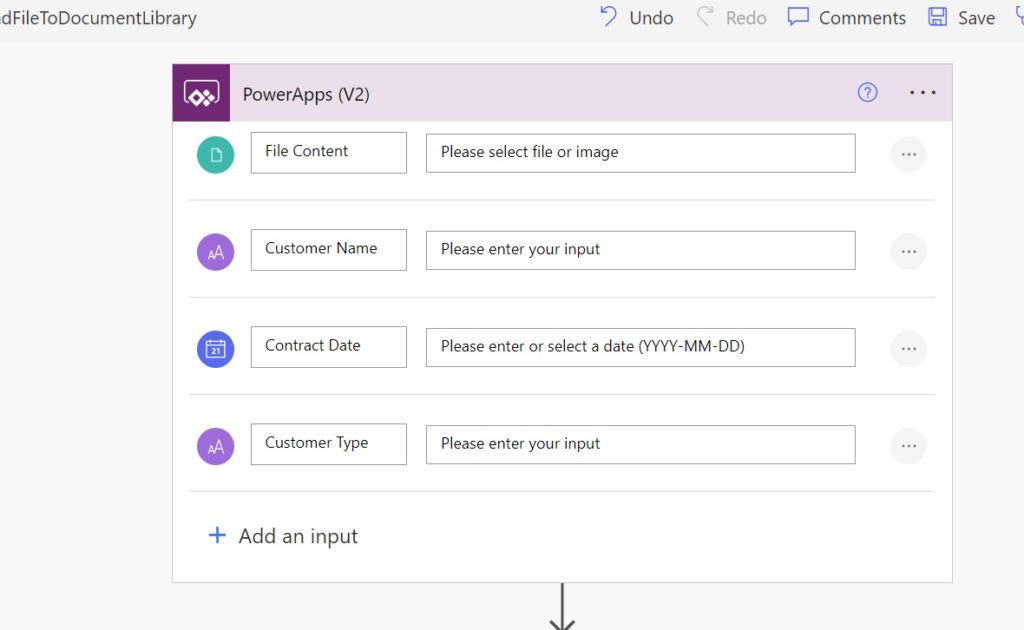
Replace The Power Apps V1 Trigger With V2
Always use the Power Apps V2 trigger instead of V1. The V2 trigger allows us to define parameters inside the trigger action and set them as required/not required. It also has a new data type called File which allows us to pass in images and attachments from Power Apps.
The V1 trigger is not recommended. Parameters are created by using an “Ask In Power Apps” option in the dynamic content window. This tends to make a mess since parameters cannot be deleted when they are no longer needed.
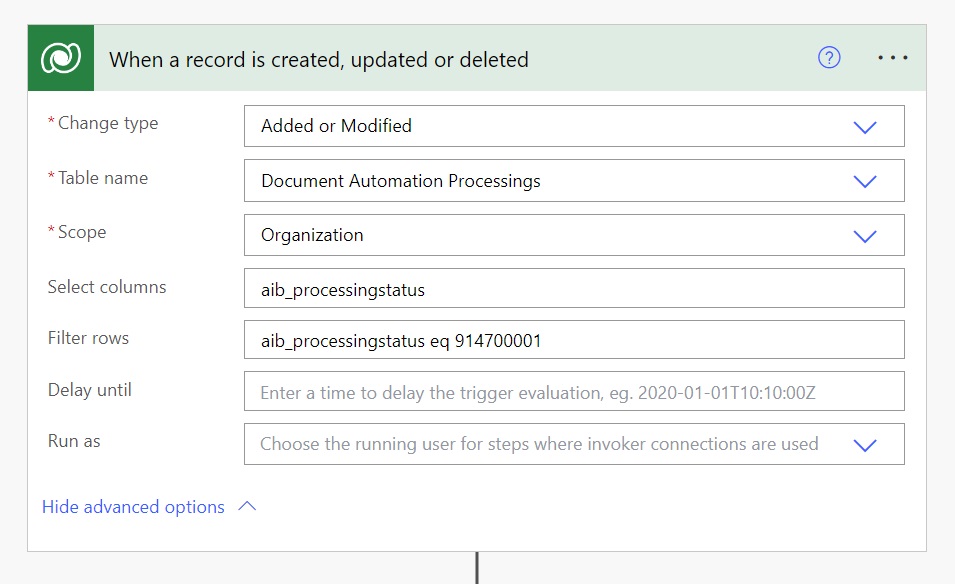
Apply Select And Filter Criteria To Automated Triggers
Never use the When A Record Is Added, Modified or Deleted trigger for Dataverse without defining Select & Filter criteria. Selecting columns only triggers a flow when the targeted column is modified. Filtering ensures the flow only triggers when a specific criteria are met. A trigger without filter conditions will start after every record added, modified or deleted and its actions will count towards daily Power Platform request limits.
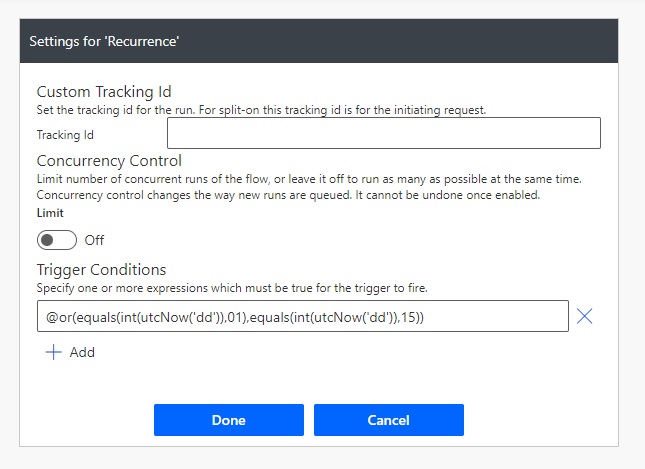
Create Advanced Trigger Conditions With Flow Expressions
Use Power Automate expressions to create flow trigger conditions that are not available out-of-the-box. For example, the recurrence trigger does not have any option to trigger only on the last Friday of the month. But by opening the recurrence trigger settings and adding trigger conditions it can be achieved.
General Coding Patterns
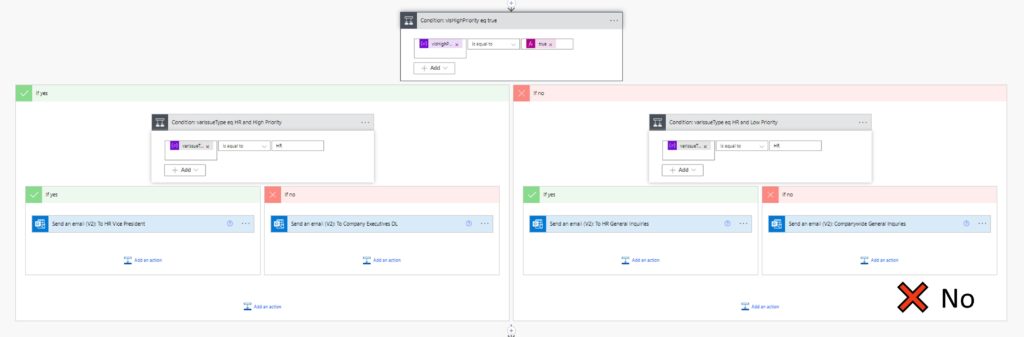
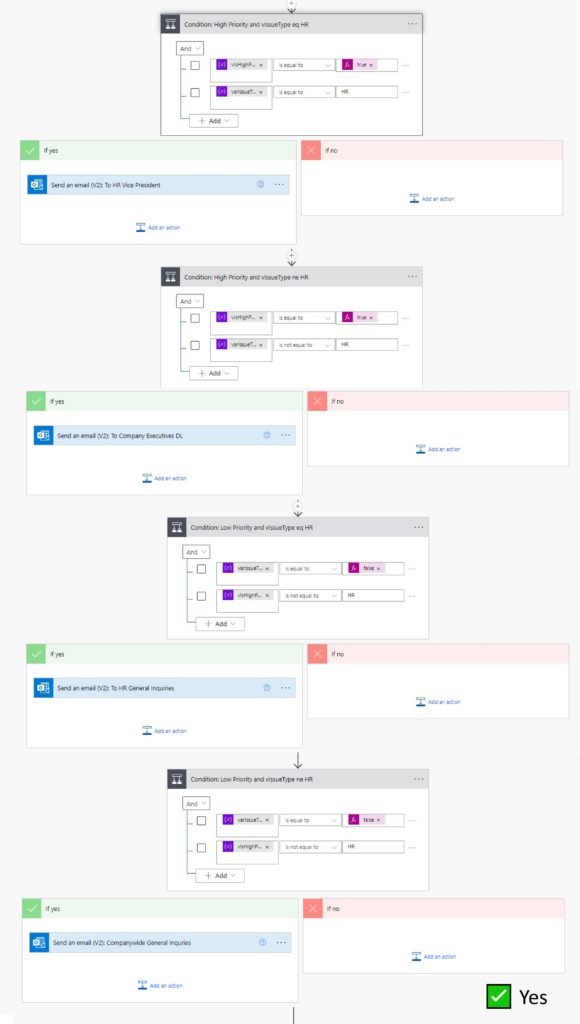
Flatten Nested IF Condition Actions
Multiple IF condition action nested inside of one another make it difficult to understand what will happen next in the flow. To make matters worse, when we open a flow the condition actions are collapsed and we must expand them to see what’s going on inside.
Make conditional logic only one layer deep wherever possible. Instead of nesting IFs try to break up logic into several sequential IF statements.
Eliminate Unnecessary Apply To Each Loops
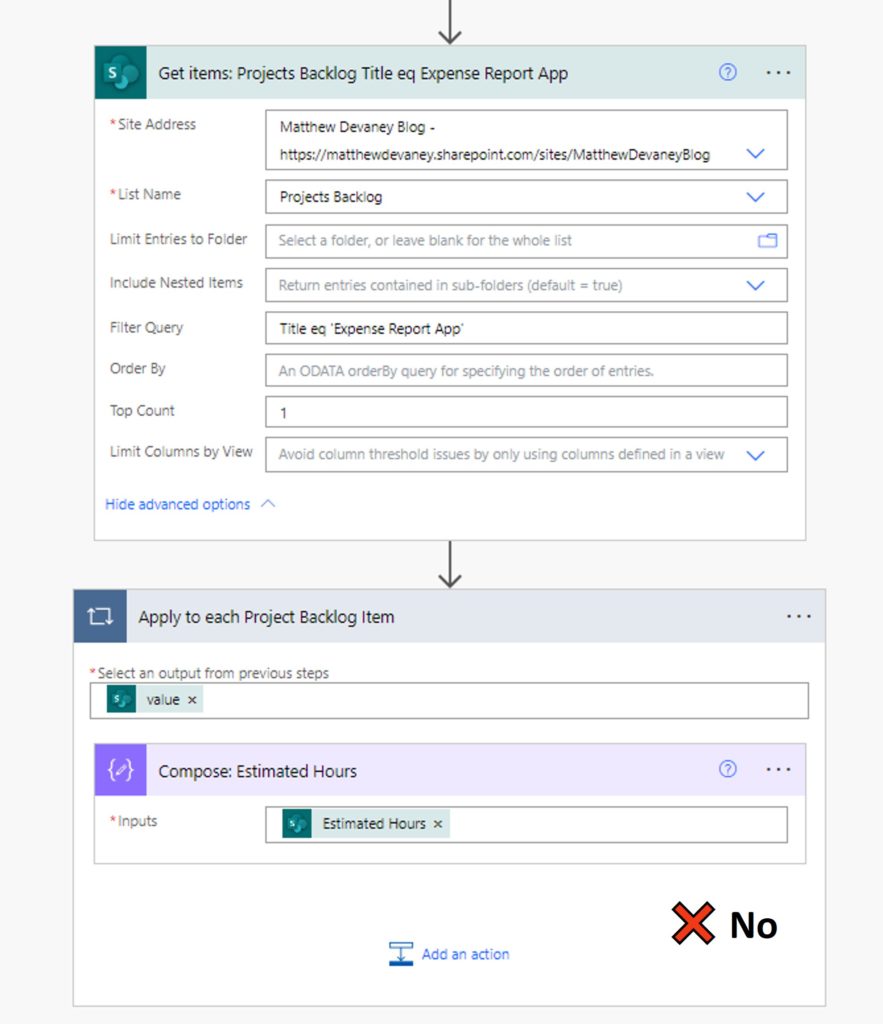
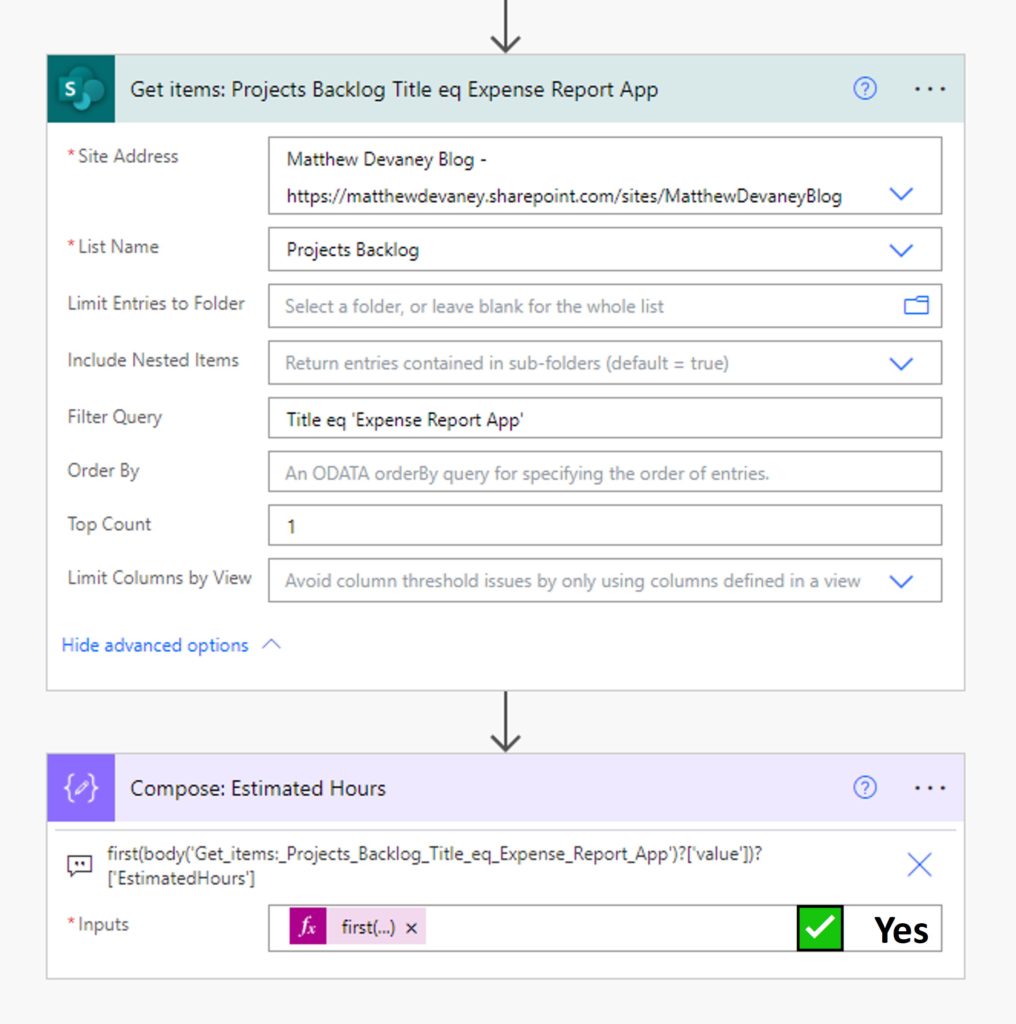
The SharePoint – Get Items action can be used to obtain a single record with a matching unique value. For example, get the list item where email address equals [email protected] from the Employees SharePoint list. Any subsequent action using the Employee data will be created inside of a loop. The Get Items action always returns a table even if only one item is returned
Write a flow expression that includes the first function to eliminate the Apply To Each loop. It takes the first record from an array and allows access to its values. Loops should not be added to a flow when there will only be one iteration.
Generate Fetch XML For The Dataverse List Rows Action
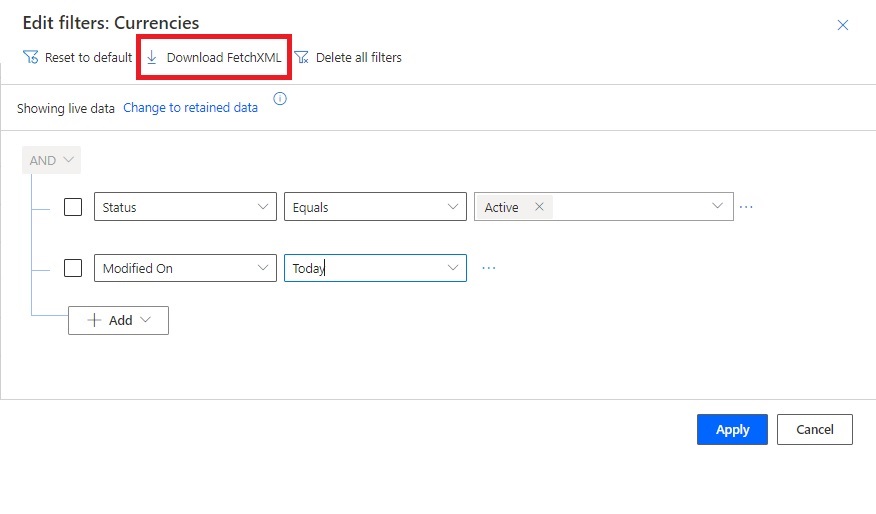
When using the Dataverse List Rows action filter the rows with Fetch XML queries instead of OData queries. Fetch XML can be generated by performing an advanced filter in a model driven app and selecting the Fetch XML button. Fetch XML has more query options than OData and does not need to be manually written by the developer.

Use A State Machine Pattern
Suppose there is an approvals workflow with many stages: 1st level, 2nd level, 3rd level. The flow progresses through each stage until it successfully terminates. Now let’s add another requirement. When an approval is rejected the workflow must be returned to the previous level. How can we accomplish this without writing a large amount of redundant code?
We can use a State Machine pattern to detect the current state of the workflow and direct it to the next action. To do this, we create a Switch statement inside of a Do-Until loop. At the start of each loop we determine the current state (Level 1, Level 2, Level 3). Then we run the appropriate actions determined by the Switch.
Once all actions for the state are completed the approval is updated to a new state. The Do-Until loop repeats until it meets the looping exit conditions.
Did You Enjoy This Article? 😺
Subscribe to get new Copilot Studio articles sent to your inbox each week for FREE
Questions?
If you have any questions or feedback about Power Automate Standards: Flow Architecture & Design Tips please leave a message in the comments section below. You can post using your email address and are not required to create an account to join the discussion.
Great info and summary, thanks.
DRS,
You’re welcome. Glad you liked it.
Awesome content. Thank you so much
Love it! So this is not an example of multiplexing?
“Any flows containing a premium connector will require additional licensing to run. Consider moving premium functionality into flows run by the service account as opposed to an end-user to save costs.”
Chad,
No it’s not license circumvention. Service accounts have API limits. Consume up to the limit then buy another license.
I’ve used the “Run As User” in limited cases and it works well, and I’d like to be making more use of it.
However, for some clients, the mandatory notification that it sends out to users that it is shared with is a showstopper. Especially if we’re talking about organisation wide applications. It’s frustrating there isn’t an option in the UI to disable the notification as it is in most other cases.
Have you ever found a way to prevent the run only user notification from being sent?